Oven Door Glass Loose? This Tape Is Your Shocking Fix!
That sudden, unnerving wobble in your oven door glass is a problem no homeowner wants to face. One moment you’re preheating for dinner, and the next you’re staring at a gap between the glass and the door frame, imagining the worst. It’s not just a cosmetic issue; a loose inner or outer oven door glass is a serious safety hazard and a major energy drain.
Many people’s first instinct is to reach for super glue or standard hardware store tape, but that’s a critical, dangerous mistake. The solution is surprisingly simple, yet highly specific: a special type of double sided tape for oven door glass. This guide will walk you through exactly why this problem happens and how to fix it permanently, safely, and without a costly service call.
You'll Learn About
Why Your Oven Door Glass Fails: The Hidden Causes
Understanding why your oven door glass came loose is the first step toward a lasting repair. It’s rarely a random event. The failure is almost always due to the extreme environment inside and around your oven, which degrades the original factory adhesive over time.
The constant cycling between high temperatures and room temperature is the primary culprit. This thermal expansion and contraction puts immense stress on the adhesive holding the glass in place. Over years of use, the original bonding agent becomes brittle, loses its elasticity, and eventually fails, causing the glass to detach from the door’s metal frame.
Aggressive cleaning habits can also accelerate this process. Using harsh chemical cleaners or abrasive scrubbers near the edges of the glass can break down the adhesive seal. Even an accidental bump or closing the oven door too forcefully can be enough to break the already weakened bond.
The Critical Mistake: Why Regular Tapes Are a Recipe for Disaster
When faced with loose glass, it’s tempting to find a quick fix. However, using the wrong adhesive is more dangerous than doing nothing at all. Standard double-sided tapes, packing tape, or even construction adhesives are not designed to withstand the intense heat your oven produces.
At best, these inadequate tapes will quickly melt, creating a sticky, useless mess and causing the glass to fall out completely. At worst, they can release toxic fumes as their chemical compounds break down under heat. This process is similar to how you might see paint melting off a surface exposed to extreme temperatures, but with the added danger of airborne toxins in your kitchen.
Many homeowners wonder, “Well, what about other heat-resistant tapes?” You might be curious, for example, is painter’s tape heat resistant enough for this job? The answer is a definitive no. While some painter’s tapes can handle the low heat of a baking cycle for masking purposes, they lack the structural adhesive strength and the extreme temperature rating (often 500°F / 260°C or higher) required to permanently bond oven door glass.
Choosing the Right Weapon: The Ultimate Guide to Oven-Safe Adhesives
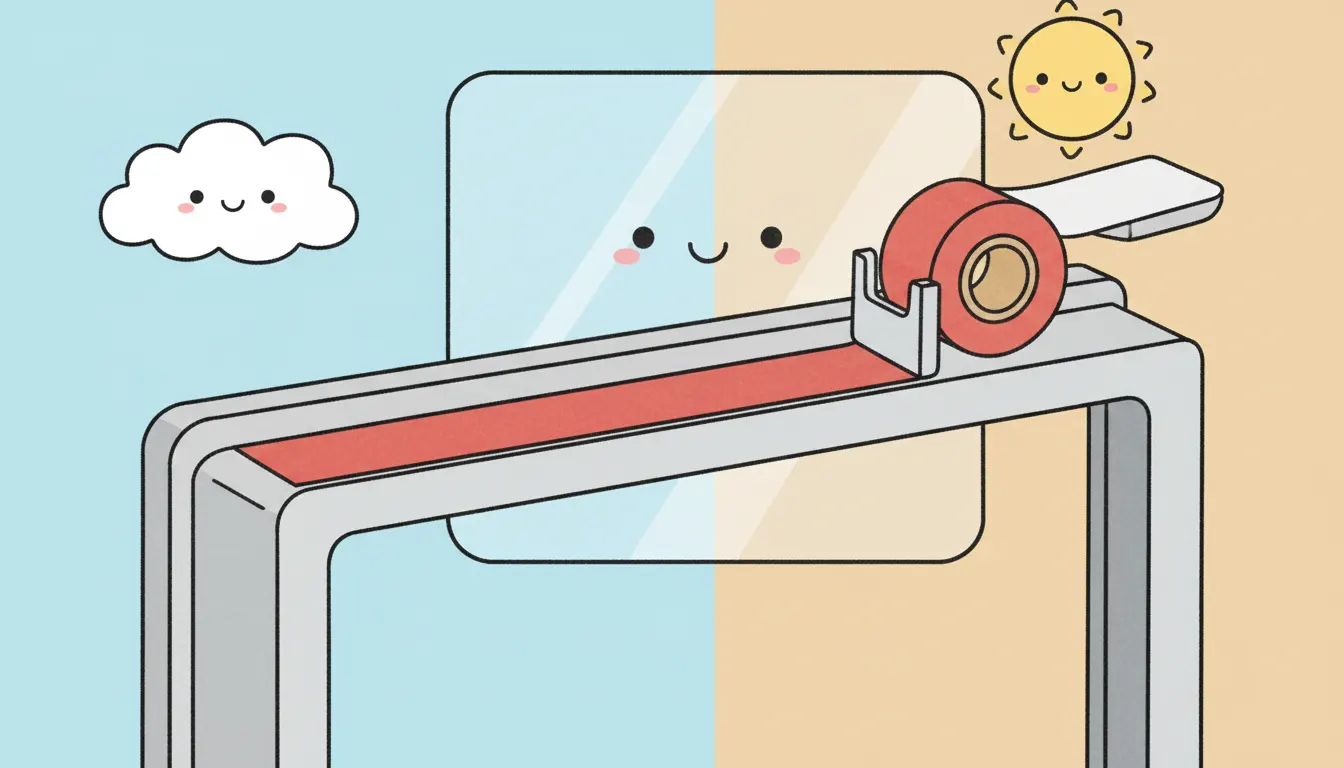
The correct solution, used by appliance repair professionals, is a specialized high-temperature double-sided tape. Specifically, you should look for a Very High Bond (VHB) acrylic foam tape. These tapes are engineered for extreme conditions, creating a permanent, heat-proof, and shock-absorbent bond.
What makes VHB tape so effective? Its core is a solid acrylic adhesive. This unique construction allows it to be viscoelastic, meaning it can flex and flow to conform to surfaces while remaining incredibly strong. It resists thermal expansion, absorbs the shock of the door closing, and creates a perfect seal against heat loss.
When shopping for tape, you must check the technical specifications. Look for a tape with a continuous temperature resistance of at least 450°F (232°C) and an intermittent resistance of 500°F (260°C) or more. This ensures it will hold strong during normal baking, roasting, and even the intense heat of a self-cleaning cycle.
Adhesive Comparison for Oven Door Glass Repair
To make the right choice, it’s helpful to compare the options side-by-side. The following table breaks down the suitability of different adhesive types for this specific, high-stakes repair.
| Adhesive Type | Max Temperature | Bond Strength | Ease of Use | Safety Rating |
|---|---|---|---|---|
| High-Temp VHB Acrylic Tape | 500°F+ (260°C+) | Excellent | Easy | Excellent (No Fumes) |
| High-Temp RTV Silicone | 450°F – 600°F (232°C – 315°C) | Very Good | Moderate (Messy, Curing Time) | Good (Must be rated for ovens) |
| Standard Double-Sided Tape | ~150°F (65°C) | Poor | Easy | Dangerous (Melts, Fumes) |
| Epoxy / Super Glue | ~200°F (93°C) | Poor (Becomes Brittle) | Moderate | Dangerous (Fumes, Fails) |
Your Step-by-Step Guide to a Rock-Solid Oven Door Glass Repair
With the correct high-temperature tape in hand, you can confidently tackle this repair. Following these steps precisely is crucial for a safe and permanent fix. This process requires patience and attention to detail, but it is well within the skills of a determined DIYer.
Step 1: Safety First – Preparing Your Workspace
Before you begin, unplug the oven or turn off the circuit breaker that powers it. This is a non-negotiable safety step. Allow the oven to cool completely to room temperature before handling any part of the door.
Gather your tools: the high-temperature VHB tape, a set of screwdrivers, gloves, safety glasses, a plastic scraper or razor blade (use with caution), and a cleaning solution like isopropyl alcohol. Lay a soft towel or blanket on the floor to place the oven door on once it’s removed.
Step 2: The Art of Removal – Disassembling the Door
Oven door removal varies by manufacturer. Most modern ovens have hinge locks. Open the door to the first stopping point (usually about 4-6 inches) and look for small tabs or levers on each hinge. Flip these locks up or forward, then slowly close the door until it stops. You can then lift the entire door up and off the hinges.
Once the door is removed, place it on your prepared soft surface, outer side down. You will typically see a series of screws around the perimeter of the inner door panel. Carefully remove these screws to separate the inner and outer door sections and gain access to the glass panels.
Step 3: The Most Crucial Step – Impeccable Surface Prep
The success of this repair rests almost entirely on this step. The bonding surfaces on both the metal door frame and the glass must be perfectly clean. Any residual grease, dust, or old adhesive will prevent the new tape from forming a permanent bond.
Use your plastic scraper or a razor blade held at a low angle to carefully remove every trace of the old, failed adhesive. Once the bulk is gone, use isopropyl alcohol on a clean cloth to wipe down the bonding areas on both the frame and the glass. The surfaces should be squeaky clean and completely dry before you proceed.
Step 4: Precision Application – Applying the Tape
With your surfaces prepped, it’s time to apply the tape. Always apply the VHB tape to the metal door frame, not the glass. This allows for better positioning. Cut the tape to length for each side of the frame where the glass will sit.
Peel back one side of the tape’s liner and carefully apply it to the frame, pressing down firmly and evenly along its entire length. Do not touch the adhesive surface with your fingers, as oils from your skin can compromise the bond. Use the back of a spoon or a small roller to apply pressure and ensure there are no air bubbles.
Step 5: The Final Bond – Reinstalling the Glass
Once the tape is secured to the frame, remove the remaining plastic liner to expose the outer adhesive. Now, very carefully align the clean glass panel and gently lower it onto the tape. Precision is key here; once the glass makes contact with the VHB tape, it will be very difficult to reposition.
After the glass is in place, apply firm, even pressure across the entire surface for at least 30-60 seconds. This is called “wetting out” and is essential for activating the pressure-sensitive adhesive. Reassemble the door panels in the reverse order you took them apart.
Step 6: Curing is Key – Patience Before Powering On
Do not immediately reinstall the door and turn on the oven. VHB tapes build their bond strength over time. While they feel sticky right away, they typically achieve about 70% of their final bond strength in the first 24 hours and 100% within 48-72 hours.
Let the reassembled door rest at room temperature for at least 24 hours, and ideally 72 hours if possible, before reinstalling it and using the oven. This patience ensures the bond is fully cured and ready to handle the extreme heat and stress of daily use.
Beyond the Tape: When a DIY Fix Isn’t the Answer
While this tape-based repair is highly effective for detached glass, it’s not a solution for every problem. If the glass itself is cracked, chipped, or shattered, it must be replaced entirely. Applying tape to broken glass is not safe. You will need to order a new, manufacturer-approved glass panel.
Additionally, if the metal door frame is bent or warped, the tape may not be able to create a proper seal. In such cases, a professional repair or door replacement might be necessary. This repair can feel complex, much like tackling a situation where your wall oven cutout is too small and requires significant adjustments. If you feel out of your depth, calling a qualified appliance technician is the wisest choice.
The Unspoken Benefit: Beyond Repair to Improved Efficiency
Securing your oven door glass does more than just fix a wobbly door—it restores your oven’s performance and efficiency. A proper seal is critical for maintaining consistent cooking temperatures. When the glass is loose, a significant amount of heat escapes from the front of the oven.
This heat leak forces your oven’s heating elements to work harder and run longer to maintain the set temperature. This not only wastes electricity or gas but also leads to uneven cooking. You may find that foods take longer to bake or that one side of a dish is more cooked than the other. By creating a perfect, airtight seal with VHB tape, you’re not just performing a repair; you’re giving your oven an efficiency upgrade that can lead to better cooking results and lower energy bills.
Frequently Asked Questions (FAQ)
Navigating an appliance repair can bring up many questions. Here are answers to some of the most common queries about using double-sided tape for oven door glass.
Can I use high-temperature silicone instead of tape?
Yes, high-temperature RTV (Room Temperature Vulcanizing) silicone sealant is another option used by professionals. However, it is much messier to apply, requires a specific bead size to avoid squeezing out, and has a longer curing time where the door must remain perfectly still. For most DIYers, VHB tape is faster, cleaner, and far easier to use correctly.
How long will the tape last?
When applied correctly on a properly prepared surface, a high-quality VHB acrylic tape should last for the remaining life of the appliance. It is designed to be a permanent solution that is resistant to heat, moisture, cleaners, and the mechanical stress of opening and closing the door.
What temperature rating do I really need for my oven?
Most home ovens operate between 170°F (77°C) and 500°F (260°C). A self-cleaning cycle can reach temperatures up to 900°F (482°C), but this heat is primarily inside the oven cavity, and the door’s exterior surfaces are designed to stay cooler. A tape with a continuous rating of 450°F (232°C) and an intermittent rating of 500°F (260°C) is sufficient and safe for nearly all residential ovens.
Is this repair truly safe?
Absolutely, provided you use the correct materials and follow the instructions carefully. The safety of this repair hinges on using a VHB tape specifically rated for high temperatures. These tapes are chemically stable and do not release fumes or lose their bond strength within their specified temperature range, ensuring your oven remains safe to use for years to come.