Doorbell Transformer 2 Wire to 3 Wire: The Ultimate Upgrade Guide
Is your old doorbell transformer struggling to power a new smart doorbell? You’re not alone. Many homeowners face the confusing jump from a vintage 2-wire transformer to a modern 3-wire system, a necessary step for today’s power-hungry video doorbells.
This guide will demystify the process, turning a potentially confusing electrical task into a straightforward weekend project. We’ll cover everything from the fundamental differences between the two systems to a step-by-step installation guide, ensuring you have the knowledge to upgrade safely and effectively.
You'll Learn About
Why Upgrade Your Doorbell Transformer? The Problem with Old Wiring
The core issue is simple: older doorbell systems were designed for a simple button and chime, requiring minimal power. These systems typically use a 2-wire transformer that provides a low voltage, often insufficient for smart doorbells that feature cameras, motion sensors, and Wi-Fi connectivity.
When you connect a new video doorbell to an underpowered transformer, you’ll likely encounter a host of problems. These can range from the doorbell not powering on at all, to intermittent performance, or even damage to the doorbell’s sensitive electronics over time.
Understanding the Leap: From 2 Wires to 3 Wires
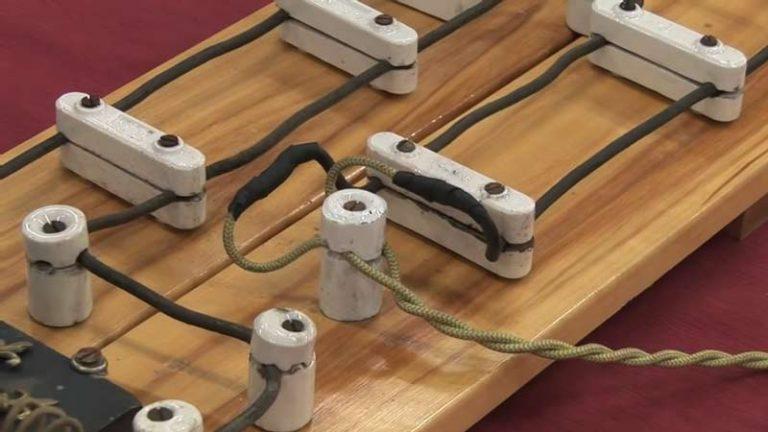
The fundamental difference lies in how the transformer connects to your home’s electrical system. An older 2-wire transformer typically only has a “hot” and a “neutral” wire. A modern 3-wire transformer adds a crucial “ground” wire for safety.
This third wire provides a safe path for electricity to travel in the event of a fault, significantly reducing the risk of electrical shock or fire. Upgrading to a 3-wire transformer is not just about providing more power; it’s about bringing your doorbell circuit up to modern safety standards.
Before You Begin: Safety First and Tool Checklist
Working with electricity requires the utmost caution. Before you start any work, you must turn off the power to the doorbell circuit at your main electrical panel. This is non-negotiable and the most critical step for your safety.
Use a voltage tester to confirm that the power is completely off at the transformer’s location before you touch any wires. If you are ever unsure or uncomfortable with any part of this process, do not hesitate to call a licensed electrician.
Essential Tools for the Job
Having the right tools on hand will make the installation process much smoother. Here’s what you’ll need:
- New 3-wire doorbell transformer (typically 16-24V, 30VA)
- Voltage tester (non-contact or multimeter)
- Screwdriver set (Phillips and flathead)
- Wire strippers/cutters
- Wire nuts
- Pliers (needle-nose or lineman’s)
- Electrical tape
Step-by-Step Guide: Installing Your New 3-Wire Transformer
With the power off and your tools ready, it’s time to replace the old transformer. This process involves disconnecting the old unit and wiring in the new one, both on the high-voltage (your home’s wiring) and low-voltage (to the doorbell) sides.
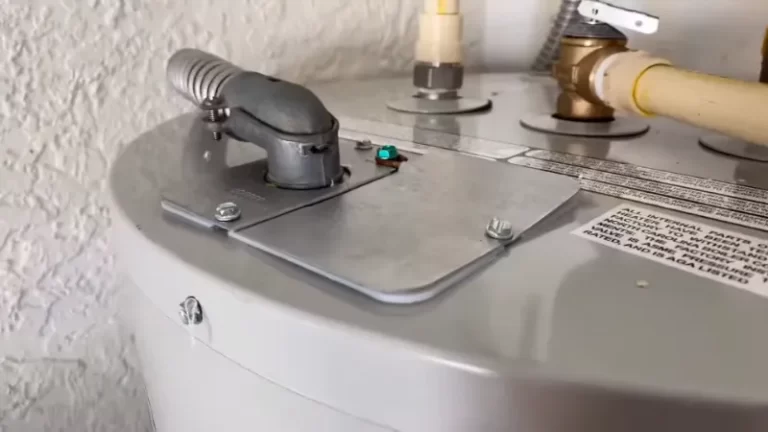
Step 1: Locate and Access Your Old Transformer
Doorbell transformers are often found in inconspicuous places. Common locations include the garage, basement, attic, or inside a closet, usually mounted on or near an electrical junction box. It might also be located near your main electrical panel or even behind the doorbell chime box itself.
Once located, you may need to remove a cover from the junction box to access the wiring connections. Take a moment to observe how the old transformer is wired before you disconnect anything.
Step 2: Disconnect the Old 2-Wire Transformer
First, disconnect the low-voltage wires that lead to your doorbell and chime. These are the thin wires attached to screw terminals on the transformer. Loosen the screws and detach the wires.
Next, carefully disconnect the high-voltage wires inside the junction box. Your old transformer will have two wires (likely both black, or one black and one white) connected to your home’s wiring with wire nuts. Unscrew the wire nuts and separate the wires.
Step 3: Mount the New 3-Wire Transformer
Your new transformer will be mounted to the same electrical junction box. Most transformers have a threaded connector and a locknut that secures it to one of the knockout holes on the box. Feed the high-voltage wires through the knockout before securing the transformer in place.
A secure mounting is important, as it helps with heat dissipation and ensures the transformer remains safely in place. Do not leave the transformer hanging by its wires.
Step 4: Connect the High-Voltage Wires
This is where the transition from 2-wire to 3-wire happens. Your new transformer will have a black (hot), a white (neutral), and a green (ground) wire.
- Connect the black wire from the new transformer to the black (hot) wire from your home’s power supply using a wire nut.
- Connect the white wire from the transformer to the white (neutral) wire from your home’s supply.
- Connect the green wire (ground) to the bare copper or green ground wire in the junction box. If you’re using a metal junction box, the ground wire should also connect to the box itself via a grounding screw.
Ensuring a solid ground connection is a critical safety step that should not be overlooked. A poor connection can lead to serious electrical hazards; if you’re experiencing issues, you may be dealing with a doorbell transformer that has shorted, which poses its own risks.
Connecting to the Chime: Understanding the Terminals
With the transformer securely wired to your home’s power, the next step is connecting it to your doorbell system. Your doorbell chime will typically have three screw terminals labeled: “Front,” “Rear,” and “Trans” (for Transformer or Common).
Step 5: Wire the Low-Voltage Side
On the low-voltage side of your new transformer, you’ll find two screw terminals. These will provide power to your chime and doorbell button(s). You will run low-voltage bell wire from these terminals to your chime.
One wire will go from a terminal on the transformer directly to the “Trans” terminal on your chime. The other wire from the transformer will go to one of the two wires connected to your front doorbell button. The remaining wire from your doorbell button will then connect to the “Front” terminal on the chime.
| Component | Connection Point 1 | Connection Point 2 |
|---|---|---|
| Transformer | Terminal A | Terminal B |
| Doorbell Chime | “Trans” (Transformer/Common) | “Front” (or “Rear”) |
| Doorbell Button | Wire from Transformer | Wire to Chime |
This creates a simple circuit. When the button is pressed, it completes the circuit, allowing power to flow from the transformer to the chime, which then makes a sound. If your wiring needs to be rerouted for a new chime location, understanding how to move doorbell wiring properly is essential for a clean and safe installation.
Final Steps and Troubleshooting
Once all connections are secure, it’s time to test your work. Double-check all your wire connections, ensuring they are tight and secure. Tuck the high-voltage wires neatly back into the junction box and replace the cover.
Step 6: Restore Power and Test the System
Go back to your electrical panel and turn the circuit breaker back on. Now, press your doorbell button. If everything is wired correctly, your chime should ring, and your smart doorbell should begin its power-up sequence.
If the doorbell doesn’t work, immediately turn the power back off at the breaker and review your wiring. Check for loose connections or incorrect wiring paths. A multimeter can be invaluable here to test for voltage at the transformer’s low-voltage terminals.
Common Issues and Solutions
Problem: The doorbell doesn’t power on.
Solution: Double-check all connections, especially the high-voltage wiring. Use a voltage tester to ensure the transformer is receiving 120V power and producing the correct low voltage (16-24V) at its terminals.
Problem: The doorbell chime hums or buzzes constantly.
Solution: This can be caused by a stuck doorbell button or a short in the wiring. It may also indicate that the transformer’s voltage is too high for your specific chime. If problems persist, you might consider temporarily learning how to disable the doorbell while you diagnose the issue further.
Problem: The new transformer gets very hot.
Solution: Transformers will naturally feel warm to the touch, but excessive heat can indicate a short circuit in the low-voltage wiring or that the transformer is overloaded. Turn off the power and inspect the wiring between the transformer, chime, and button for any damage or shorts.