Painting a Primed Door: Skip This Step & You’ll Regret It
You’ve just brought home a new interior door. It’s crisp, white, and already primed. The thought crosses your mind: “It looks finished enough. Do I really need to paint a primed door?” It’s a tempting shortcut, especially when you have a long list of other projects. But skipping this crucial step is a mistake that can lead to disappointment and costly fixes down the line.
Leaving a door with only its factory primer is like building a house without a roof. The primer offers a temporary, minimal layer of protection, but it was never intended to be the final finish. This article will explain exactly why painting over that primer is non-negotiable for durability, appearance, and long-term value.
You'll Learn About
Why Factory Primer Is Not Enough
The biggest misconception about pre-primed doors is that the primer coat is a durable, finished surface. In reality, factory primer is a thin, cheap coating designed for one main purpose: to provide a uniform base that will accept a topcoat of paint. It’s not formulated to stand up to the rigors of daily life.
Think of primer as a sponge. It is highly porous, meaning it readily absorbs moisture, oils from fingerprints, and dirt. This makes a primed-only door incredibly difficult to clean and susceptible to staining, swelling, and warping over time. A proper coat of paint creates a hard, protective shell that seals the porous primer and the door material beneath from the elements and daily wear.
The Critical Role of a Paint Topcoat
A high-quality topcoat does more than just add color. It provides a layer of defense that factory primer simply can’t match. It delivers the sheen you want, whether matte, satin, or semi-gloss, giving the door a truly finished, professional look that a chalky primer finish can never achieve.
Furthermore, the durability of a painted surface is essential for high-touch areas like doors. A properly painted door can be wiped down and cleaned countless times without damaging the surface. Trying to scrub a primed-only door will likely remove the primer itself, leaving a patchy, unsightly mess.
The “Secret” About Factory Primer Few People Know
Not all primers are created equal. The coating applied in a factory is often a low-cost, low-solids primer. Its primary job is to cover the raw material (like MDF or wood) and provide a consistent surface for shipping and immediate painting. It is not the same as a high-quality bonding or sealing primer you would purchase from a paint store.
This factory coating is often so porous that it can cause “paint drag” when you apply a topcoat, where the primer sucks the moisture out of your paint too quickly. This makes it difficult to get a smooth application and can lead to an uneven, blotchy finish. Properly preparing and sealing this surface is the key to a professional result.
How to Paint a Primed Door: A Step-by-Step Guide for a Flawless Finish
Painting a primed door isn’t difficult, but following the correct steps is crucial for a durable, professional-looking finish. Rushing the process or skipping steps will show in the final result.
Step 1: Clean the Surface Thoroughly
Even a new door has collected dust, grease, and fingerprints during transport and handling. Before you do anything else, clean all six sides of the door (front, back, and all four edges) with a mild detergent and water. A simple solution of dish soap and warm water works well. Rinse with a clean, damp cloth and allow the door to dry completely.
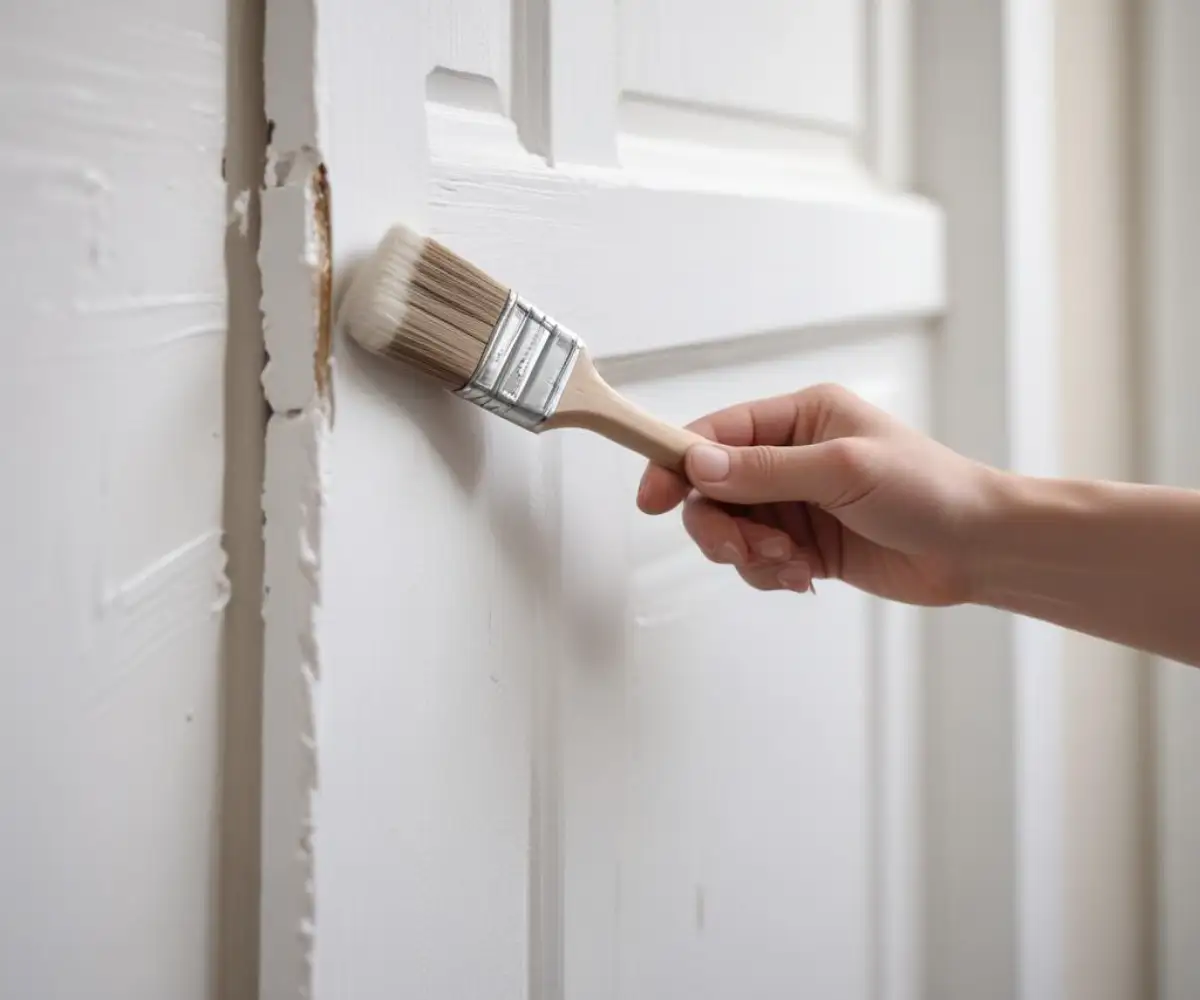
Step 2: The Most Important Step—Lightly Sand the Door
Do not skip this step. The factory primer has a smooth, almost glossy finish that paint will not stick to effectively. Lightly scuff the entire surface with 220-grit sandpaper. Your goal is not to remove the primer, but to dull the sheen and create microscopic grooves for the new paint to grip onto. This single step is the most critical for ensuring long-term paint adhesion and preventing chipping or peeling.
Step 3: Remove All Sanding Dust
After sanding, the door will be covered in fine dust. Use a vacuum with a brush attachment to remove the bulk of it, then wipe the entire surface with a tack cloth or a lint-free rag dampened with mineral spirits. Make sure the surface is perfectly clean and dust-free before moving on.
Step 4: Prime it Again (Optional but Highly Recommended)
This may seem redundant, but applying a coat of high-quality acrylic primer over the factory primer offers significant benefits. It seals the porous factory coat, ensures your topcoat’s color is true and vibrant, and guarantees the best possible adhesion. This is especially important if you’re painting the door a dark color. This step transforms the door from a minimally prepared surface to a professionally prepped one, much like how proper prep is key when painting 2x4s for a project.
Step 5: Apply Multiple Thin Coats of Quality Paint
Now it’s time for the color. For interior doors, a high-quality acrylic latex enamel in a satin or semi-gloss finish is ideal. These paints are durable, scrubbable, and designed to withstand the abuse doors often take. Avoid using flat wall paint, which is not durable enough for high-touch surfaces. If you have any minor dings or dents to fix from transport, you might need a reliable filler; some people explore products like Safemend for small wall repairs, and similar principles apply to doors, though wood filler is more common. Just be sure any repairs are done before priming, as discussed when asking the question is safemend legit.
Using a high-quality brush for the detailed areas and a mini foam roller for the flat panels, apply a thin, even coat of paint. Allow it to dry completely according to the manufacturer’s instructions, then apply a second thin coat. Two thin coats will always produce a stronger, more uniform finish than one thick coat.
Comparing a Primed-Only Door to a Properly Painted Door
The difference in performance and longevity between a door left with only its factory primer and one that has been properly painted is significant. This table breaks down the key distinctions.
| Feature | Primed-Only Door | Properly Painted Door |
|---|---|---|
| Durability | Low. Prone to scuffs, scratches, and chipping. | High. The paint creates a hard, protective shell. |
| Cleanability | Poor. Porous surface stains easily and cannot be scrubbed. | Excellent. Can be easily wiped clean with mild detergents. |
| Moisture Resistance | Very low. Absorbs humidity, leading to potential swelling or warping. | High. The sealed surface repels moisture and protects the door’s core. |
| Appearance | Dull, chalky, and often uneven. Looks unfinished. | Smooth, even color and sheen (satin, semi-gloss, etc.). Looks professional. |
| Longevity | Short. The primer will degrade, discolor, and fail over time. | Long. A quality paint job can last for many years with proper care. |
Frequently Asked Questions
Do I absolutely need to paint a primed door?
Yes, it is highly recommended to paint a primed door. The primer is not intended as a final coat; its main purpose is to create a smooth, consistent surface for the paint to adhere to. A quality paint finish will protect the door from moisture, dirt, and wear and tear, which the primer alone will not do effectively.
What happens if I don’t paint a primed door?
Leaving a primed door unpainted can lead to several issues. The primer can easily get dirty and is difficult to clean, giving the door a dingy appearance over time. It also offers minimal protection against moisture and physical damage like scuffs and chipping, which can lead to the deterioration of the door material itself.
How long can I leave a primed door unpainted?
While there’s no exact timeframe, it’s best to paint a primed door as soon as possible. For exterior doors, a general recommendation is to paint them within 30 days of installation to protect them from the elements. For interior doors, while the urgency is less, leaving them unpainted for an extended period will make them more susceptible to dirt and damage.
Is the factory primer on a new door good enough for painting?
Factory primers can vary in quality, and are often a cheap, thin layer. For a more durable and long-lasting finish, it’s often a good idea to apply a high-quality primer over the factory coat, especially for exterior doors or in high-traffic areas. A good test is to see if the primer absorbs water; if it does, it should be primed again before painting.
What are the main benefits of painting a primed door?
Painting a primed door provides a durable, protective layer that extends the life of the door by guarding against moisture, scratches, and dents. It also allows you to customize the color and finish to match your decor, enhancing the overall aesthetic of your space. A painted surface is also much easier to clean than a primed one.
The Verdict: Always Paint a Primed Door
While it may seem like an extra, unnecessary task, painting a pre-primed door is a fundamental step in a proper installation. The factory primer is simply a preparatory base coat, not a final, durable finish. By properly cleaning, sanding, and applying at least two coats of high-quality paint, you are not just adding color—you are adding a critical layer of protection.
This investment of time and effort will pay off for years to come, ensuring your doors look beautiful, are easy to clean, and stand up to the demands of everyday life without chipping, staining, or deteriorating. Skipping this step to save a few hours will only lead to a door that quickly looks dirty and worn, ultimately requiring more work to fix in the future.
![What Causes Joint Compound to Mold [And Prevention]](https://fixitinthehome.com/wp-content/uploads/2023/01/black-mold-in-joint-compoun-768x432.jpg)