Ceiling Fan Stopped? Here’s Why a Fuse Is NOT the Problem
Your trusty ceiling fan has suddenly given up. One moment it was providing a gentle breeze, and the next, nothing. Your first instinct might be to look for a blown fuse, a common culprit in many household appliance failures. But do ceiling fans even have fuses? The short answer is almost always no, and understanding why is the first step toward a real solution.
Modern ceiling fans are built with more sophisticated protective measures than a simple, one-time-use fuse. Instead of a small glass or ceramic tube designed to break a circuit, they rely on internal mechanisms to prevent serious electrical damage. Believing a non-existent fuse is the issue can send you on a frustrating and fruitless search, wasting time while the real problem goes unaddressed.
The real issue is often hidden within the fan’s wiring or motor components. From a simple loose connection to a failed capacitor, the reasons for a sudden stoppage are varied. This guide will demystify the inner workings of your ceiling fan, explain the protective systems that have replaced fuses, and provide a clear, step-by-step process to diagnose and fix the actual problem, getting your fan back in action safely and efficiently.
The Myth of the Ceiling Fan Fuse: What’s Really Protecting Your Fan?
Decades ago, some older electrical devices used simple fuses for protection. However, residential ceiling fans rarely, if ever, incorporate a user-replaceable fuse in their design. The idea of a fuse is to be a single-use weak link; it blows to protect the appliance from a power surge or short circuit. This is an outdated and impractical method for a permanently installed fixture like a ceiling fan.
Instead of fuses, modern ceiling fans utilize two primary forms of protection: the circuit breaker in your home’s electrical panel and internal thermal protectors. Your home’s circuit breaker is the first line of defense, designed to trip and cut power to the entire circuit if it detects an overload or a fault. This protects not just the fan, but all outlets and fixtures on that circuit.
More specifically to the fan itself, many motors include a thermal overload protector or thermal fuse. This is not a component you can see or replace. It’s a smart switch embedded within the motor windings that automatically cuts power if the motor overhears to a dangerous temperature, preventing a potential fire. Once the motor cools down, it often resets automatically, though repeated overheating indicates a deeper problem.
Common Culprits: If Not a Fuse, Then What?
When your ceiling fan stops working, the cause usually falls into one of a few categories. Before you even think about the fan’s internal parts, start with the most basic power supply checks. A tripped circuit breaker is a common reason for a fan to suddenly lose power, often caused by an overload on the circuit. Similarly, a faulty wall switch can fail, cutting off electricity to the fan.
If the power supply is fine, the problem likely lies within the fan itself. Over time, the constant, subtle vibrations of a running fan can cause loose wiring connections inside the switch housing or the ceiling canopy. This is a very frequent and relatively easy-to-fix issue. When a wire nut becomes loose, the electrical connection is broken, and the fan stops dead.
The most common component to fail inside a ceiling fan is the capacitor. This small, black-box component is essential for providing the initial torque to get the blades spinning and for regulating the different speeds. A failing capacitor can lead to a fan that won’t start, runs only on one speed, or just hums without moving.
A Step-by-Step Guide to Diagnosing Your Dead Ceiling Fan
Troubleshooting a ceiling fan requires a systematic approach to safely identify the root cause. Always begin with the simplest explanations before moving to more complex diagnostics. Your safety is the top priority, so always turn off the power at the circuit breaker before touching any wiring.
Start by checking your home’s electrical panel. Locate the breaker that controls the room with the fan and check if it has tripped to the “OFF” or a middle position. If it has, flip it firmly to the “OFF” position and then back to “ON”. If the breaker trips again immediately after you turn the fan on, there is likely a short circuit in the fan or its wiring that needs professional attention.
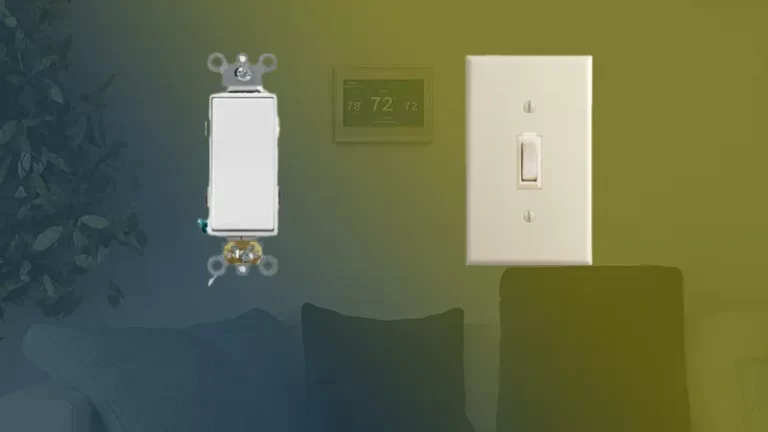
Next, test the wall switch. Flick it on and off a few times. Sometimes, especially after a power outage, a simple reset is all that’s needed. If you have other fixtures controlled by the same switch, check if they are working. If nothing on the switch works, the switch itself may have failed and will need replacement.
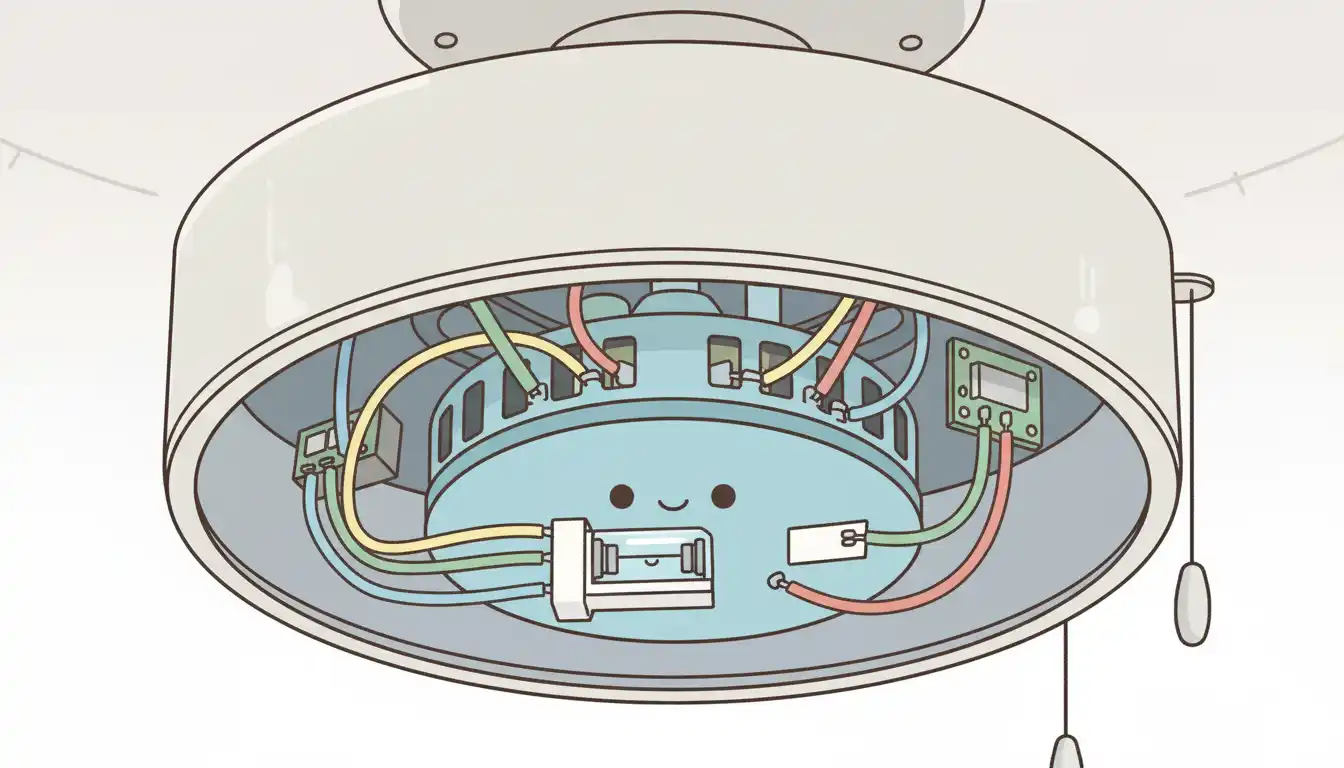
Inspecting the Fan’s Internal Wiring
With the power confirmed off at the breaker, you can now safely inspect the fan’s connections. You will likely need a stepladder and a screwdriver. Start with the canopy, which is the decorative cover that sits flush against the ceiling. You may need to learn how to remove a screwless ceiling fan canopy if your model has a modern design.
Once the canopy is loose, carefully lower it to expose the wiring in the electrical box. Look closely at all the wire nut connections. Gently tug on each wire to ensure it is secure within its connector. It is very common to find that the black (hot), white (neutral), or blue (if there’s a light kit) wire has wiggled loose over time. If you find a loose wire, remove the nut, twist the wires together firmly, and securely screw the wire nut back on.
If the canopy wiring is secure, the next place to look is the switch housing on the fan body itself, where the pull chains enter. This area contains the capacitor and the multi-speed switch. After removing the light kit (if present) and the housing cover, inspect the connections here. Look for any wires that may have become disconnected from the pull-chain switch or the capacitor.
Identifying and Addressing a Failed Capacitor
If all the wiring is secure and the fan motor hums but the blades won’t turn, the capacitor is the primary suspect. A faulty capacitor is one of the most common reasons for a fan to fail. Visually inspect the capacitor—it is typically a small, black rectangular box with several wires coming out of it.
Signs of a bad capacitor can be obvious, such as bulging, melting, or discoloration on its plastic casing. If you see any of these signs, the capacitor needs to be replaced. Even if there is no visible damage, the capacitor can still be internally faulty. If the blades spin freely when you push them by hand but won’t start on their own, a failed capacitor is almost certainly the issue.
Replacing a capacitor is a straightforward task. Before disconnecting it, take a clear photo of the wiring to ensure you connect the new one correctly. Capacitors are rated by microfarads (µF) and voltage; you must purchase a replacement with the exact same specifications. Note down all the numbers printed on the old capacitor before ordering a new one online or from an electronics store.
Advanced Troubleshooting and When to Call a Professional
If you have checked the power, secured all wiring, and even replaced the capacitor, but the fan still doesn’t work, the problem may be more serious. Issues like a seized motor or a failed remote control receiver require more advanced diagnostics. These problems can be more difficult and sometimes more costly to fix.
A ceiling fan motor contains bearings that allow the blades to spin smoothly. Over many years of use, especially if the fan is not well-balanced, these bearings can wear out and seize. You can test for this by trying to spin the blades by hand (with the power off). If they are stiff, difficult to turn, or make a grinding noise, the motor bearings have likely failed. In this case, replacing the entire fan is often more cost-effective than attempting a motor repair.
For fans with a remote control, the receiver unit can be another point of failure. The receiver is a small box, usually tucked into the canopy, that interprets the signal from the remote. Power surges are a common cause of receiver failure. If your remote’s light turns on but the fan is unresponsive, and you’ve already checked the wiring and capacitor, the receiver might need to be replaced. Check the manufacturer’s website for a replacement part.
| Symptom | Potential Cause | Recommended Solution |
|---|---|---|
| Fan is completely dead (no lights, no sound) | No power to the fan | Check circuit breaker and wall switch. Inspect wiring in canopy for loose connections. |
| Motor hums but blades do not spin | Failed capacitor | Inspect capacitor for damage. Replace with a new capacitor of the same specifications. |
| Fan works on some speeds but not others | Faulty pull-chain switch or failing capacitor | Test and replace the pull-chain speed switch. If that fails, replace the capacitor. |
| Fan blades are difficult to turn by hand | Seized motor bearings | The motor is likely beyond repair. Replacement of the entire ceiling fan is recommended. |
| Fan works with pull chain but not remote | Remote control issue | Replace batteries in remote. Check and reset DIP switches. If it still fails, replace the remote receiver. |
| Fan stopped working after a power outage | Tripped breaker or damaged remote receiver | Reset the circuit breaker first. If the fan has a remote, the power surge may have damaged the receiver. |
The Hidden Dangers of Overheating and Motor Failure
The absence of a traditional fuse is precisely because a ceiling fan motor requires a more intelligent form of protection. The internal thermal protector is designed to prevent the motor from reaching a temperature that could cause a fire. If you notice a burning smell coming from your fan or if the motor housing feels excessively hot to the touch after running, stop using it immediately and turn off the power at the breaker.
An overheating motor is a serious safety hazard. It can be caused by a variety of issues, including a failed capacitor forcing the motor to strain, worn-out bearings creating excess friction, or even a buildup of dust and debris restricting airflow and cooling. Sometimes, if the wall feels unusually flexible or weak, it might be a sign of a bigger problem, like if the drywall moves when pushed, which could indicate structural issues affecting the fan’s mounting and stability.
Never ignore the signs of an overheating motor. While the thermal protector offers a layer of safety, it is not infallible. Continuing to operate a fan that is showing signs of severe motor stress is risky. In these situations, the safest and most reliable solution is to replace the entire ceiling fan unit. When choosing a new fan, consider quality and features, much like you would compare different paint qualities, such as Sherwin Williams Infinity vs. Emerald, to ensure long-term performance and durability.