DIY Plexiglass Dog Pen: The Ultimate Guide to a Modern Pet Space
Traditional dog crates and pens often present a dilemma for pet owners. While essential for safety and training, they can be bulky, visually unappealing, and make pets feel isolated. This can lead to anxiety for both the dog and the owner, hindering the sense of connection that is so vital to the human-animal bond.
Many commercially available pens are made from wire or plastic that obstructs views and can clash with home decor. The desire for a solution that is both functional and aesthetically pleasing has led many to consider a DIY approach. A custom-built enclosure can address the specific needs of a pet while seamlessly integrating into the living space.
You'll Learn About
Why a DIY Plexiglass Dog Pen is the Perfect Solution
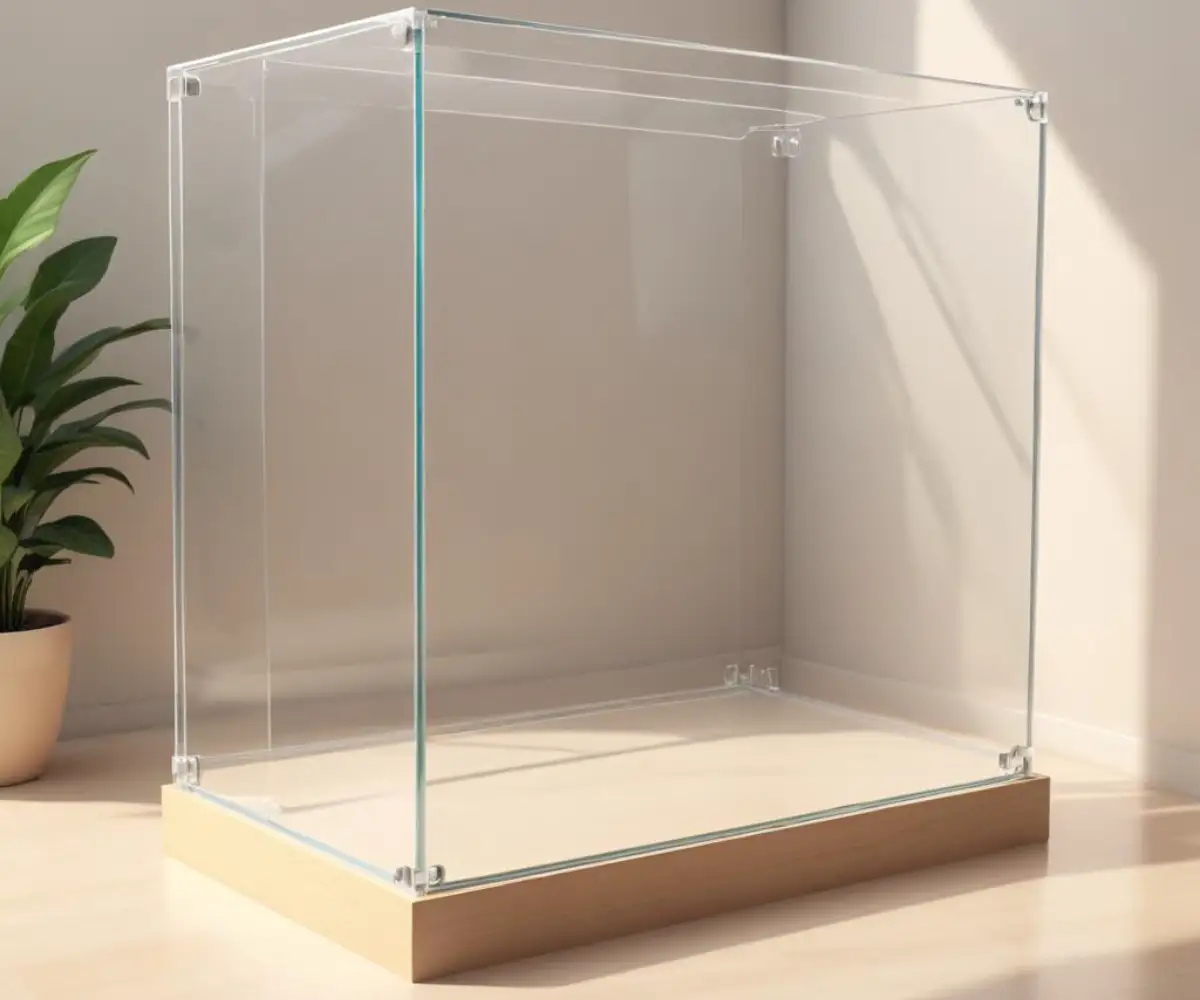
A DIY plexiglass dog pen offers a modern, elegant, and practical alternative to traditional enclosures. The transparency of plexiglass, also known as acrylic, provides numerous benefits for both pets and their owners. It allows for clear visibility, which can help reduce a dog’s anxiety by allowing them to see their surroundings and their human companions.
Beyond the psychological benefits, a plexiglass pen is a durable and safe option. Acrylic is shatter-resistant and lightweight, making it a safer alternative to glass. The smooth surfaces are easy to clean and prevent injuries from sharp edges that can be present on wire crates. This type of enclosure is also a fantastic project for the DIY enthusiast, allowing for complete customization in size and design to perfectly fit your home and your dog’s needs.
Understanding the Pros and Cons
Before embarking on this project, it’s important to weigh the advantages and potential drawbacks. This will help you make an informed decision and ensure that a plexiglass pen is the right choice for you and your furry friend.
One of the most significant advantages is the enhanced interaction it facilitates. Your dog can see you, and you can easily monitor their activities, strengthening the bond between you. Aesthetically, a clear pen is unmatched, blending seamlessly with any decor and creating a more open and inviting space. For dogs that are prone to chewing, the solid, smooth surface of plexiglass offers no edges for them to latch onto, unlike wire cages.
However, there are some challenges to consider. The material cost can be higher than for traditional plastic or metal pens. While durable, acrylic can be scratched by a determined dog, and the construction process requires some basic DIY skills and tools. It’s also worth noting that plexiglass can attract static electricity, which may cause dust and hair to cling to the surface.
Planning Your DIY Plexiglass Dog Pen Project
Thorough planning is the cornerstone of a successful DIY project. Taking the time to consider every detail before you begin will save you time, money, and potential frustration down the road.
Essential Design Considerations
The first step is to determine the ideal size for your dog’s pen. It should be large enough for your pet to stand up, turn around, and lie down comfortably. Consider your dog’s breed and energy level when deciding on the dimensions. For larger or more active dogs, a taller and more spacious pen will be necessary to prevent them from jumping out.
Ventilation is a critical safety feature that must not be overlooked. A fully enclosed plexiglass pen can become stuffy and overheat. Incorporating ventilation holes or gaps between panels is essential for maintaining proper airflow and ensuring your dog’s comfort and well-being. Consider drilling a series of holes along the top and bottom of the panels to facilitate natural air circulation.
Gathering Your Materials and Tools
Once you have a solid plan, it’s time to gather everything you’ll need. The primary material is, of course, the plexiglass sheets. The thickness of the acrylic is a crucial factor in the pen’s durability and safety. For most dogs, a thickness of 3mm to 4mm is recommended to provide adequate sturdiness.
You will also need a framing material to connect the plexiglass panels. Wood or aluminum are excellent choices that provide both stability and a finished look. For a seamless appearance, you can also opt for specialized connectors designed for acrylic sheets. The hardware you choose for the door, such as hinges and a latch, should be robust and secure to prevent escapes.
A solid base is important for protecting your floors and making the pen easier to clean. A piece of plywood cut to size and covered with linoleum or a waterproof mat works well. This not only safeguards your flooring but also provides a comfortable surface for your dog. For those interested in more advanced home improvement projects, learning about options like a DIY window dog door can offer even more freedom for your pet.
| Material/Tool | Purpose | Key Considerations |
|---|---|---|
| Plexiglass (Acrylic) Sheets | Main enclosure panels | 3mm-4mm thickness recommended for durability. |
| Framing Material (Wood/Aluminum) | Connecting and supporting panels | Choose a material that complements your home decor. |
| Panel Connectors | Joining plexiglass sheets | Ensure a secure and stable connection. |
| Door Hinges and Latch | Creating an access point | Select hardware that is strong and pet-proof. |
| Base Material (Plywood/Linoleum) | Floor protection and comfort | A waterproof surface is ideal for easy cleaning. |
| Power Drill and Bits | Drilling holes for screws and ventilation | Use bits specifically designed for plastic to avoid cracking. |
| Saw (for framing material) | Cutting wood or aluminum to size | A miter saw will provide the cleanest cuts for corners. |
| Measuring Tape and Pencil | Ensuring accurate measurements | Measure twice, cut once to avoid mistakes. |
| Safety Goggles | Protecting your eyes | Always wear eye protection when cutting or drilling. |
Step-by-Step Construction Guide
With your plans in place and materials at the ready, it’s time to start building. Follow these steps carefully for a smooth and successful construction process.
Building the Frame and Base
Begin by constructing the base of your dog pen. Cut the plywood to your desired dimensions and, if you’re using a wooden frame, build a simple rectangular frame to support the plexiglass panels. Assembling the frame first provides a sturdy foundation to work from.
Once the base is ready, you can apply the flooring material. Roll out the linoleum or place the waterproof mat on top of the plywood, ensuring it lies flat and is secured at the edges. This will create a comfortable and easy-to-clean surface for your pet. When dealing with the finer details of your home, you might also find it useful to know how to handle tasks like caulking dark wood trim for a polished finish.
Cutting and Preparing the Plexiglass
If your plexiglass sheets are not already cut to size, you’ll need to do this carefully. It’s often possible to have the supplier cut the sheets for you, which can save time and ensure a clean edge. If you’re cutting them yourself, use a scoring knife and a straight edge to make a deep score, then snap the sheet along the line. For thicker sheets, a jigsaw with a fine-toothed blade is more effective.
After cutting, it’s a good idea to sand the edges to a smooth finish. This will improve the appearance of the pen and remove any sharp edges. Before assembly, remember to peel off the protective film from both sides of the plexiglass sheets.
Assembling the Walls and Door
Now, it’s time to attach the plexiglass panels to the frame. If you’re using a wooden frame, you can drill pilot holes through the plexiglass and the wood, then secure them with screws. Be careful not to overtighten the screws, as this can crack the acrylic. Using washers can help to distribute the pressure more evenly.
For the door, attach one of the panels to the frame using the hinges. Ensure that the door swings freely and is properly aligned. Install the latch at a height that is convenient for you but out of your dog’s reach. A secure latch is crucial for keeping your pet safely contained.
When working on DIY projects around the house, safety is always a top priority. This includes understanding how to properly manage things like a permanent extension cord to avoid electrical hazards.
Finishing Touches and Safety Checks
With the main construction complete, a few finishing touches and safety checks will ensure your DIY plexiglass dog pen is both beautiful and secure.
Ensuring Stability and Durability
Go over all the connections and make sure they are tight and secure. The pen should not wobble or feel flimsy. If necessary, you can add corner braces to the frame for extra reinforcement. The goal is to create a sturdy enclosure that can withstand the daily activities of your dog.
Inspect all surfaces for any sharp edges or points that could potentially harm your pet. Sand down any rough spots on the frame and ensure that all screw heads are flush with the surface. Your dog’s safety is the most important aspect of this project.
Cleaning and Maintenance
One of the great things about a plexiglass dog pen is how easy it is to clean. For regular cleaning, a soft cloth and a mixture of mild soap and water is all you need. Avoid using harsh chemicals or abrasive cleaners, as they can scratch or damage the acrylic. A solution of one part vinegar to one part water is also an effective and pet-safe cleaning option.
Regularly check the pen for any signs of wear and tear. Make sure the hinges and latch on the door remain secure and tighten any loose screws. With proper care, your DIY plexiglass dog pen will provide a safe and stylish space for your furry friend for years to come.