Ditch Level Disaster? The Ultimate Guide to Perfect Drainage
You’ve noticed it after a heavy rain: a persistent pond forming in your yard. What starts as a simple puddle can quickly escalate into a soggy, unusable lawn, a breeding ground for mosquitoes, and even a direct threat to your home’s foundation. The culprit is often an improperly constructed or completely absent drainage ditch, a problem that plagues countless homeowners.
Ignoring a poorly leveled ditch is a costly mistake. Water that doesn’t flow away from your property can lead to soil erosion, landscape damage, and catastrophic water damage to your basement or crawl space. The solution lies in understanding and mastering the correct ditch level.
You'll Learn About
Why Your Yard is a Swamp: The Problem with Improper Drainage
A functional drainage ditch, often called a swale, is a shallow channel designed to collect and redirect surface water. Its effectiveness hinges entirely on one critical factor: the slope. Without the right gradient, water stands still, defeating the entire purpose of the ditch. Many homeowners find themselves with drainage problems due to a few common, yet critical, errors.
One primary issue is incorrect grading. A ditch that is too flat won’t create the necessary flow to move water along its path. Conversely, a ditch that is too steep can cause rapid water flow, leading to erosion within the channel itself and depositing soil and debris where you don’t want it. This can quickly undo all your hard work and create an even bigger mess.
Another frequent cause of failure is simply a lack of planning. Digging a trench without first determining the correct path, depth, and slope is a recipe for disaster. Ignoring small pooling issues can seem harmless at first, but it can be a symptom of a much larger problem. Ignoring this is like hearing an unusual sound and wondering why is there a tapping noise in my roof space at night; both are warning signs that shouldn’t be overlooked.
Understanding the Science of Slope
The key to a successful drainage ditch is achieving the correct “fall” or “grade.” This is the vertical drop of the ditch over a specific horizontal distance. For most landscape drainage applications, a minimum slope is required to ensure gravity effectively pulls water away from unwanted areas.
A widely accepted rule of thumb for effective drainage is a slope of at least 1 to 2 percent. A 1% slope means the ditch drops 1 foot for every 100 feet of horizontal distance. A more common and often recommended gradient for lawns and open ditches is 2%, which translates to a drop of about 1/4 inch for every foot of length.
This subtle, consistent slope is the difference between a functional drainage solution and a stagnant, muddy trench. Achieving this precise level requires the right tools and a clear, methodical approach.
The Pro’s Toolkit: Essential Equipment for Leveling a Ditch
While you might be tempted to just “eyeball” the slope, this method is highly unreliable and likely to fail. To do the job correctly and ensure your ditch level is perfect, you’ll need a few essential tools. Investing in the right equipment can prevent costly repairs down the line.
For Manual Digging:
- Trenching Shovel: This shovel has a narrow, pointed blade designed specifically for digging clean, uniform trenches.
- Mattock or Pickaxe: Essential for breaking up compacted soil, clay, or cutting through stubborn roots.
- Landscape Rake: Used for smoothing the bottom of the ditch and shaping the sides.
- Wheelbarrow: For moving excavated dirt to another location or creating a berm on the downhill side of the swale.
For Measuring and Leveling:
- Wooden Stakes and String: The most basic method for setting a grade line.
- Line Level: A small, lightweight level that hooks onto your string line to show you what’s level.
- Tape Measure: For accurately measuring distances and depths.
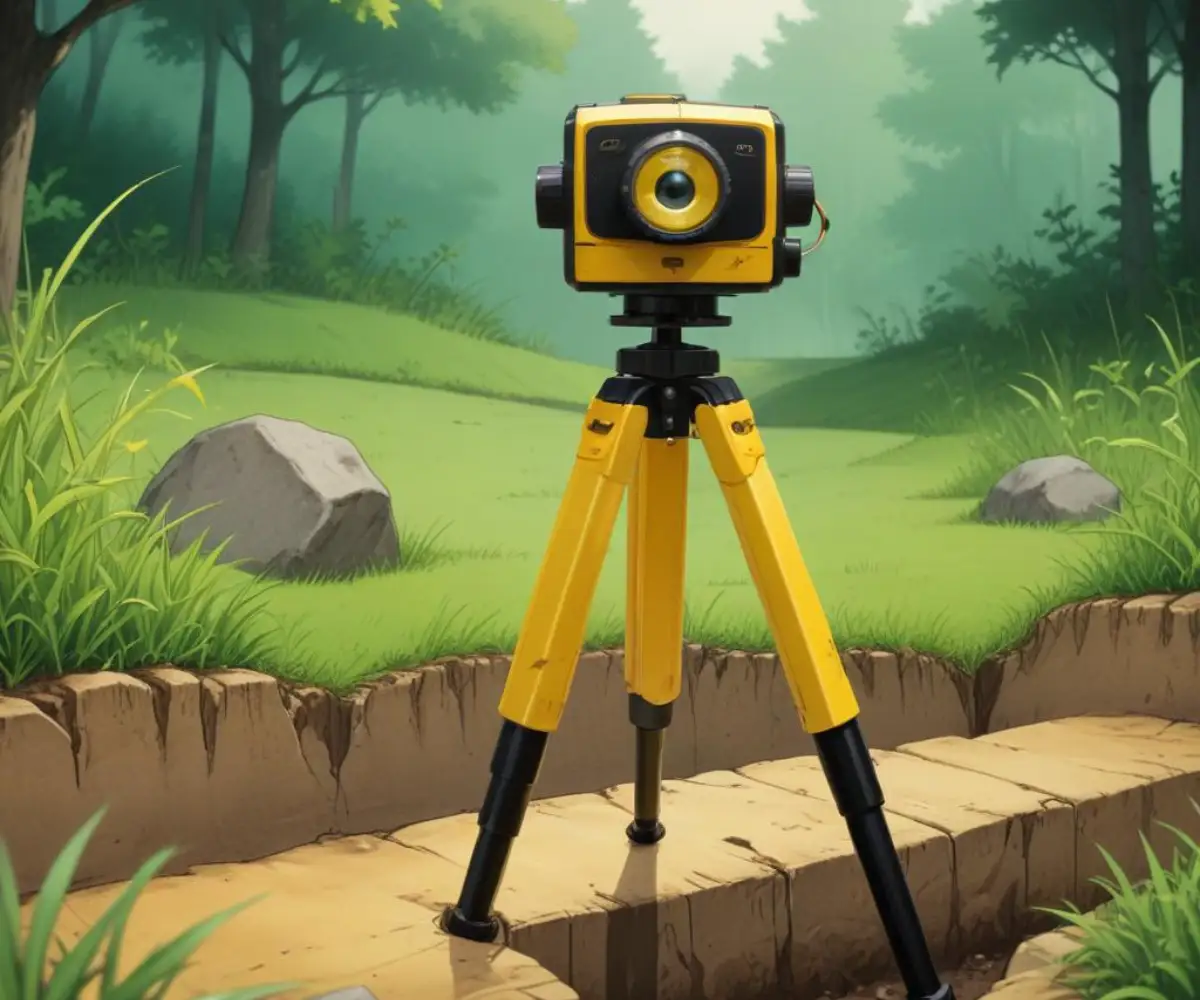
- Laser Level: For the most accurate and efficient results, a rotary laser level is the professional’s choice. It projects a perfectly level beam of light over a long distance, which can be used as a reference point for setting your slope.
While purchasing a high-quality laser level might seem like a significant expense, it’s a small price to pay for preventing thousands of dollars in water damage. When you consider other home improvement costs, the value becomes clear. If you’ve ever found yourself asking why are front doors so expensive, you’ll understand that investing in foundational, protective measures for your home offers incredible long-term value.
Step-by-Step Guide to Creating the Perfect Ditch Level
With your tools gathered, it’s time to create a drainage ditch that works. This step-by-step process will guide you from planning to completion, ensuring your project is a success.
Step 1: Plan the Path and Calculate the Slope
First, identify the source of the water problem and determine the best place to redirect it. This should be a lower point on your property, a street drain, or a dry well where the water can be safely discharged. Never direct water onto a neighbor’s property.
Once you have your start (highest point) and end (lowest point) locations, measure the total length of the planned ditch. Now, calculate the required total fall. For a 2% slope, you’ll need a drop of approximately 1/4 inch per foot. For example, a 40-foot ditch would require a total fall of 10 inches (40 feet x 0.25 inches/foot).
Step 2: Set Up a Grade Line
This is the most critical step for achieving the correct ditch level. Using a laser level is the easiest and most accurate method.
Using a Laser Level:
- Set up the laser level on a tripod at the starting point of the ditch. Turn it on and allow it to self-level.
- Have a helper place a leveling rod (or a simple wooden stake) at the end point of the ditch.
- Use the laser detector on the rod to find the “level” reading from the laser. Let’s say this reading is 48 inches.
- Based on your calculation from Step 1 (e.g., a 10-inch fall), you know the bottom of the ditch at the end point needs to be 10 inches lower than the start.
- You will use the laser as a consistent reference height. At the start of your ditch, your trench bottom might be 12 inches below the laser line. At the end of the ditch, it will need to be 22 inches below the laser line (12 inches + 10 inches of fall) to achieve the correct slope.
Using Stakes and String:
- Drive a stake into the ground at the starting point and another at the endpoint.
- Tie a string tightly to the stake at the starting point, close to the ground.
- Run the string to the endpoint stake and attach it loosely. Hang a line level in the center of the string.
- Adjust the string on the endpoint stake until the bubble in the line level is centered. The string is now perfectly level.
- Now, lower the string on the endpoint stake by the amount of your calculated total fall (e.g., 10 inches). This string now represents your desired 2% slope. You can add more stakes along the path to prevent the string from sagging.
Step 3: Excavate the Ditch
Begin digging along your marked path. Start by removing the top layer of sod, which you can set aside to replace later if desired. Use your trenching shovel and mattock to dig the channel.
The ideal shape for a drainage swale is a wide, shallow “U” shape rather than a sharp “V”. This shape is more stable, less prone to erosion, and blends more naturally into the landscape. A good rule is to make the ditch about three to four times wider than it is deep.
As you dig, constantly use your tape measure to check the depth from your grade line (the string or the laser beam’s reference height) to the bottom of the ditch. This ensures you maintain a consistent and accurate slope along the entire length.
Step 4: Refine and Finish the Ditch
Once the trench is fully excavated to the correct depth and slope, use a landscape rake to smooth the bottom and sides. Remove any loose rocks, roots, or clumps of dirt.
To enhance performance and longevity, you can line the ditch. A layer of filter fabric followed by gravel or river rock can help prevent erosion and keep the channel clear of debris. For areas with heavy water flow, installing a perforated drain pipe surrounded by gravel at the bottom of the trench (a French drain) is an excellent option.
Finally, you can blend the ditch into your landscape. You can plant grass along the gently sloped sides or add moisture-loving plants. A well-designed swale becomes a functional and attractive part of your yard’s overall aesthetic. A properly drained property significantly boosts curb appeal, which is just as important as your home’s entrance. While you might be focused on updates like figuring out how to get rid of sidelights front door to create a more modern look, don’t forget the foundational impact of good drainage on your home’s value and appearance.
Common Ditch Leveling Mistakes and How to Avoid Them
Even with a clear plan, mistakes can happen. Being aware of common pitfalls can help you avoid rework and frustration.
Mistake 1: The “Eyeball” Method. Trusting your eyes to set a proper grade is the most common mistake. A 2% slope is very subtle and nearly impossible to judge accurately without measurement tools.
Mistake 2: Inconsistent Slope. A ditch with high and low spots will create puddles, defeating its purpose. Regular depth checks against your grade line are crucial to ensure a smooth, consistent fall from start to finish.
Mistake 3: Disregarding Soil Type. Heavy clay soils drain poorly and may require a slightly steeper slope or the addition of a French drain. Sandy soils drain quickly but are more prone to erosion, so lining the ditch with rock or vegetation is highly recommended.
Mistake 4: Terminating Improperly. Your ditch must have a safe and effective place to release the water. Emptying it into a low spot in your yard or near your foundation simply moves the problem. Ensure the endpoint allows water to flow away freely.
Drainage Slope Quick Reference
Here is a simple table to help you visualize the required fall for your project. The most common and recommended slope for landscape ditches is 2%.
| Slope Percentage | Fall Ratio | Drop per 1 Foot | Drop per 50 Feet | Use Case |
|---|---|---|---|---|
| 1% | 1:100 | 1/8 inch | 6 inches | Minimum for some French drains and hard surfaces. |
| 2% | 1:50 | 1/4 inch | 12 inches (1 foot) | Ideal for grass swales and general yard drainage. |
| 3% | 1:33 | 3/8 inch | 18 inches (1.5 feet) | Good for areas with heavy runoff or less permeable soil. |
| 4% | 1:25 | 1/2 inch | 24 inches (2 feet) | Used for paved ditches or where faster flow is needed. |
When to Call a Professional
While digging a simple drainage swale is a manageable DIY project for many, there are situations where calling a professional landscape contractor or civil engineer is the wisest choice. If your property is on a steep slope, located near a bluff, has a septic system nearby, or you’re dealing with very large volumes of water, expert guidance is essential.
Professionals have the heavy equipment to handle large-scale jobs efficiently and the expertise to design complex drainage systems that comply with local regulations. They can ensure your ditch level is not only effective but also safe and sustainable for the long term.
By taking a methodical, measurement-based approach, you can conquer your yard’s drainage problems. Mastering the ditch level will protect your property, enhance its usability, and give you peace of mind the next time the storm clouds gather.