Counter-to-Sink Distance: The #1 Mistake Hiding in Your Kitchen
It’s a measurement so small it’s often overlooked during a chaotic kitchen renovation. Yet, the distance from the front edge of your counter to your sink can dictate your daily comfort, the cleanliness of your kitchen, and even the structural integrity of your cabinets. Get it wrong, and you could be facing chronic back pain, constant water splashes, and a damaged countertop that costs thousands to replace.
This single, critical dimension is one of the most significant ergonomic factors in any kitchen. An improperly placed sink forces you to lean forward unnaturally, putting strain on your back, neck, and shoulders every time you wash a dish or rinse a vegetable. This seemingly minor inconvenience accumulates over time, turning a place of creativity into a source of physical discomfort. Beyond the pain, it’s a functional nightmare that can make you regret your design choices every single day.
You'll Learn About
Why This Small Gap Creates Such a Big Problem
The issue stems from a conflict between aesthetics, structural necessity, and human comfort. Homeowners often don’t know to specify this distance, and installers may default to a measurement that is easier for fabrication but terrible for ergonomics. The result is a sink set too far back, creating a cascade of problems that are difficult and expensive to fix after the countertop is cut and installed.
A sink positioned more than four inches from the counter’s edge forces most users into an awkward hunch. This posture doesn’t just cause back pain; it also means water inevitably splashes onto the strip of countertop in front of the sink. This constant moisture can degrade the sealant, seep into the seams of stone countertops, or cause the core of laminate counters to swell and delaminate over time. Even worse, water can drip down the cabinet face, ruining the finish and potentially leading to mold growth inside the sink base cabinet.
Furthermore, the structural integrity of the countertop itself is at stake. The thin strip of stone or composite material in front of the sink, often called the “front rail,” is the weakest point. If this rail is too narrow, it’s susceptible to cracking from impacts or even stress from the weight of the sink itself. A fabricator might leave it wider for safety during transport and installation, inadvertently creating a long-term ergonomic problem for the homeowner.
The Golden Rule: Finding the Perfect Sink Placement
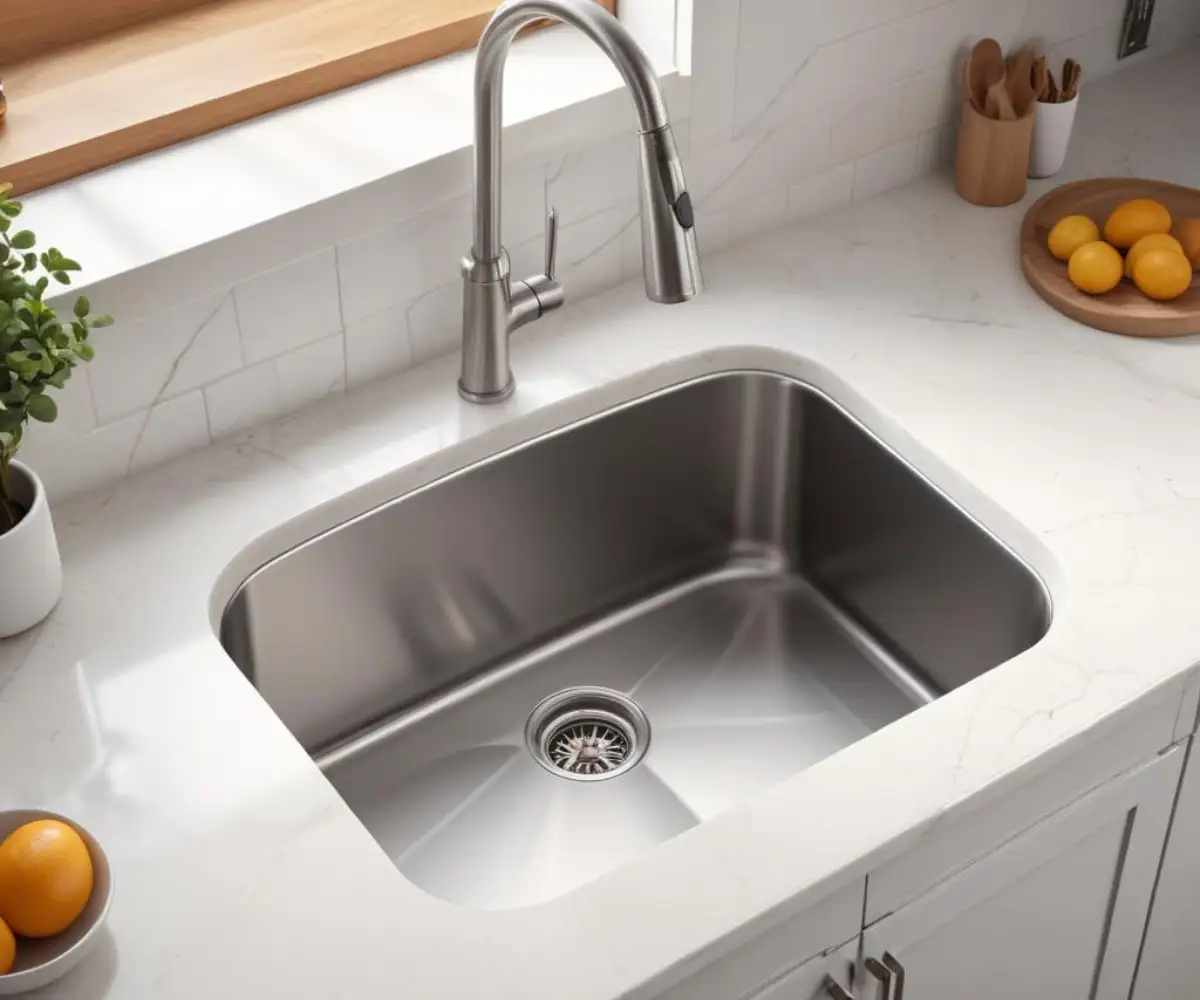
For most standard kitchen sinks, including undermount and drop-in models, the ideal distance from the front edge of the countertop to the inside edge of the sink basin is between 3 and 4 inches. This range is the sweet spot that balances ergonomics, structural support for the counter, and sufficient space to prevent water damage.
Placing the sink within this zone allows you to stand comfortably, with your core engaged and your arms reaching the bottom of the basin without straining your back. It minimizes the amount you have to lean, which is the primary cause of discomfort. This positioning also helps contain splashes within the sink bowl, keeping your clothes and the surrounding counter dry and clean.
However, this “golden rule” is not absolute. The perfect measurement depends on several critical factors, including the type of sink you choose, the countertop material, and even your own height. Understanding these variables is key to customizing your kitchen for optimal comfort and longevity.
Decoding the Distance for Different Sink and Counter Types
Not all sinks and countertops are created equal. The material of your counter dictates how thin the front rail can safely be, while the style of your sink fundamentally changes its relationship with the counter’s edge. Consulting your sink’s installation template is the first and most crucial step, but understanding the general principles is equally important.
For instance, a heavy fireclay undermount sink in a granite countertop requires a robust front rail to prevent cracking. In contrast, a lightweight stainless steel drop-in sink in a laminate counter has different support needs. Below is a detailed breakdown of how to approach this critical measurement for various combinations.
| Sink Type | Countertop Material | Recommended Front Edge Distance | Key Considerations |
|---|---|---|---|
| Undermount Sink | Granite, Quartz, Stone | 3.5 to 4 inches | The front rail must be wide enough to prevent cracking during fabrication and transport. Never go below 3 inches. |
| Drop-In (Top-Mount) | Laminate, Butcher Block | 3 to 4 inches | Ensures the countertop core is protected from water. The sink’s lip provides some structural support. |
| Farmhouse (Apron Front) | Any Material | 0 to 0.5 inches (Overhang) | The sink front sits forward, eliminating the front counter rail. Focus is on proper cabinet support. |
| Integrated Sink | Solid Surface, Concrete | 3.5 to 4.5 inches | Placement is determined during fabrication. Ergonomics should be discussed with the fabricator beforehand. |
Factors That Bend the Rules: Beyond the Standard Measurement
While the 3-to-4-inch rule is a reliable starting point, several factors can and should influence the final placement. A truly ergonomic and functional kitchen considers the specific components and the people who will be using it. Ignoring these nuances is how well-intentioned designs end up being uncomfortable in practice.
The Sink Itself: Type and Design Matter
The style of your sink is the biggest variable. A farmhouse or apron-front sink, for example, is designed to be pulled forward, with its front apron sitting just proud of the surrounding cabinetry. This design is inherently ergonomic because it reduces the distance between you and the basin to zero.
Conversely, undermount sinks require careful consideration of the “reveal”—the amount of the sink’s rim that is exposed by the countertop cut. A “negative reveal,” where the countertop overhangs the sink edge, can make cleaning easier but slightly increases the reach. A “positive reveal,” where the rim is visible, does the opposite. When deciding on the reveal, also consider its impact on the overall distance from the counter’s front edge.
For those considering a more specialized option, the features of different models can play a role. For example, some homeowners weigh the workstation sink pros and cons, where the built-in ledge for accessories might influence optimal placement for ease of use.
Countertop Material: Strength vs. Weakness
The type of material you choose for your countertop has a direct impact on the minimum allowable distance. Natural stones like granite and marble, as well as engineered quartz, are strong but can be brittle. The strip of stone in front of the sink cutout is highly vulnerable to stress fractures, especially during shipping and installation. Most fabricators will insist on a minimum front rail of 3.5 to 4 inches to maintain the warranty and ensure a stable installation.
Materials like solid surface or butcher block offer more flexibility. However, with wood countertops, you must be vigilant about sealing the area around the sink to prevent water damage. Laminate countertops are the most vulnerable to water, so ensuring a proper seal and appropriate distance is critical to prevent the particleboard substrate from swelling.
The Unseen Limiter: Your Sink Base Cabinet
What lies beneath the counter is just as important. The sink must fit within the confines of the sink base cabinet. The front wall of the cabinet box itself creates a natural limit to how far forward the sink can be placed. While a standard cabinet allows for the optimal 3-to-4-inch placement, custom or oddly sized cabinets can pose a challenge.
Moreover, consider the hardware inside. If you have a tilt-out tray for sponges at the front of your sink base, this mechanism will require space, potentially forcing the sink further back. Always account for these interior components before finalizing the countertop template.
Ergonomics for You: Personal Height and Reach
Standard measurements are based on the “average” person, but you should design your kitchen for your body. Taller individuals may find a sink set slightly further back (around 4.5 inches) perfectly comfortable. Conversely, shorter individuals will benefit immensely from pushing the sink as close to the 3-inch minimum as the material allows.
The best way to determine your personal sweet spot is to create a mockup. Visit a showroom or use a large piece of cardboard at home to simulate your countertop. Place a box or your actual sink on it at varying distances from the edge and mimic the motions of washing dishes. This simple test will provide invaluable feedback on what feels most natural and comfortable for you, preventing years of potential back pain.
ADA Compliance: Designing for Accessibility
When designing a kitchen for users with mobility challenges, the standard rules change. The Americans with Disabilities Act (ADA) provides guidelines to ensure spaces are accessible to everyone. For kitchen sinks, this means creating enough clear floor space for a wheelchair to approach and providing adequate knee clearance under the sink.
ADA guidelines require the sink to be mounted no higher than 34 inches from the finished floor. Critically, there must be knee clearance underneath that is at least 27 inches high and 30 inches wide. This often necessitates an exposed plumbing configuration with insulated pipes to prevent burns and a shallower sink bowl, typically no deeper than 6.5 inches. In these designs, the distance from the front edge of the counter is often minimized to improve reach from a seated position.
Actionable Steps to Guarantee the Perfect Placement
Ensuring the correct sink distance is about proactive planning and clear communication. Don’t leave this crucial detail to chance. Follow these steps to take control of the process and achieve a result that is both beautiful and blissfully comfortable.
Step 1: Always Start with the Template
Your new sink will come with a paper or cardboard template and a detailed specification sheet. This is your most important document. It provides the exact cutout dimensions and often includes the manufacturer’s recommended minimum and maximum distance from the counter’s edge. Bring this template to every meeting with your kitchen designer and countertop fabricator.
Step 2: Communicate Clearly with Your Fabricator
Never assume your fabricator knows your ergonomic preferences. During the templating appointment—when they create the final pattern for your countertop—be present and explicit about where you want the sink placed. Use a marker to indicate the desired distance on the template itself and have them confirm it in writing.
Discuss the limitations of your chosen countertop material with them. Ask about the minimum front rail width they recommend to maintain the warranty. This collaborative conversation ensures that your desired placement is both comfortable for you and safe for the material.
Step 3: Consider the Complete Kitchen Layout
The sink’s position affects the entire kitchen workflow. It’s a key point in the classic “kitchen triangle” of sink, stove, and refrigerator. In modern kitchens, it’s part of a larger system of work zones. Ensure that its placement provides adequate landing space on either side for dirty and clean dishes.
A poorly located sink can create other design headaches. For instance, if you’re wrestling with the challenge of a sink and stove on the same wall, the spacing between them becomes critical for both safety and usability. Getting the sink’s distance from the front edge right ensures the rest of your layout isn’t compromised.
A Small Detail with a Lasting Impact
The distance from the front edge of your counter to your sink is a testament to the idea that in kitchen design, inches matter. It’s a measurement that directly impacts your physical well-being, the longevity of your investment, and the daily joy you find in your kitchen. By understanding the principles of ergonomics, material limitations, and clear communication, you can avoid this common mistake.
Don’t let a few inches lead to years of discomfort or costly repairs. Take the time to plan, measure, and communicate. Your back, your cabinets, and your beautifully functional kitchen will thank you for it.