Dirt in Bottom of Washing Machine? The Gross Truth & Your Fix
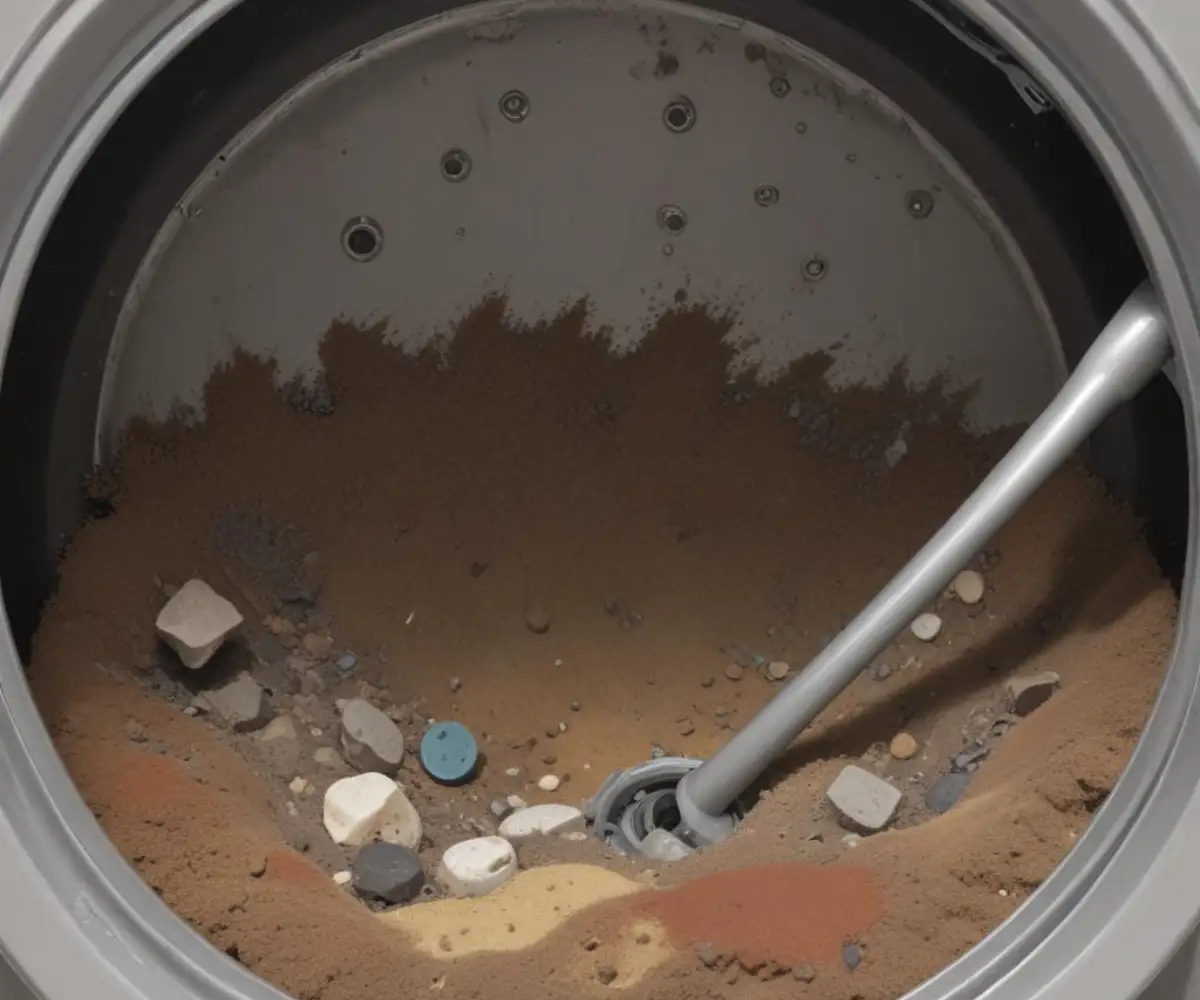
You pull a load of laundry out of the washer, expecting fresh, clean clothes. Instead, you find them flecked with mysterious dirt, grime, or black specks. Looking inside, you see it: a layer of gunk and dirt in the bottom of the washing machine drum. It’s a frustrating and frankly disgusting problem that defeats the entire purpose of your appliance.
This buildup isn’t just unsightly; it can lead to foul odors, permanently dingy clothes, and even become a breeding ground for bacteria. Before you resign yourself to dirty laundry, understand that you can fix this. We’ll dive into the hidden causes of this grime and provide a step-by-step guide to restore your machine to its pristine, clean state.
You'll Learn About
Why Is There Dirt and Grime in Your Washing Machine?
That mysterious gunk at the bottom of your washer doesn’t appear out of nowhere. It’s typically a combination of several culprits that build up over time, creating a stubborn residue that clings to the drum and redeposits onto your clothes.
The Usual Suspects: Detergent & Fabric Softener Buildup
It sounds counterintuitive, but the very products meant to clean can be a primary source of the problem. Using too much detergent or fabric softener is a leading cause of buildup. Modern high-efficiency (HE) washers require only a small amount of specialized HE detergent. When you use too much, or use a non-HE formula, the machine can’t rinse it all away. This excess soap combines with body oils and dirt from your clothes, creating a slimy, waxy residue often called “scrud.”
Hard Water Havoc: Mineral Deposits
If you live in an area with hard water, your water contains high levels of minerals like calcium and magnesium. These minerals can react with your detergent, reducing its effectiveness and leading to soap scum. Over time, these mineral deposits, known as limescale, build up on the heating element and the inner workings of your washer, eventually flaking off and settling as dirt at the bottom of the drum.
Lint, Fibers, and Debris: The Unseen Stowaways
Every time you wash clothes, they shed tiny fibers and lint. While much of this is caught by the lint filter (if your machine has a cleanable one), a significant amount can get past it. This lint, along with dirt, hair, and other debris from your clothes, can accumulate in the drum, hoses, and pump, contributing to the overall sludge.
The Gross Truth: Mold, Mildew, and Bacteria
Your washing machine’s warm, damp environment is a perfect breeding ground for mold, mildew, and bacteria. This is especially true for front-loading machines, where water can pool in the rubber door gasket. This biofilm feeds on soap residue and can appear as black, slimy flakes or create a persistent musty odor that transfers to your laundry.
A Clogged or Failing Part?
Sometimes, the issue isn’t just about cleaning habits but a mechanical problem. A clogged drain pump filter can prevent the machine from draining dirty water effectively, causing grime to settle back into the drum. In some cases, a malfunctioning washing machine check valve could be to blame, allowing dirty water from the drain to flow back into the appliance.
Your Step-by-Step Guide to a Spotless Washing Machine
Restoring your washer to its former glory is easier than you think. This deep-cleaning process uses common household items to break down grime, kill bacteria, and flush the system completely. Follow these steps for both top-loading and front-loading machines.
Step 1: Gather Your Cleaning Arsenal
You don’t need expensive commercial cleaners. All you need is: distilled white vinegar and baking soda. You will also want a clean microfiber cloth and an old toothbrush or scrub brush for detailed work.
Step 2: The First Cleaning Cycle – White Vinegar
First, make sure the washing machine is completely empty. For a top-loading machine, set it to the hottest and largest load setting. As it fills with water, pour in four cups of white vinegar. For a front-loading machine, add two cups of vinegar directly into the drum. Run the complete cycle. The acidic vinegar will work to dissolve soap scum and mineral deposits.
Step 3: The Second Cleaning Cycle – Baking Soda
Once the vinegar cycle is finished, it’s time for the baking soda. Sprinkle one cup of baking soda directly into the drum for a top-loader, or a half-cup for a front-loader. Run another hot, long cycle. Baking soda helps to neutralize odors and scrub away any remaining residue that the vinegar loosened.
Step 4: Manually Scrub the Drum, Gasket, and Dispensers
After the cycles are complete, inspect the machine. Use a cloth dipped in a vinegar-water solution to wipe down the entire inside of the drum. For front-loaders, pay special attention to the rubber door seal; gently pull it back and clean all the crevices where mold and grime love to hide. Use an old toothbrush to scrub the detergent and fabric softener dispensers, which are often coated in buildup.
Step 5: Clean the Filter
Many modern washing machines have a small door on the lower front panel that houses the pump filter. Place a shallow pan and a towel underneath, as some water will spill out. Carefully unscrew the filter, remove any trapped lint, hair, or objects, and wash it thoroughly before replacing it. Cleaning this filter is crucial for proper draining and preventing future buildup.
Deeper Dive: Tackling Stubborn Grime and Odors
Sometimes, a vinegar and baking soda wash isn’t enough to tackle years of neglect. If you’re still dealing with stubborn residue or a persistent musty smell, you may need to bring in stronger agents or focus on specific problem areas.
When to Use Bleach or Commercial Cleaners
If you have significant mold or mildew, a bleach cycle may be necessary. Never mix bleach and vinegar, as this creates toxic chlorine gas. Run a hot cycle with one cup of bleach after you have thoroughly rinsed the machine of any vinegar. Alternatively, you can use a commercial washing machine cleaner like Affresh, which is designed to dissolve residue in hard-to-reach places.
Don’t Forget the Hidden Parts
The gunk you see is often just the tip of the iceberg. Sludge can build up in the hoses and behind the drum. While taking apart your machine is a job for a professional, running monthly cleaning cycles helps keep these hidden areas clearer. Ensuring your water inlet filters are clean can also prevent sediment from entering the machine in the first place.
Prevention is Key: How to Keep Your Washer Permanently Clean
Once your machine is sparkling clean, you’ll want to keep it that way. Adopting a few simple habits can prevent the dirt from ever coming back, ensuring your appliance runs efficiently and your clothes stay truly clean. A well-maintained machine is a cornerstone of a well-maintained home, just as important as knowing the right paint for a project after checking a Behr Pro vs Premium Plus comparison.
| Maintenance Task | Frequency | Why It’s Important |
|---|---|---|
| Run a Cleaning Cycle | Once a month | Prevents the gradual buildup of detergent, minerals, and biofilm. |
| Clean the Pump Filter | Every 3-4 months | Ensures proper drainage and removes trapped debris that causes odors. |
| Wipe Down the Door/Gasket | After each wash day | Stops mold and mildew from growing in front-loaders. |
| Leave the Door Ajar | Always between washes | Allows the drum to air dry completely, preventing a damp environment for bacteria. |
| Use the Right Detergent | Every wash | Prevents the soap scum and residue that forms the base layer for grime. |
Use High-Efficiency (HE) Detergent in the Right Amount
This is the most critical step. Always use a detergent formulated for HE machines and measure it carefully. The fill lines on the cap are often more than you need for a typical load. Using less detergent is one of the most effective ways to prevent the buildup that leads to dirt and grime.
Leave the Door Ajar After Each Wash
After you unload your laundry, leave the washing machine door or lid open. This allows air to circulate and the drum to dry out completely. A dry machine is an inhospitable environment for mold and mildew.
Consider a Simpler Machine
If you’re constantly battling complex cycles and electronic sensors that contribute to buildup issues, you might find relief with a more straightforward appliance. Exploring the best non computerized washing machines can offer a return to basics, focusing on robust cleaning power without the sensitive electronics that can sometimes complicate maintenance.
When to Call a Professional
If you’ve performed a deep clean and are still finding dirt on your clothes, or if you hear strange noises, it may be time for a service call. A technician can inspect for worn-out parts like bearings, which can release grease, or diagnose a failing drain pump. Persistent issues often point to a problem beyond simple cleaning.
A Clean Machine for Cleaner Clothes
Finding dirt in the bottom of your washing machine is a clear sign that it’s time for a deep clean. By understanding the causes—from detergent buildup to hard water and mold—you can effectively tackle the problem at its source. Regular maintenance is the key to preventing its return, ensuring your washing machine does its job effectively for years to come.