Dirt Under Your Baseboards? Here’s the Shocking Cause
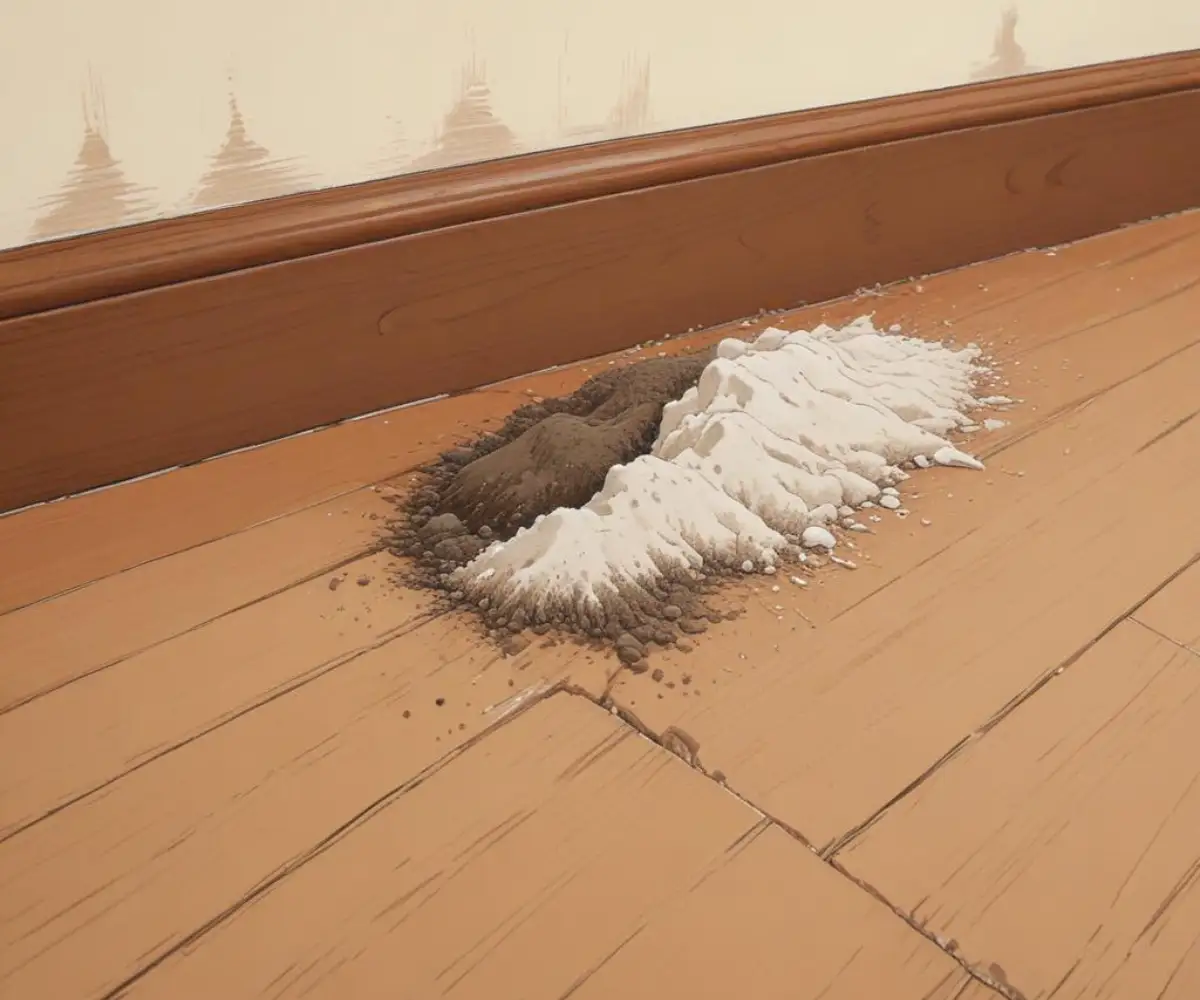
You clean your floors meticulously, vacuuming and mopping right up to the edges. Yet, a few days later, you notice it—a fine line of dark dirt, dust, or sand mysteriously reappearing along the baseboards. It’s a frustrating problem that can make even the cleanest home feel perpetually dirty.
If you’re tired of cleaning the same mysterious grime, you’re not alone. This is a common homeowner complaint, and the solution is often simpler than you think. Understanding the root cause is the first step to eliminating this persistent problem for good.
You'll Learn About
Why Is Dirt Coming in Under My Baseboards? Uncovering the Culprits
That persistent line of dirt is more than just an eyesore; it’s a symptom of underlying issues in your home. From air leaks to pests, several culprits could be to blame. Identifying the specific cause is crucial for applying the right fix.
The Primary Suspect: Air Leaks and Pressure Differences
The most common reason for dirt accumulating under baseboards is air movement. Tiny, often invisible gaps between your baseboard and the floor, or the baseboard and the drywall, create a pathway for air to travel. This happens due to differences in air pressure between the inside of your home and the space within your walls or beneath your floor.
Your HVAC system plays a big role in this. When it runs, it creates pressure changes that can pull air from crawlspaces, basements, or wall cavities. This air carries fine particles of dust, soil, insulation, and other debris with it, depositing them in a neat line right at the gap—a phenomenon sometimes called “filtration soiling.”
Structural Gaps: An Open Invitation for Debris
Over time, houses settle and building materials expand and contract. This natural process can create small gaps where the bottom of the drywall doesn’t meet the subfloor perfectly. Baseboards cover this joint, but they don’t always seal it completely.
These gaps are a direct entry point for dust from the wall cavity or below the floor. On exterior walls, this problem can be more pronounced, as the sill plate (the bottom of the wall frame) may not sit perfectly sealed against the foundation, allowing outside air and debris to enter.
Unwanted Tenants: Pest Activity
Sometimes, the “dirt” isn’t dirt at all. It could be evidence of insects. Certain types of ants, like Carpenter ants or Big Headed Ants, are known for excavating soil and wood dust as they build their nests inside walls.
This debris, known as “frass,” often looks like fine sawdust or coarse dirt and gets pushed out from behind baseboards. If you notice the debris is localized to one area and seems to reappear quickly no matter how often you clean, it’s wise to consider a potential pest problem.
HVAC System Issues: Your Home’s Lungs
Your heating and cooling system circulates air throughout your entire home. If the ductwork is dirty or has leaks, it can pick up dust from your attic or crawlspace and distribute it. Sometimes, this dusty air finds its way out through gaps at the floor and wall junction.
An inefficient or poorly maintained system can also contribute to the pressure imbalances that pull dirt in from outside. In some cases, improving your home’s heating and cooling, perhaps considering an upgrade to a more efficient system like a mini-split, can help alleviate these pressure issues. If you think your system might be the problem, it might be time to replace central AC with mini split options.
Your Step-by-Step Guide to Stop Dirt Infiltration for Good
Now that you know the potential causes, it’s time for action. Follow these steps to diagnose and solve the problem, creating a cleaner, healthier, and more energy-efficient home.
Step 1: Inspect and Identify the Source
First, get on your hands and knees and take a close look at the affected areas. Use a flashlight to examine the gap between the baseboard and the floor. Is it a consistent, small gap, or are there larger, more obvious openings?
Note which walls are affected. Is the dirt appearing along exterior walls, interior walls, or both? Exterior walls often point to air leaks from the outside, while interior walls might suggest issues with pests or air circulation between rooms or floors.
Step 2: A Deep and Thorough Cleaning
Before you can seal anything, you must start with a perfectly clean slate. Use a vacuum with a crevice tool to suck up all the loose dirt from the gap under the baseboard. Go over the area several times to ensure you remove as much debris as possible.
After vacuuming, wipe the baseboards and the adjacent floor area with a damp microfiber cloth. This will remove any remaining fine dust and prepare the surface for sealing. Make sure the area is completely dry before proceeding to the next step.
Step 3: The Most Crucial Step—Sealing the Gaps
Sealing the gaps is the single most effective way to stop dirt infiltration. For small, consistent gaps between the baseboard and the floor or the wall, a high-quality, paintable caulk is your best friend. Applying a clean bead of caulk creates an airtight seal that blocks both air and debris.
Properly sealing these gaps is a foundational skill for any homeowner. For a perfect, professional-looking finish, check out our guide on caulk sealing secrets. This will not only stop the dirt but also prevent drafts, improving your home’s energy efficiency.
Step 4: Consider Pest Control Measures
If you suspect the debris is frass from insects, sealing the gap might not be enough. You may trap the pests inside your walls, where they could cause more significant structural damage. Look closely at the debris for insect body parts.
If you see signs of pests, it’s best to place ant baits or contact a professional exterminator. Once the pest problem is resolved, you can then proceed with sealing the gaps to prevent future infestations.
Tools and Materials for a Permanent Fix
Having the right supplies on hand will make this project quick and effective. Most of these items are readily available at any hardware store.
| Tool/Material | Purpose | Pro Tip |
|---|---|---|
| Vacuum with Crevice Tool | Removing all loose dirt and debris from the gap. | Use a shop vac for stronger suction if you have one. |
| Microfiber Cloths | Wiping down the area for a clean, dust-free surface. | Use one damp cloth to clean and a second dry one to ensure the area is ready for caulk. |
| Utility Knife | Cutting away old, failed caulk or paint drips. | Keep the blade shallow to avoid scoring the baseboard or floor. |
| Paintable Caulk | Creating a permanent, airtight seal. | Choose a caulk with some flexibility to accommodate natural expansion and contraction. |
| Caulking Gun | Applying the caulk evenly and with control. | A dripless model is worth the small extra cost to minimize mess. |
| Painter’s Tape | Creating a clean, straight caulk line. | Apply tape to both the floor and the baseboard, leaving only the gap exposed. Remove it while the caulk is still wet. |
When DIY Isn’t Enough: Calling in the Pros
While sealing gaps under baseboards is a very manageable DIY project, some related issues require professional expertise. Knowing when to call for help can save you time and prevent bigger problems down the road.
Signs of a Larger Structural Problem
If you find large, irregular gaps under your baseboards, or if you notice your floors are slanting or your walls are cracking, these could be signs of foundation issues. In such cases, simply sealing the gap is a temporary fix for a much larger problem. A structural engineer or foundation specialist should be consulted.
In some complex renovation situations, you may need to address issues behind the wall itself. This might involve removing trim and other components. For example, understanding tasks like stair skirt board removal can provide insight into how different parts of your home’s structure are interconnected, though it’s a more advanced project.
Persistent Pest Infestations
If you’ve tried baits and the pest evidence continues to reappear, it’s time to call a professional exterminator. They have the tools and expertise to identify the type of pest and the extent of the colony, and they can apply treatments that are more effective and safer than many consumer-grade products.
Your Clean Home Awaits
That frustrating line of dirt under your baseboards doesn’t have to be a permanent feature of your home. By identifying the cause—most likely air leaks through small gaps—and taking the time to properly clean and seal the area, you can put a stop to the endless cycle of cleaning.
A simple bead of caulk is often all it takes to block the pathway for dust, debris, and drafts. You’ll not only enjoy a visibly cleaner home but also benefit from improved energy efficiency and a healthier indoor environment. Take control of the grime and enjoy the lasting satisfaction of a truly clean space.