Digging Near Your Foundation? A Mini Excavator Mistake Could Cost You Thousands
You have a problem. Your basement walls are leaking, or your foundation needs critical repairs. The quote from a professional excavation company is staggering, and the thought of saving thousands by renting a mini excavator and doing it yourself is incredibly tempting.
But digging around the very structure that holds up your entire home is not like digging a garden bed. One wrong move—one scoop too deep or too close—can turn a money-saving DIY project into a catastrophic failure, potentially leading to structural collapse and repair bills that dwarf the original quote.
This guide will walk you through the high-stakes process of using a mini excavator around your foundation. We’ll cover the hidden dangers that most rental guides leave out and provide a framework for doing the job safely and effectively, so you can solve your foundation problem without creating a much bigger one.
You'll Learn About
Why a Mini Excavator is a Game-Changer (And When to Walk Away)
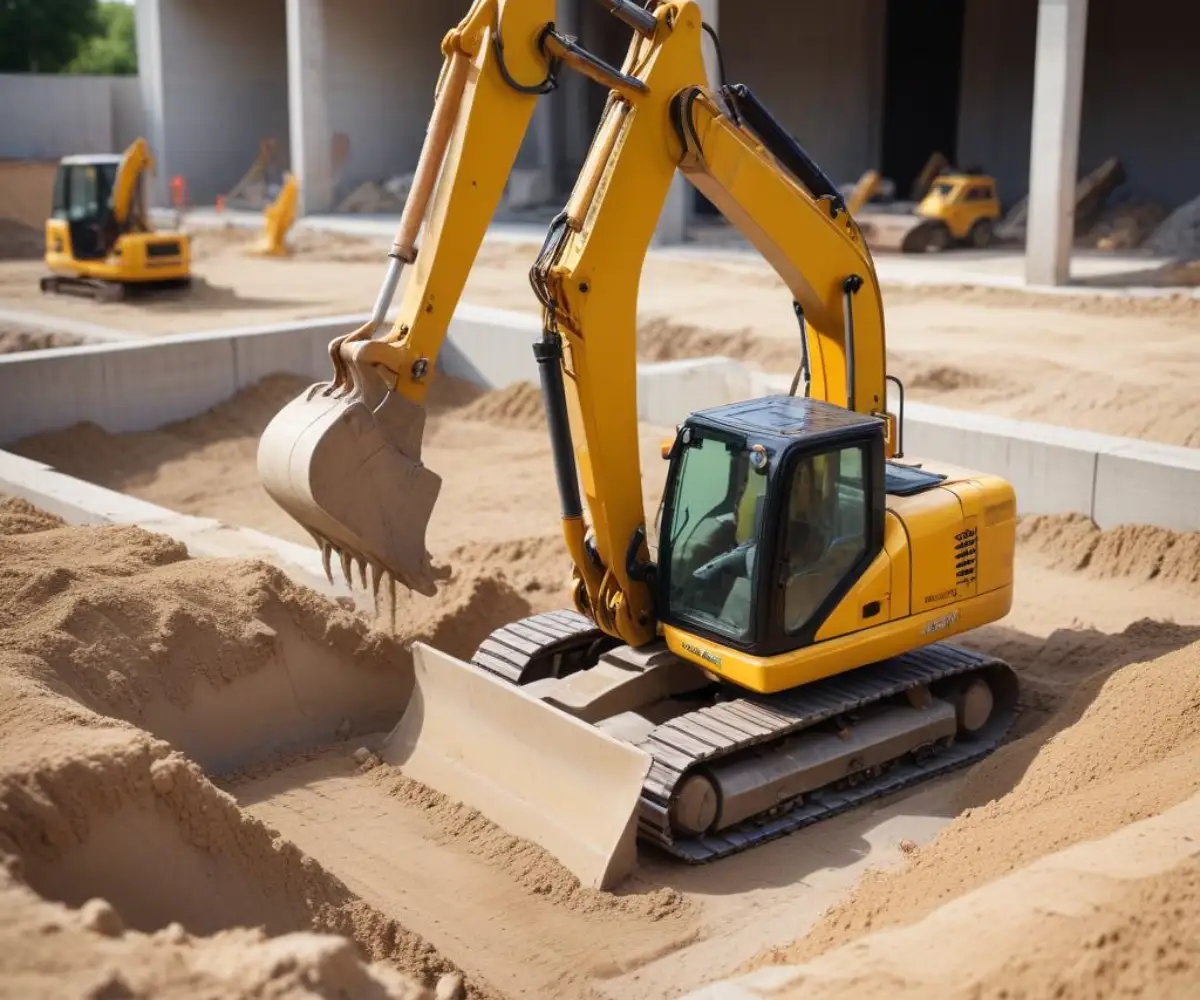
For tasks like waterproofing an exterior foundation wall or installing a perimeter drain, a mini excavator is undeniably the right tool. It offers a powerful combination of speed and precision that hand-digging simply cannot match, turning a week-long, back-breaking job with shovels into a weekend project.
However, this power demands respect and skill. If your home has significant, pre-existing structural cracks, is built on very loose or sandy soil, or if the excavation area is tightly confined by property lines and other buildings, it is often wiser to hire a professional. The risks in these situations are significantly higher and require an expert’s judgment.
The Critical Pre-Digging Checklist: Your Foundation’s Lifeline
Before the machine even arrives in your driveway, a series of crucial checks must be completed. Skipping any of these steps is gambling with the safety of your property and anyone on it. Preparation is everything in a job with zero margin for error.
Call 811 Before You Dig: The Non-Negotiable First Step
This is not a suggestion; it’s a requirement in every state. Dialing 811 connects you to the local utility locating service. They will send technicians to your property to mark the approximate location of all buried utility lines, including gas, water, electric, and communications cables.
A severed utility line is not just an inconvenience; it can be lethal. Hitting a gas line could cause an explosion, and striking a high-voltage electrical line can be fatal. The service is free, so make the call a few days before you plan to start work.
Permits and Local Regulations: Don’t Get Fined
Many municipalities require a permit for any excavation work, especially when it’s adjacent to a home’s foundation. The permit process isn’t just red tape; it ensures that your project plans are reviewed for safety and compliance with local building codes.
Check with your local building department to understand the requirements. Attempting to do this work without a necessary permit can result in hefty fines and stop-work orders, forcing you to leave your foundation exposed and vulnerable while you sort out the paperwork.
Choosing the Right Machine: Size and Specs Matter
Renting the wrong size mini excavator can make the job impossible or infinitely more dangerous. A machine that is too large can be difficult to maneuver and may exert too much ground pressure near your foundation. A machine that is too small may not have the reach or power to dig to the required depth safely.
Consider the machine’s operating weight, dig depth, and tail swing. Zero-tail-swing models are ideal for working in tight spaces against a wall, as they reduce the risk of accidentally hitting the house when you rotate the cab. Always discuss your specific project with the rental company to get their expert recommendation.
| Mini Excavator Class | Operating Weight (Approx.) | Max Dig Depth | Best For |
|---|---|---|---|
| Micro Excavator | 1-2 Tons | 5-7 feet | Very tight access; shallow trenching for utilities or small drainage projects. |
| Mini Excavator | 3-5 Tons | 8-12 feet | Ideal for most residential foundation work, offering a good balance of power and size. |
| Midi Excavator | 6-10 Tons | 12-15+ feet | Deeper basements or larger commercial projects; may be too heavy for residential use. |
The Silent Dangers: What Can Go Wrong When Digging Near a Foundation?
The primary danger isn’t just hitting the foundation with the bucket. The most serious risks come from upsetting the delicate balance of pressure in the soil that supports your home. Understanding these forces is key to preventing a disaster.
Foundation Collapse: The Ultimate Nightmare Scenario
The soil next to your foundation isn’t just filler; it exerts an inward pressure that helps support the wall. When you remove that soil, you remove that support. This can cause the wall to bow inwards or even collapse, especially if the soil is already saturated with water.
Furthermore, the weight of your home is transferred through the foundation into the soil beneath it at a specific angle, often called the “angle of repose.” Digging below the level of your foundation footings is extremely dangerous and can undermine the very ground that supports your entire house. This can lead to catastrophic settlement or structural failure.
Water Damage and Drainage Disasters: Creating New Problems
Improper excavation can completely destroy your home’s existing drainage system. You might sever weeping tile, crush solid drain pipes, or alter the grading in a way that directs water *toward* your foundation instead of away from it.
The goal of many foundation excavation projects is to improve water management, not make it worse. This is why understanding advanced solutions is so important; for example, investigating if a modern system is right for your project can prevent future headaches. Some homeowners even struggle with what seems like a simple problem, like figuring out if they need a complex drainage solution, when the real issue is just improper grading.
The Weight of Your Spoil Pile: A Hidden Threat
One of the most overlooked dangers is the excavated soil itself, known as the “spoil pile.” Piling tons of heavy dirt too close to the edge of your trench adds a massive surcharge load to the surrounding soil. This immense pressure can be the tipping point that causes the trench wall to collapse, potentially trapping a worker or compromising the foundation itself.
The spoil pile must be placed a safe distance from the excavation edge. As a rule of thumb, this distance should be at least as far back as the trench is deep. This simple practice dramatically increases the stability and safety of the worksite.
Step-by-Step Guide to Safely Digging Around Your Foundation
With the risks understood and the prep work done, it’s time to focus on the execution. A methodical, patient approach is your best defense against accidents. Rushing this process is a recipe for disaster.
Step 1: Mark Your Territory and Protect the Property
Before starting the engine, use marking paint or flags to clearly outline your entire digging area. Re-confirm the utility markings from your 811 call. Lay down sheets of plywood to create a path for the mini excavator, which will protect your lawn and landscaping from being destroyed by the machine’s tracks.
Step 2: The First Cut – Start Away from the Wall
Never begin by digging directly against the foundation wall. Your first pass should be several feet away from the wall, creating a shallower “bench” or step in the terrain. This staged approach relieves pressure gradually and provides a more stable trench as you get deeper.
Work in small, manageable sections. It is extremely unwise to excavate the entire length of a foundation wall at once, as this leaves it unsupported for a dangerous amount of time. Dig, repair, and backfill one section before moving on to the next.
Step 3: The Art of Precision Digging Close to the Wall
As you approach the foundation wall, your movements must become slow and deliberate. Use the excavator to remove the bulk of the soil, but plan to leave the last 6-12 inches to be removed carefully by hand with a shovel. This is the only way to avoid scraping, gouging, or impacting the wall and its waterproofing membrane.
Position the machine so you have a clear, unobstructed view of the bucket and the foundation at all times. Use a spotter if your view is ever compromised. The final layer of soil against the wall is often removed with hand tools to ensure no damage occurs to the structure itself.
Step 4: Shoring and Bracing (When It’s Absolutely Necessary)
If your trench is deeper than five feet or the soil is unstable, you may be legally required by OSHA regulations to use a shoring system. Shoring involves building a temporary support structure inside the trench, typically with heavy plywood and hydraulic or timber braces, to prevent the walls from caving in.
Shoring is a complex topic and a sign that your project may have crossed into professional territory. If you find yourself needing to shore up a deep trench, it is a good time to pause and consider consulting with a structural engineer or professional excavation contractor.
After the Dig: Backfilling and Compaction Done Right
The job isn’t over once the trench is open. How you put the dirt back is just as critical as how you took it out. Improper backfilling is the leading cause of new leaks and foundation problems.
Why Proper Backfilling is as Critical as Digging
Simply dumping all the excavated soil back into the trench creates a loose, uncompacted zone around your foundation. This loose soil will absorb water like a sponge and will settle significantly over time, leading to a sunken area around your house that funnels water directly against your newly repaired walls.
This settlement can cause all sorts of related issues, from a frustrating dip at the end of your driveway to cracking in walkways. It can even make the ground so unstable that you have to completely redo exterior features, like when you need to build a new concrete pad outside a door because the old one has sunken and cracked.
The Compaction Process in Lifts
The professional method is to backfill in “lifts.” This means adding the soil back in thin layers of 6 to 8 inches at a time. After each lift is added, it must be mechanically compacted with a tool like a “plate compactor” or “jumping jack” tamper.
This process is tedious but absolutely essential. Compacting the soil in lifts restores its density, ensuring it can properly support the surrounding grade and effectively shed water away from the foundation. Skipping this step guarantees future problems with water intrusion and ground settlement.
Final Thoughts: A Job of Respect
Using a mini excavator to dig around your foundation is a high-reward task that carries equally high risks. It’s a project that demands meticulous planning, profound respect for the unseen forces in the soil, and a slow, steady hand at the controls.
By following a strict safety protocol—calling 811, obtaining permits, managing the soil correctly, and backfilling with care—you can successfully tackle the job. But always be prepared to recognize when the risks outweigh the rewards and it’s time to call in a professional. Your home’s integrity depends on it.