Dig Post Holes With a Shovel: The Secret Method Pros Use
Digging a post hole seems simple. You grab a shovel, break ground, and hope for the best. Yet, many find themselves battling dense clay, stubborn rocks, and winding roots, turning a straightforward task into a back-breaking ordeal that results in crooked posts and a ruined landscape.
The problem isn’t just about effort; it’s about precision. A poorly dug hole can compromise the stability of an entire fence, leading to leaning posts and costly future repairs. Brute force alone won’t create the perfect cylindrical, straight, and properly deep hole required for a secure foundation.
This guide cuts through the frustration. Forget the myths and exhausting mistakes. Here, you will find the professional techniques, tool insights, and strategic approaches that transform post hole digging from a dreaded chore into a manageable, precise, and rewarding skill.
You'll Learn About
Choosing Your Weapon: Not All Shovels Are Created Equal
The first mistake many make is grabbing any old garden shovel. The right tool is critical, and for post holes, you need more than a simple spade. Each tool has a specific purpose designed to handle different soil conditions and stages of the dig.
A standard round-point digging shovel is perfect for breaking the initial ground and clearing the top layer of sod. For harder, compacted soils, a model with a sharpened blade and a wide step area for your foot provides the necessary power to penetrate the surface. But its wide blade becomes a liability as you dig deeper, making it difficult to maintain a narrow, uniform hole.
Specialized Tools for a Specialized Job
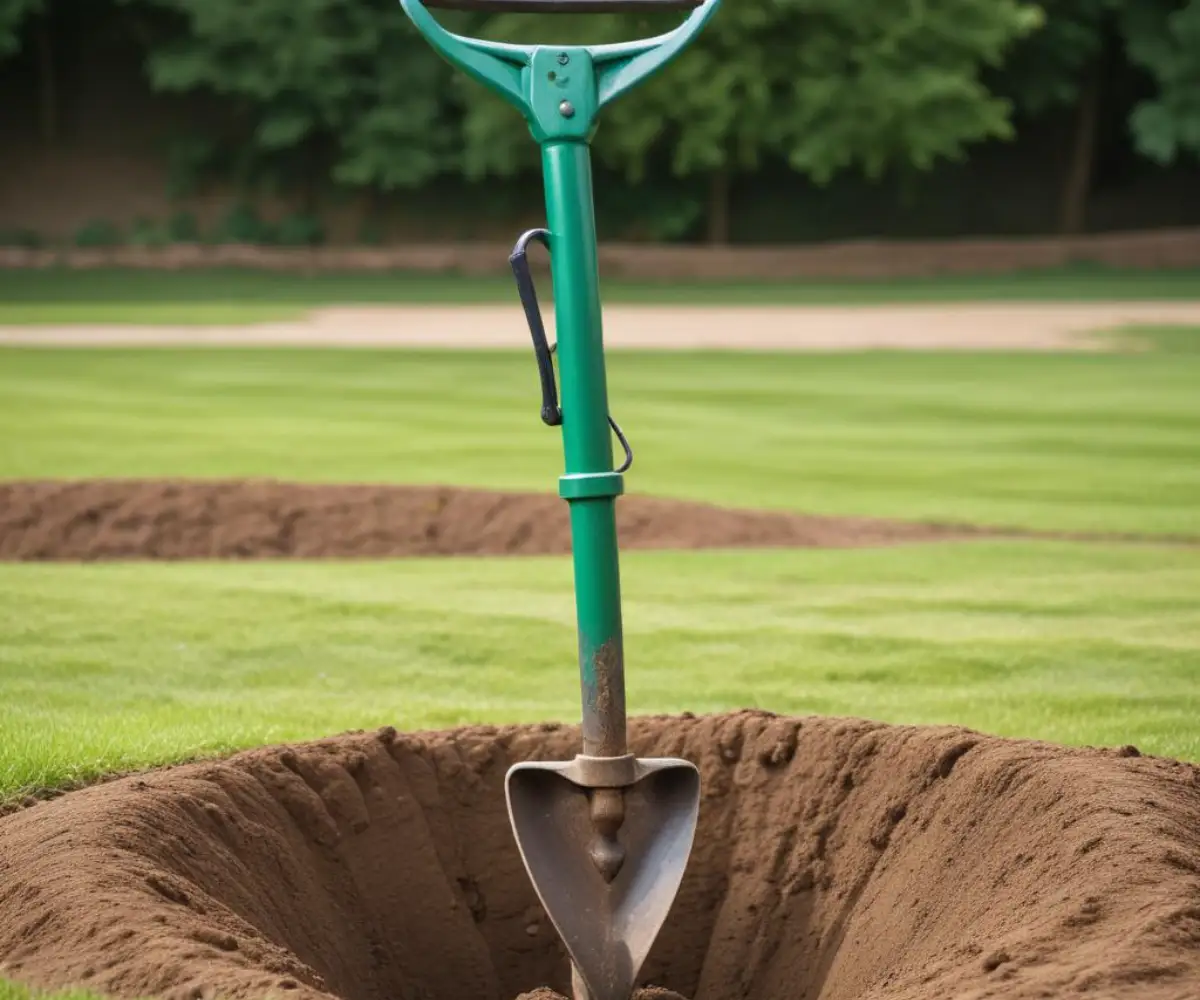
Once you’ve broken through the surface, it’s time to switch to more specialized equipment. The two most valuable hand tools for this task are the post hole digger (also known as a “clamshell”) and a digging bar.
The post hole digger is specifically designed to lift loose soil out of a narrow hole. Its two hinged blades scoop material when you pull the handles apart, allowing for deep, precise excavation without widening the hole unnecessarily. The digging bar is your secret weapon against rocks and hardpan clay; it’s a heavy steel bar with a chisel point on one end and a tamping surface on the other, used to break up tough obstacles that a shovel can’t handle.
Preparation: The Foundation of a Perfect Hole
Before you break ground, a few crucial preparation steps will save you time, effort, and potential danger. Rushing this stage is a recipe for disaster.
Step 1: Safety First – Call 811
This is non-negotiable. Before any digging project, you must call 811, the national call-before-you-dig number. Utility companies will come to your property free of charge to mark the location of underground lines like gas, water, and electricity. Accidentally hitting one of these lines is incredibly dangerous and can lead to expensive repairs.
Step 2: Plan Your Hole Dimensions
The stability of your post depends entirely on the depth and diameter of its hole. A widely accepted guideline is the 1/3 rule: at least one-third of your post’s total length should be buried in the ground. For example, an 8-foot post for a 6-foot fence should be buried at least 2.5 feet deep.
The hole’s diameter should be about three times the width of the post. A 4×4 post (which is actually 3.5″ x 3.5″) requires a hole roughly 10-12 inches in diameter. This provides adequate space for concrete to surround the post and create a solid anchor.
The Art of the Dig: A Step-by-Step Professional Method
With your tools selected and your location marked, it’s time to dig. The key here is not brute strength, but smart technique and proper body mechanics to avoid injury and fatigue.
Step 1: Outline and Break the Ground
Start by outlining the hole’s diameter on the grass or soil. Use your round-point shovel to cut a clean circle. Remove the initial plug of sod and topsoil and place it on a tarp to protect your lawn and make cleanup easier.
Step 2: Loosen with a Bar, Remove with a Digger
Unless you are working in very soft soil, don’t rely solely on the clamshell digger to break up the ground. This is the most common mistake and leads to exhaustion. Instead, use the digging bar first. Drive the pointed end into the soil to break it up. Then, use the post hole digger to remove the loosened dirt.
This two-step process is far more efficient. It allows each tool to do what it does best, saving your energy and speeding up the work. Stab and loosen, then scoop and remove. Repeat.
Step 3: Master Your Body Mechanics
Digging is physically demanding, but proper form prevents injury. Keep your back straight and bend at your knees and hips, not your waist. When lifting a shovel full of dirt, pivot your entire body with your feet instead of twisting your torso. Let your body weight and leverage do the work, not just your arm and back muscles.
Take frequent breaks to avoid overexertion. Maintaining a steady, rhythmic pace is more productive than short bursts of frantic, exhausting effort.
Conquering Common Obstacles Like a Pro
Rarely is a dig free of obstacles. How you handle hard clay, rocks, and roots will determine your success. This is where many DIY projects go wrong.
Tackling Dense Clay and Hardpan
Hard, dry clay can feel like concrete. The key to defeating it is moisture. Soaking the area with water for several hours or even the night before you dig can soften the soil significantly. However, avoid over-saturating it, as this will turn the clay into heavy, sticky mud that is difficult to remove.
When digging, don’t try to stab deep into the clay. Instead, use your digging bar to chip away at it in layers. Scrape the sides of the hole to keep it from narrowing as you go deeper.
Dealing with Rocks and Boulders
Small rocks can be lifted out with the post hole digger. For larger, more stubborn rocks, the digging bar is your primary tool. Use the pointed end to get underneath the rock and pry it loose. Try to work around the rock, creating space so you can lever it out of the hole.
If you hit a very large rock or what feels like solid bedrock, you may need to adjust your post location. For situations where moving the post isn’t an option, specialized techniques are required. Learning how to set a fence post in bedrock involves different anchoring methods beyond a standard concrete pour.
Cutting Through Roots
Roots are another common frustration. Small roots can often be severed with a sharp shovel or the blades of your post hole digger. For thicker roots, a pair of loppers, a reciprocating saw with a pruning blade, or even a small axe can be used to cut them cleanly. It’s better to cut a root cleanly than to leave it mangled, which can harm the tree.
The Final Touches: Ensuring a Perfect Foundation
Once you’ve reached your target depth, the job isn’t quite done. The final steps ensure your post has the best possible foundation for a long life.
Create a Drainage Base
Before setting the post, pour 4-6 inches of gravel into the bottom of the hole. This simple step is critical for drainage. It allows water to seep away from the base of the post, which is especially important for wooden posts as it helps prevent rot.
The Bell-Shaped Hole: An Advanced Technique
For maximum stability, especially in areas with frost heave, creating a “bell-shaped” hole is a professional technique. This involves making the bottom of the hole slightly wider than the top. As you near your final depth, use your digging bar to carve away at the sides at the very bottom, creating a wider base. When concrete is poured into this shape, it creates a footing that is much more resistant to being pushed upward by freezing ground.
Achieving the perfect fence requires more than just digging. For instance, understanding local regulations on fence height can save you from future disputes and legal issues. Exploring fence height loopholes might reveal options you hadn’t considered for your project.
| Digging Method | Best For | Effort Level | Cost |
|---|---|---|---|
| Shovel & Post Hole Digger | Soft to moderately firm soil, few posts | High | Low |
| Manual Auger | Loamy or sandy soil, minimal rocks/roots | Medium-High | Low-Medium |
| Gas-Powered Auger | Multiple holes in various soil types | Medium | Medium (Rental) |
| Mini-Excavator/Skid Steer | Large projects, very difficult soil | Low | High (Rental) |
Finishing the Job: Setting the Post
With a perfectly dug hole, you are ready to set your post. Place the post in the center of the hole on top of the gravel base. Use a level on two adjacent sides to ensure it is perfectly plumb (vertically straight).
Mix your concrete according to the manufacturer’s instructions and pour it into the hole, filling it to just below ground level. Slope the top of the concrete away from the post to shed water. Brace the post to keep it plumb while the concrete cures. In some cases, you might notice a gap forming between a new post and an existing structure like a house; there are specific methods for addressing this, and you can learn how to fill a gap between a fence post and a house to ensure a clean, sealed finish.
By combining the right tools, proper technique, and a strategic approach, digging a post hole with a shovel is not only possible but can be done with professional precision. It’s a foundational skill that ensures the strength and longevity of any fence or structure you build.