Delta Shower Head Pause Button Stuck? Your Ultimate DIY Fix Guide
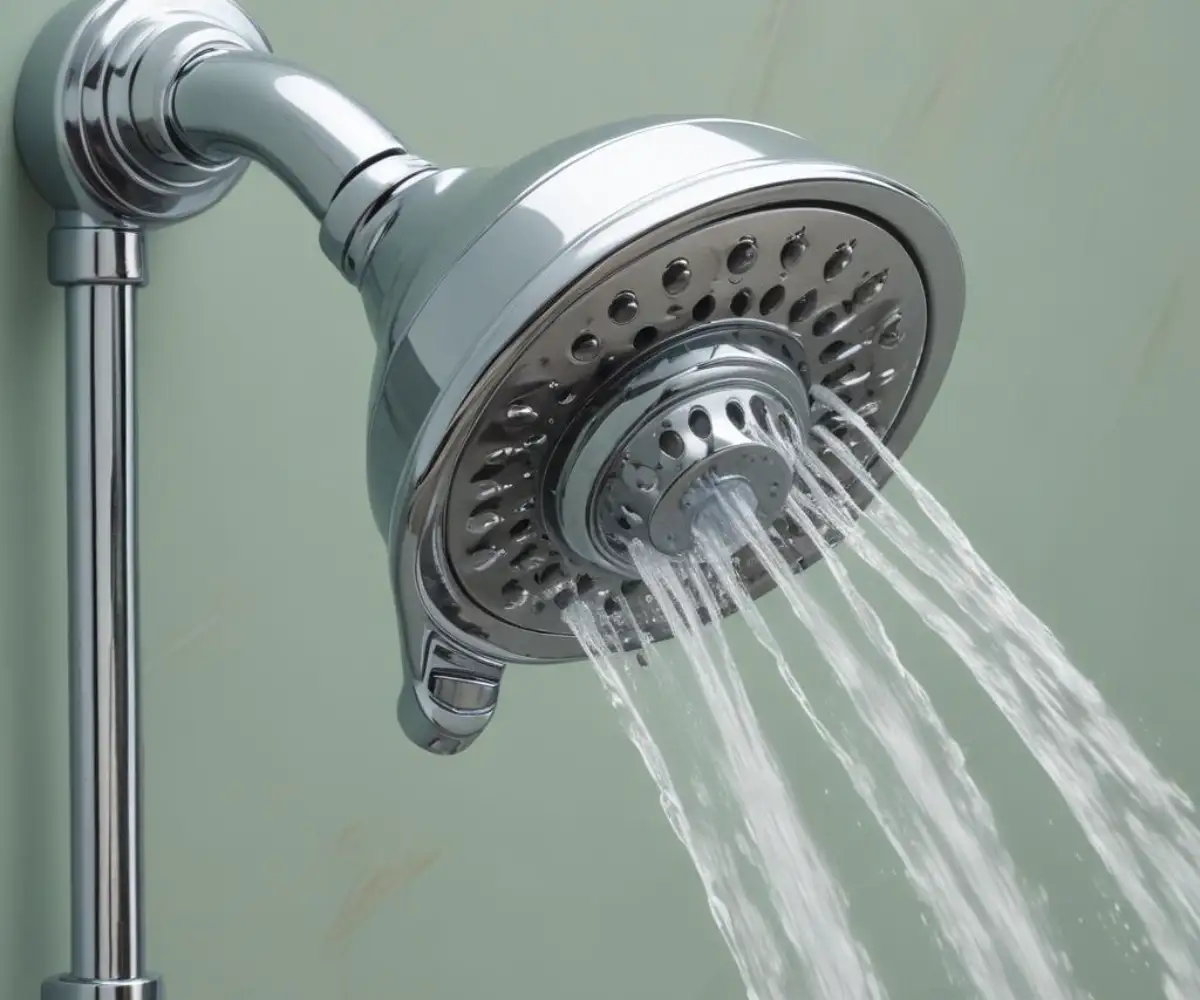
There are few things more frustrating than stepping into the shower, ready to start your day or wash away its stresses, only to find a key feature isn’t working. If the pause button on your Delta shower head is stuck, you know this frustration firsthand. What is meant to be a convenient water-saving feature has suddenly become a stubborn, immovable problem.
You’re not alone in this struggle. Many homeowners experience this issue, often wondering if it requires an expensive call to a plumber or a complete replacement. The good news is that, in most cases, fixing a stuck Delta shower head pause button is a straightforward DIY task you can tackle in an afternoon.
You'll Learn About
Unlocking the Mystery: Why Your Delta Shower Head Pause Button Is Stuck
Before jumping into the solution, it’s crucial to understand the root causes of the problem. A stuck pause button is rarely a sign of a catastrophic failure. More often than not, the culprit is one of several common, easily addressable issues that build up over time.
Understanding these underlying causes will not only help you fix the current problem but also empower you to prevent it from happening again. Let’s break down the most frequent offenders that are jamming up your shower’s functionality.
The Primary Culprit: Stubborn Mineral Buildup
If you live in an area with hard water, this is almost certainly the reason your pause button is stuck. Hard water is rich in minerals like calcium and magnesium. While these are not harmful to you, they wreak havoc on plumbing fixtures.
Over time, these dissolved minerals precipitate out of the water and form a hard, crusty deposit known as limescale. This scale accumulates in and around the moving parts of your shower head, including the delicate mechanism of the pause button, effectively cementing it in place. The button simply can’t overcome the physical obstruction created by the scale.
Hidden Intruders: Debris and Sediment
Your home’s water supply isn’t always perfectly pure. Tiny particles of sand, rust, or other sediment can travel through the pipes. These microscopic intruders can find their way into the small crevices of the pause button’s internal assembly.
Even a small amount of this debris can be enough to jam the mechanism, preventing the button from depressing or returning to its original position. It creates friction and acts as a wedge, rendering the button useless.
Internal Component Failure: Worn-Out Seals and Gaskets
Inside your shower head, small rubber O-rings and gaskets are essential for creating watertight seals. Over time, these components can degrade. Constant exposure to water, temperature changes, and mineral buildup can cause them to become brittle, cracked, or dislodged.
A damaged or out-of-place O-ring can easily become an internal obstruction that blocks the movement of the pause button. This is a common issue in older shower heads where the rubber has lost its flexibility.
The Effects of Time: General Mechanical Wear
Sometimes, the problem is simply a result of long-term use. The pause button, like any mechanical part, has a finite lifespan. The internal spring that provides the “push back” can weaken or break, or the plastic components of the button itself can wear down, causing it to stick.
While less common than mineral buildup, it’s a possibility, especially if your shower head has provided many years of faithful service. In these cases, a simple cleaning may not be enough to resolve the issue.
Your Toolkit for Freedom: Gathering the Right Supplies
Before you begin the repair, gathering a few basic tools and materials will make the process smooth and efficient. You likely already have most of these items around your home. Proper preparation is the first step toward a successful fix.
Here’s what you’ll need:
- Distilled White Vinegar: This is your most powerful weapon against mineral buildup.
- A Soft Brush: An old toothbrush is perfect for scrubbing away loosened deposits.
- Adjustable Pliers or a Wrench: To safely remove the shower head from the arm.
- A Soft Rag or Cloth: Essential for protecting the finish on your fixture from tool marks.
- A Bucket or Plastic Container: Large enough to fully submerge the shower head.
- New Plumber’s Tape (Teflon Tape): For creating a leak-proof seal upon reinstallation.
The Step-by-Step Battle Plan: How to Unstick Your Pause Button
With your tools assembled, you’re ready to tackle the problem head-on. This detailed, step-by-step guide will walk you through the entire process, from removal to reinstallation. Follow these instructions carefully for a quick and effective repair.
Step 1: Shut Down the Water Supply
Before you attempt to remove the shower head, it’s a good practice to turn off the water to the shower. While you can often get away with just ensuring the shower handle is in the “off” position, shutting off the main valve to the bathroom or the house is the safest bet to avoid an unexpected shower.
Step 2: Carefully Remove the Shower Head
Wrap your soft cloth around the connection nut where the shower head meets the shower arm extending from the wall. This will protect the chrome or other finish from being scratched. Grip the cloth-covered nut with your adjustable pliers and turn it counter-clockwise to loosen it.
Once it’s loose, you should be able to finish unscrewing the shower head by hand. Be prepared for some residual water to drain out as you remove it.
Step 3: The Ultimate Weapon—A Deep Vinegar Soak
This is the most critical step for resolving issues caused by mineral buildup. Place your shower head into the bucket or container. Pour in enough distilled white vinegar to completely submerge the entire unit, especially the area around the stuck pause button. The mild acetic acid in vinegar is incredibly effective at dissolving calcium and magnesium deposits without harming the fixture’s finish.
Let the shower head soak for at least a few hours. For particularly stubborn buildup, leaving it to soak overnight is the best course of action. You may even see fizzing as the vinegar works to break down the limescale.
Step 4: Scrub Away the Grime
After the soak, remove the shower head from the vinegar. Use your soft brush or toothbrush to gently scrub the area around the pause button and the spray nozzles. The mineral deposits, now softened by the vinegar, should come away easily.
Rinse the shower head thoroughly under warm running water to flush out any remaining debris and vinegar. Now is the moment of truth: try pressing the pause button. In most cases, it should now move freely.

Step 5: When the Button Is Still Stubborn (Advanced Steps)
If the button is still stuck, the issue might be internal debris or a failed gasket. This may require some minor disassembly. Look for any small screws on the shower head’s body or faceplate. If you find them, carefully remove them to access the internal components.
Once inside, look for any visible debris or a dislodged O-ring that could be causing the jam. Remove any obstructions, reposition any seals, and then reassemble the unit. Important: Be gentle during this process, as shower head components can be delicate.
Step 6: Reinstallation for a Leak-Free Finish
Before putting the shower head back, clean the threads on both the shower arm and the shower head itself. Remove any old plumber’s tape. Tightly wrap a new piece of plumber’s tape clockwise around the threads of the shower arm 2-3 times.
Screw the shower head back onto the arm by hand until it’s snug. Use your pliers and cloth for a final quarter-turn to ensure a tight, secure seal, but be careful not to overtighten. Turn the water supply back on and test for both leaks and the button’s functionality.
An Ounce of Prevention: Keeping Your Pause Button Working Flawlessly
Now that you’ve fixed the problem, the goal is to prevent it from coming back. Consistent, simple maintenance is the key to ensuring the longevity and performance of all your plumbing fixtures. Small, regular efforts can save you from bigger headaches down the road, much like how knowing how to weatherstrip horizontal sliding windows can prevent drafts and energy loss.
Adopting a proactive approach to fixture care will keep mineral buildup at bay and ensure your pause button remains responsive and reliable for years to come.
The Power of a Regular Cleaning Routine
The single most effective preventative measure is regular cleaning. Once a month, give your shower head a quick clean. You don’t need to remove it every time; simply fill a plastic bag with white vinegar, secure it over the shower head with a rubber band so the head is submerged, and let it soak for an hour before running the shower to flush it out.
This simple habit will prevent the severe limescale accumulation that causes buttons to stick. Maintaining your fixtures is a core part of homeownership; ignoring small issues can lead to bigger problems, just as a fireplace mantel coming away from wall should be addressed promptly to prevent further damage.
Comparing Your Cleaning Options
While vinegar is a fantastic and safe option, other methods are available. Understanding the pros and cons of each can help you make the best choice for your home and your fixtures.
| Cleaning Method | Effectiveness on Minerals | Safety for Finishes | Cost | How-To Summary |
|---|---|---|---|---|
| White Vinegar Soak | Excellent | Very Safe (for chrome, stainless steel, nickel) | Low | Submerge the shower head in a 50/50 vinegar-water solution for several hours. Scrub with a soft brush and rinse thoroughly. |
| Commercial Limescale Remover (e.g., CLR) | Excellent | Use with caution; can damage certain finishes. Always follow product instructions. | Medium | Apply as directed by the manufacturer, typically involving a shorter soak time. Requires good ventilation and thorough rinsing. |
| Baking Soda Paste | Good (for light buildup) | Very Safe | Low | Create a thick paste of baking soda and water. Apply to the shower head, let it sit for 30 minutes, then scrub with a brush and rinse. |
Knowing When It’s Time for a Professional or a Replacement
While the DIY vinegar soak resolves the vast majority of stuck button issues, there are times when the problem is beyond a simple fix. It’s important to recognize when to stop and either call a professional plumber or consider replacing the shower head entirely.
If you have tried all the cleaning steps, including disassembly, and the button refuses to budge, there’s likely a broken internal component. Attempting to force it could lead to further damage. Similarly, if you notice cracks in the shower head’s body or persistent leaks from the main housing after reinstallation, it’s a sign that the unit has reached the end of its life.
When choosing a replacement, consider a modern Delta model with Touch-Clean® Soft, Rubber Nubbins. These are specifically designed to allow you to wipe away calcium and lime build-up with a simple touch of a finger, drastically reducing the chances of a stuck button in the future. Ensuring a perfect installation is key for performance and aesthetics, a principle that applies to many home projects, including learning how to flush mount a frameless mirror for a professional, seamless look.
A stuck pause button on your Delta shower head is a common but solvable problem. By understanding the causes—primarily mineral buildup—and following a simple but effective cleaning process, you can restore your shower’s full functionality without needing to call a professional. Regular maintenance is the final piece of the puzzle, ensuring you can enjoy the water-saving convenience of your shower’s pause feature for years to come.


