Dead Peony Root? The #1 Reason It Happens & How to Revive It
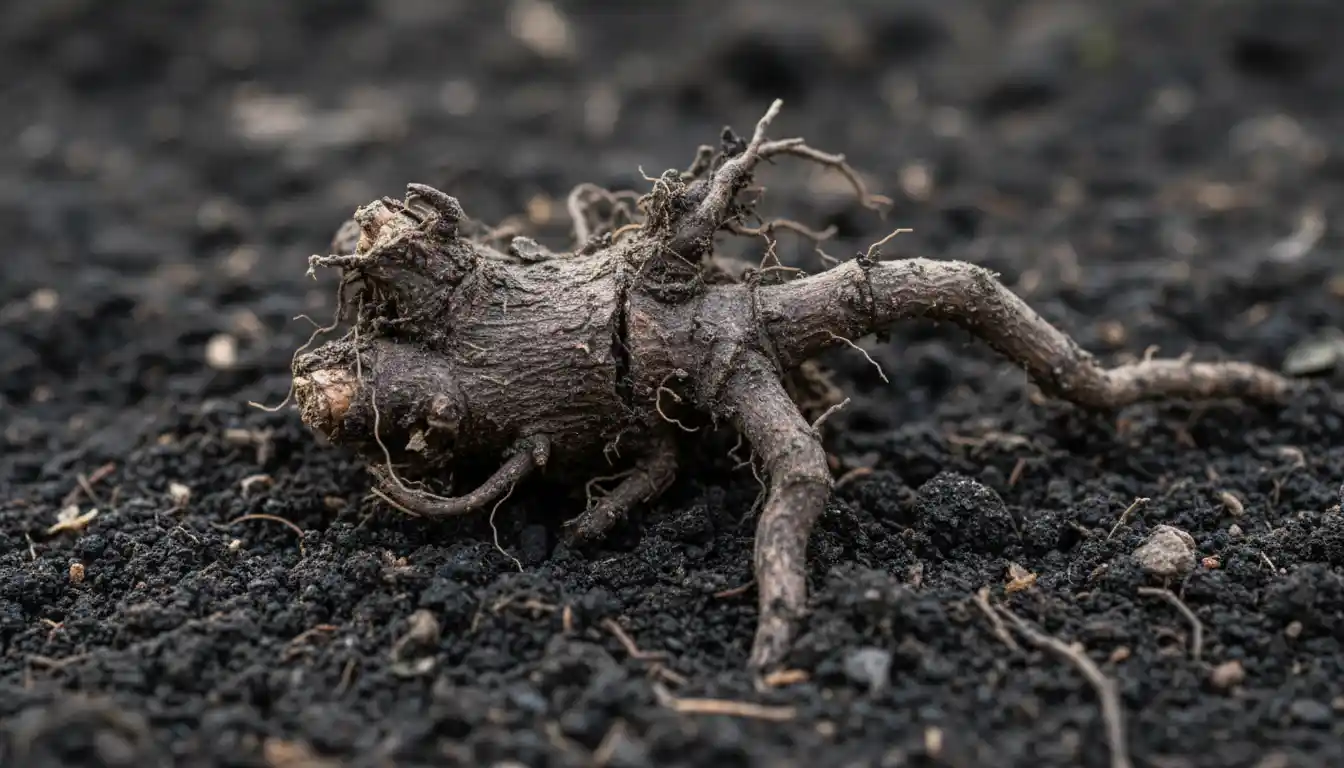
There are few garden heartbreaks as profound as the failure of a beloved peony. You waited patiently, anticipating those lush, fragrant blooms, only to be met with lackluster growth or, worse, a complete lack of life. Suspecting the worst, you dig into the soil and find what you feared: a dead peony root.
This discovery can feel like a final verdict for your plant. But before you toss that tuber onto the compost heap, it’s crucial to understand what went wrong. More importantly, you need to know if there’s any hope for revival. Many gardeners face this exact problem, often stemming from a few common, preventable issues.
You'll Learn About
Decoding Peony Root Death: The Primary Culprits
A peony root doesn’t just give up overnight. Its decline is typically a slow process caused by environmental stress or disease. Understanding the root cause is the first step toward preventing it from happening again. Most issues trace back to fungus, moisture, and placement.
The Unseen Enemy: Fungal Diseases and Root Rot
The single most common cause of a dead peony root is fungal infection, which leads to rot. Peonies are particularly susceptible to a few key pathogens that thrive in damp, poorly-drained conditions. When water lingers around the roots, it creates the perfect breeding ground for these destructive fungi.
Botrytis Blight, also known as gray mold, is a notorious peony killer. This fungus often starts above ground, causing young shoots to suddenly wilt and rot at the base. From there, the infection can travel down into the crown and roots, turning them into a soft, brown, mushy mess. In wet weather, you might see a fuzzy gray mold on the decaying tissue.
Phytophthora Root Rot is another devastating fungal disease that attacks the root system directly. It causes the roots to become dark, leathery, and decayed. The above-ground symptoms often include wilting, yellowing leaves, and stunted growth, even when the soil is moist. Ultimately, the rotted roots can no longer absorb water and nutrients, starving the plant.
The Gardener’s Error: Improper Planting Depth
Peonies are famously particular about their planting depth. This is not merely a suggestion; it is a critical factor for their survival and ability to bloom. The tuberous roots have small reddish buds, known as “eyes,” which will develop into the next season’s stems.
These eyes must be positioned correctly. If you plant the root too deep—with the eyes more than 2 inches below the soil surface—the plant will struggle. It may produce foliage for a year or two but will fail to flower and eventually decline as it expends too much energy trying to reach the light. Conversely, planting it too shallowly can expose the eyes to late frosts and dehydration, killing them before they can sprout.
Location, Location, Location: The Peril of Poor Drainage
Peonies absolutely despise “wet feet.” Their tuberous roots are designed to store energy, not to sit in water. Planting them in heavy clay soil or a low-lying area of your garden where water collects is a recipe for disaster. Chronic waterlogging suffocates the roots, preventing oxygen uptake and inviting the fungal diseases mentioned above.
Even in a good location, overwatering can be a fatal mistake. Consistent moisture is needed, especially for new plants, but the soil should be allowed to dry slightly between waterings. This is a vital balance that many gardeners struggle with, often leading to unintentional root rot.
Is It Truly Dead? Performing a Peony Root Autopsy
Before you give up, a careful inspection is in order. What looks dead on the surface may still harbor a spark of life. Gently dig up the entire root system and clean off the soil to get a clear look.
A healthy peony root should be firm, plump, and light-colored inside, typically white or pale yellow. The presence of several firm, pinkish “eyes” is a great sign of vitality. A dead root, on the other hand, will exhibit obvious signs of decay. It may be soft, mushy, hollow, or completely dried out and brittle. Any sections that are dark brown or black and have a foul odor are certainly rotted and non-viable.
Sometimes, a root may be partially rotted but still have healthy sections. If you find any firm, light-colored tissue with viable-looking eyes, there is a chance for salvation. This careful examination is the most important step in determining your next course of action.
The Dormancy Deception
It’s also important to distinguish a dead root from a dormant one, especially with newly planted tubers. Peonies follow a “sleep, creep, leap” growth pattern. In the first year, they may produce very little top growth as they focus on establishing their root system underground. It’s not uncommon for a new plant to appear to die back completely after a short growth spurt, leading a gardener to assume the root is dead when it’s simply preparing for the following year.
If you dig up a root that shows minimal growth but is still firm and has healthy-looking eyes, it is likely just dormant. In this case, the best course of action is to replant it correctly and have patience. Interfering too much with a dormant root can do more harm than good.
The Revival Plan: A Step-by-Step Guide to Saving Your Peony
If your inspection reveals that at least a portion of the root is salvageable, it’s time for an emergency operation. This process requires a clean workspace and sterilized tools to avoid introducing new pathogens.
Step 1: Radical Surgery
Using a sharp, clean knife (sterilized with rubbing alcohol or a bleach solution), carefully cut away all the rotted, soft, and dark-colored parts of the root. Be ruthless. Any diseased tissue left behind can spread to the healthy sections. Your goal is to be left with only firm, clean, healthy-looking tuber pieces, each with at least one or two healthy eyes.
Step 2: Fungicide Treatment
After trimming, treat the remaining healthy root pieces to protect them from further fungal attack. You can dust the cut surfaces with a powdered fungicide or dip the entire piece in a fungicide solution according to the product’s instructions. This creates a protective barrier as the wounds heal and the root begins to regrow.
Step 3: Choose a New, Superior Location
Do not replant the salvaged peony root in the same spot. The soil there is likely contaminated with the same pathogens that caused the problem in the first place. Select a new location that meets all of a peony’s requirements: at least six hours of direct sunlight per day and, most importantly, excellent drainage.
If you have heavy clay soil, you must amend it. Work in several inches of compost, shredded pine bark, or coarse sand to improve its structure and porosity. Planting in a raised bed is an excellent strategy to guarantee superior drainage and give your peony the best possible chance of success.
Step 4: The Art of Replanting
Now, replant the salvaged root sections with meticulous care. Dig a wide hole and create a small mound of soil in the center. Place the root on the mound, spreading any smaller roots outwards. Position it so that the eyes are pointing upward and will be no more than 1.5 to 2 inches below the final soil level. Backfill the hole, gently firming the soil to eliminate air pockets, and water thoroughly to settle it in.
Prevention: The Ultimate Cure for Peony Problems
Ensuring you never have to deal with a dead peony root again is all about providing the right conditions from the start. Prevention is far easier than resurrection. Many common issues with struggling perennials can be avoided with proper planning, a lesson many gardeners learn the hard way. For those facing broader challenges, exploring general advice on keeping perennials alive can provide a wealth of foundational knowledge.
Mastering the Fundamentals
Success begins with choosing a healthy, robust bare-root tuber from a reputable supplier. Look for a root with at least 3-5 plump, reddish eyes. When it arrives, plant it promptly in the fall, which gives it time to establish before winter.
Pay fanatical attention to soil preparation and planting depth. This two-part formula—well-draining soil and shallow planting—is the absolute cornerstone of peony health. Proper protection is key; just as a home requires a solid foundation and barrier against the elements, sometimes involving choices like deck armor vs tiger paw for a roof, a peony requires the right soil structure to shield its roots from rot.
Finally, practice smart watering. Water deeply and infrequently, allowing the soil to dry out a bit between sessions. Avoid light, frequent sprinkling, which encourages a shallow root system and keeps the crown too moist. This principle of managing moisture in a defined space is also critical when growing other plants, like learning the needs of an Earth Angel rose in a container, where drainage is paramount.
By understanding the critical needs of these magnificent plants, you can move from troubleshooting a dead peony root to enjoying decades of breathtaking blooms. Your garden will thank you for it.
| Symptom | Likely Cause | Immediate Action |
|---|---|---|
| Root is soft, mushy, and dark brown/black with a foul smell. | Advanced Root Rot (Fungal) | Discard the entire root. Do not compost. Do not replant in the same area without significant soil remediation. |
| Root is firm in some places but has soft, dark sections. | Partial Root Rot | Perform surgery: Cut away all diseased tissue with a sterile knife. Treat healthy sections with fungicide. |
| Root is dry, brittle, and lightweight. | Desiccation (Drought) | Attempt to rehydrate by soaking for a few hours. If it remains brittle with no viable eyes, it is likely dead. Discard. |
| Root is mostly firm but the crown feels hollow or thin. | Crown Rot | Inspect for any solid, healthy tissue with eyes. If salvageable sections exist, treat as partial rot. Otherwise, discard. |
| Root is small but firm, with small white or pink buds (eyes). | Dormancy / Immaturity | Root is likely healthy. Ensure it is planted at the correct depth (1.5-2 inches deep) in a well-draining, sunny spot and be patient. |
| Above-ground stems wilt suddenly and rot at the soil line. | Botrytis Blight | Immediately cut away and destroy affected stems. Improve air circulation around the plant. Prepare to inspect the root in the fall. |