Dahlia Shoots Dying? Your Ultimate Guide to Strong Growth
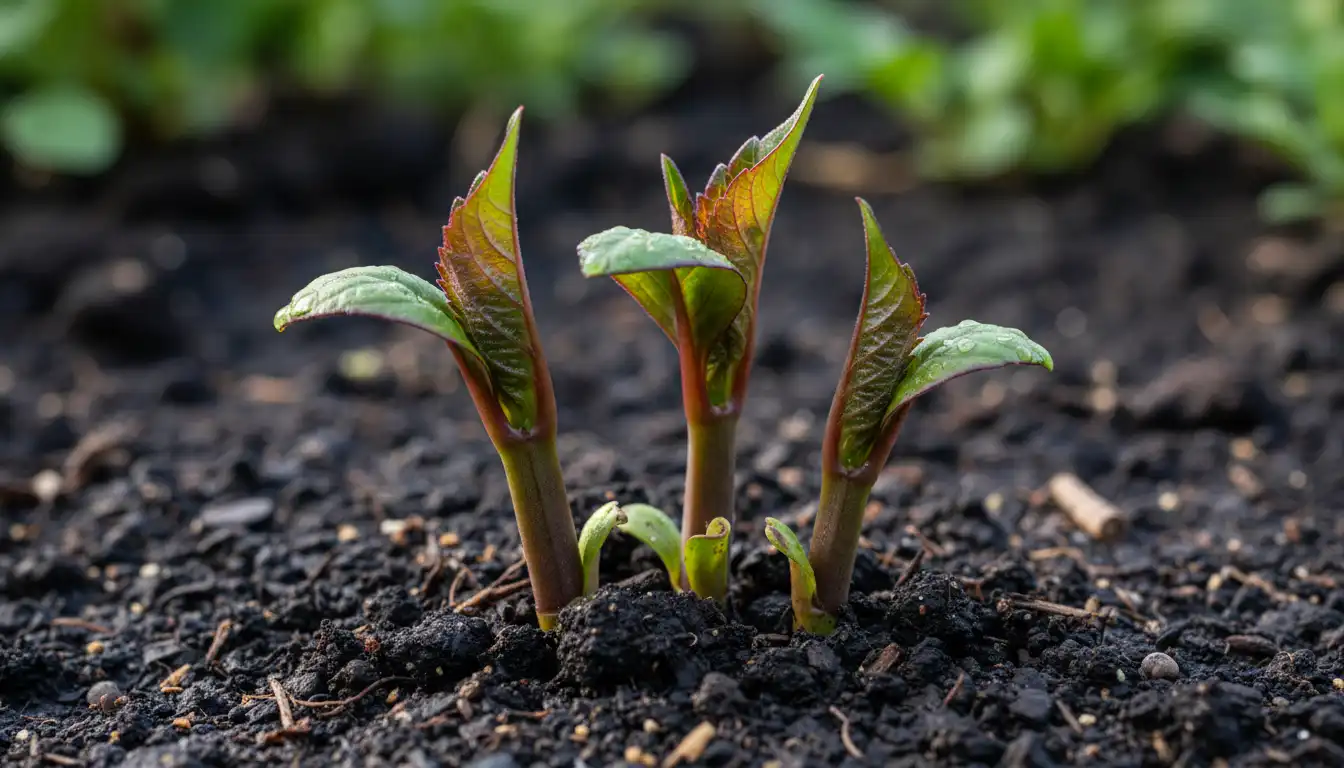
There’s a special kind of magic in seeing the first dahlia shoots push through the soil. It’s a promise of the vibrant, show-stopping blooms to come. But what happens when that promise fades, and those tender shoots turn black, get eaten overnight, or grow weak and spindly? It’s a common problem that can leave any gardener feeling frustrated.
This guide is here to solve that. We will explore the hidden reasons your dahlia shoots are failing and provide clear, actionable steps to transform them into a strong foundation for a spectacular floral display. Get ready to turn weak starts into stunning successes.
You'll Learn About
Understanding Dahlia Shoots: The Heart of Your Bloom Factory
Before diving into troubleshooting, it’s crucial to understand what dahlia shoots are and why they are so vital. These first green sprouts are not just leaves; they are the primary stems that will grow to support every single flower. The health and vigor of these initial shoots directly determine the quantity and quality of your blooms.
Dahlia shoots emerge from “eyes” on the crown of the tuber. Think of the tuber as a battery pack, providing all the initial energy the shoot needs to break through the soil and reach for the sun. A healthy tuber with viable eyes is the absolute starting point for any successful dahlia plant.
The #1 Problem: Why Your Dahlia Shoots Are Failing
When dahlia shoots falter, it’s usually due to a handful of common culprits. Identifying the specific cause is the first step toward fixing the problem and preventing it from happening again. From environmental stressors to pests, let’s break down the primary reasons your shoots are struggling.
Environmental Culprits: The Silent Killers
Often, the biggest threats to your dahlia shoots are in the environment itself. These factors can weaken or kill the tender new growth before it has a chance to establish itself. Paying close attention to your planting conditions is essential for success.
A primary cause of black, mushy shoots is late frost. Dahlias are extremely frost-sensitive, and even a light touch of cold can be fatal to new growth. Always plant your tubers after the last frost date has passed and the soil has warmed to at least 60°F (15°C). If an unexpected cold snap is forecast, cover your emerging shoots with a bucket or frost cloth overnight.
Another major issue is overwatering and tuber rot. This is perhaps the most common mistake gardeners make. Dahlia tubers should not be watered at all after planting until the shoots have emerged from the soil. Watering before you see growth creates a damp environment that invites fungal diseases and causes the tuber to rot, killing the shoot from below ground.
Pests & Diseases: The Unwanted Guests
Tender, juicy dahlia shoots are a gourmet meal for several garden pests, especially slugs and snails. These nocturnal feeders can mow down a new shoot overnight, leaving you with nothing but a sad stump. To protect your plants, create a barrier around them using crushed eggshells or diatomaceous earth. Slug baits, especially pet-safe organic options, are also highly effective when applied early.
Other sucking insects like aphids can also target new growth, causing distortion and weakness. Fungal issues like powdery mildew can appear later but are often rooted in poor air circulation and overly damp conditions from the start. Ensure proper spacing between plants to allow for airflow.
Tuber & Storage Issues: Problems Before You Plant
Sometimes, the problem begins long before the tuber even goes into the ground. If you notice your tubers have sprouted long, pale shoots while in storage, it’s a sign that they were stored in conditions that were too warm or humid. These shoots are often weak and should be handled with extreme care when planting.
Conversely, if no shoots appear at all, you might have a “blind” tuber, which is one without any viable eyes. Always inspect your tubers before planting for small, pimple-like bumps on the crown, which are the developing eyes. A tuber without an eye will never produce a plant.
The Ultimate Solution: A Step-by-Step Guide to Perfect Dahlia Shoots
Now that you understand the problems, it’s time for the solutions. Following a structured approach from pre-planting to active management will give your dahlia shoots the best possible start, setting the stage for a season filled with breathtaking flowers.
Stage 1: Pre-Planting Preparation for Success
Success begins with proper preparation. About a month before your last frost date, you can “wake up” your tubers by placing them in a tray with some slightly moist potting mix in a warm, bright spot. This encourages the eyes to swell and sprout, giving you a clear indication of which tubers are viable and allowing you to get a head start on the season.
This is also the best time to divide large tuber clumps. Ensure each division has a piece of the old stem (the crown) and at least one visible eye. A single tuber with an eye is all you need to grow a full-sized plant.
Stage 2: Planting for Vigorous Growth
Choose a location that receives at least six to eight hours of direct sunlight daily. Dahlias thrive in rich, well-draining soil. Dig a hole about 4-6 inches deep, and lay the tuber horizontally with the eye or sprout pointing up. Cover it with just a couple of inches of soil.
Crucially, do not water the tuber after planting. Wait until the green shoot is visible above the soil line. This single piece of advice prevents the vast majority of tuber rot cases. Once the plant is actively growing, you can begin a regular watering schedule.
Stage 3: Active Shoot Management for a Stronger Plant
This is where expert techniques can make a huge difference. To create a stronger, more productive plant, it’s essential to thin your dahlia shoots. When the shoots are a few inches tall, select the strongest one or two per tuber and snip the others off at the soil line. This channels all the tuber’s energy into a smaller number of robust stems, leading to a healthier plant and larger, better-quality blooms.
Once your chosen shoot reaches about 12 inches in height and has several sets of leaves, it’s time to “pinch” or “top” it. Simply snip off the top 3-4 inches of the central stem, just above a set of leaves. This encourages the plant to branch out, creating a bushier habit with significantly more flowers.
| Problem | Likely Cause(s) | Solution(s) |
|---|---|---|
| Black or Mushy Shoots | Frost damage, overwatering, tuber rot | Protect from cold with covers; ensure well-draining soil; do not water until shoots emerge. |
| Shoots Eaten or Cut Off | Slugs, snails, earwigs | Use slug bait, copper tape, or diatomaceous earth; create physical barriers. |
| Leggy, Pale Shoots | Insufficient light | Provide at least 6-8 hours of direct sunlight; move pots to a sunnier spot if applicable. |
| No Shoots Appearing | Blind tuber (no eyes), planted too deep, rotted tuber | Inspect tubers for eyes before planting; plant at a 4-6 inch depth; check for rot. |
| Shoots are Purple/Red | Cool temperatures, genetics, phosphorus deficiency | Often normal and will turn green as it warms; ensure balanced fertilizer later in the season. |
Advanced Techniques: From Healthy Shoots to Prizewinning Plants
Once you have mastered the basics of getting healthy shoots, you can explore more advanced techniques to multiply your stock and get an even more impressive display. These methods are used by professional growers to maximize their gardens.
Taking Cuttings from Dahlia Shoots
One of the best ways to get more dahlia plants for free is by taking cuttings. When a shoot is about 3-4 inches long, use a clean, sharp knife to cut it from the tuber, trying to take a small sliver of the tuber with it. This small piece of tuber contains concentrated growth hormones that will encourage faster rooting.
Remove the lowest set of leaves and dip the cut end in rooting hormone powder. Plant the cutting in a pot with moist potting mix, cover it with a plastic bag to create humidity, and place it in a warm, bright location. In a few weeks, you will have a new, rooted dahlia plant ready to grow.
The Dahlia-Rose Connection
Once your dahlia shoots are established and growing strong, you can start thinking about their place in the broader garden design. Creating a stunning display with companion plants is the next step. Understanding how to create a harmonious blend, such as in our guide on dahlias and roses, can elevate your garden from good to truly breathtaking.
Your Dahlia Shoot FAQ
Even with a guide, specific questions often arise. Here are answers to some of the most frequently asked questions about dahlia shoots to help you troubleshoot with confidence.
How many shoots should I leave on one dahlia tuber?
For the best results, it is recommended to thin the shoots to just one or two main stems per tuber. While it feels counterintuitive to remove growth, this practice results in a much stronger, more vigorous plant that produces higher quality flowers.
Why are my dahlia shoots purple?
Purple or reddish stems on dahlia shoots are very common, especially early in the season when temperatures are cool. This is often a reaction to the cold and typically nothing to worry about. The shoots will usually turn fully green as the weather warms up and the plant matures.
Is it okay for dahlias to sprout in storage?
It is common for dahlia tubers to sprout in storage if the conditions are too warm. While not ideal, it is not a disaster. You can either carefully pot up the sprouted tubers to grow indoors until it’s time to plant out, or you can snip off the shoots and let the tuber sprout again. Snipping them off can even be an opportunity to root them as cuttings.
Ultimately, the health of your dahlia shoots sets the entire tone for the growing season. By understanding their needs and protecting them from common threats, you are not just growing a plant; you are cultivating the foundation for months of incredible beauty. With these solutions in hand, you are well-equipped to ensure every dahlia in your garden starts strong and finishes spectacular.