Cutting Floor Joists for Ductwork? Stop! Read This First
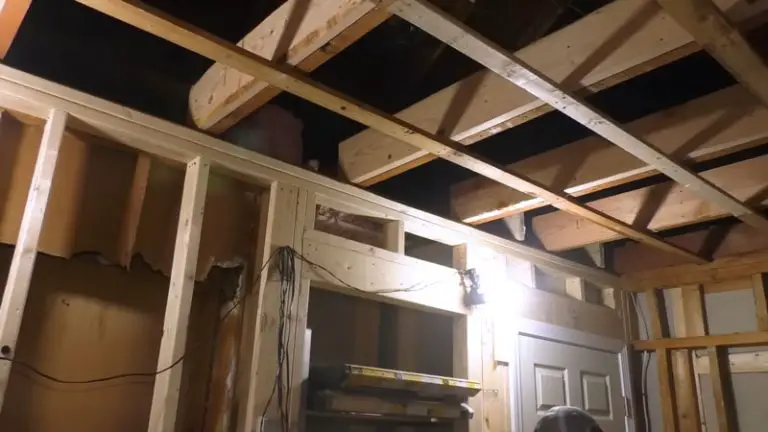
You have a clear goal: install a new HVAC system or improve your home’s airflow. But as you map out the path for your new ductwork, you encounter a formidable obstacle—the solid wood floor joists that form the skeleton of your home’s structure. The temptation is immense to just grab a saw and cut a path straight through.
Stop what you are doing immediately. Cutting into a floor joist without understanding the structural consequences is one of the most dangerous mistakes a homeowner can make. It can lead to sagging floors, cracked drywall, and in the worst-case scenario, a catastrophic structural failure.
This comprehensive guide will walk you through the problem, the physics, and the safe, code-compliant solutions for running ductwork through your floor system. We will cover the essential rules you must follow, how to make proper cuts, and when you absolutely need to call in a professional.
You'll Learn About
Why You Can’t Just Cut a Joist Anywhere
Floor joists are not just planks of wood; they are critical structural members engineered to carry specific loads. They support the weight of your floors, furniture, appliances, and even you. Each joist works by resisting bending forces: the top edge is under compression, and the bottom edge is under tension.
When you cut into a joist, you are removing material from these critical stress zones. A notch in the bottom edge severs the tension fibers, dramatically weakening the joist far more than a hole drilled in the center. Understanding this simple principle is the key to preventing a structural disaster.
Ignoring these principles can compromise your entire floor system. It’s a bit like trying to solve a plumbing puzzle, where one wrong move can cause major issues. The complexity is similar to projects like figuring out how to move a toilet; what seems simple on the surface involves a deep understanding of underlying systems.
The Unforgiving Rules of Building Codes
Building codes, specifically the International Residential Code (IRC), exist to prevent these very mistakes. These regulations aren’t arbitrary suggestions; they are legally enforceable standards based on decades of engineering and structural testing. When it comes to modifying floor joists, the rules are incredibly specific about the size and location of any cuts.
There are two primary ways to cut a joist: boring (drilling a hole) and notching (cutting a piece out of the top or bottom). The rules for each are vastly different because they affect the joist’s integrity in different ways. Before you even think about making a cut, you need to know which method is appropriate and what its limitations are.
Boring vs. Notching: The Critical Difference
Drilling a hole is almost always preferable to cutting a notch. A hole, when placed correctly in the center of the joist’s height, removes wood from the “neutral axis” where the compression and tension forces are minimal. A notch, by contrast, removes wood from the extreme top or bottom edges where the forces are greatest.
Therefore, the rules for notching are far more restrictive. You should never, under any circumstances, notch the middle third of a joist’s span. This area is where the bending forces are at their absolute maximum, and a notch here severely compromises the entire board.
Code-Compliant Guide to Cutting Joists
To safely modify a joist, you must know its dimensions (e.g., 2×8, 2×10) and its total span from support to support. The following table breaks down the IRC rules for standard dimensional lumber joists. Remember, these rules do not apply to engineered I-joists or trusses.
| Joist Size (Actual Depth) | Maximum Hole Diameter | Maximum Notch Depth |
|---|---|---|
| 2×6 (5.5 inches) | 1.83 inches | 0.92 inches |
| 2×8 (7.25 inches) | 2.41 inches | 1.21 inches |
| 2×10 (9.25 inches) | 3.08 inches | 1.54 inches |
| 2×12 (11.25 inches) | 3.75 inches | 1.87 inches |
As you can see, the allowable cuts are surprisingly small. A 3-inch hole, which is barely enough for a small duct, is already pushing the limits for a 2×10 joist. This is the central problem homeowners face: standard ductwork often requires larger openings than the code allows.
How to Safely Drill Holes for Ductwork
If your duct run allows for a hole that fits within the code, this is your best option. Follow these rules precisely to ensure you don’t weaken the structure.
The Rules for Boring Holes:
- Hole Size: The diameter of the hole must not exceed one-third of the actual depth of the joist. For a 2×10 joist (which is actually 9.25 inches deep), the maximum hole size is 3.08 inches.
- Hole Location: You must leave at least 2 inches of intact wood at both the top and bottom edge of the joist. This means all holes must be drilled through the central part of the board.
- Hole Spacing: While the code doesn’t specify spacing for single holes, a common-sense rule is to keep them separated by at least twice the diameter of the largest hole. Avoid drilling multiple large holes in a single joist without consulting an engineer.
Step-by-Step Guide to Drilling:
First, carefully measure and mark the center of your joist where the duct will pass. Ensure your mark is at least 2 inches away from the top and bottom edges. Use a high-quality hole saw or self-feed bit attached to a powerful drill for a clean cut.
Drill a pilot hole first to guide the larger bit. Apply steady pressure and let the tool do the work to avoid splintering the wood. Once the hole is cut, you can safely pass your ductwork through.
When You Absolutely Must Notch a Joist
Notching is far more dangerous and should be avoided whenever possible. It is typically only done at the very ends of a joist, where it rests on a wall or beam, to allow it to sit flush. If you must notch for a duct run (which is rare and often against code for larger sizes), the rules are extremely strict.
The Rules for Notching:
- Notch Location: Notches are only permitted in the outer third of the joist’s span. The middle third is strictly off-limits.
- Notch Depth: The depth of the notch cannot exceed one-sixth of the joist’s actual depth. For a 2×10 joist, this is a mere 1.54 inches.
- Notches on the Top Edge: These are the most common type of acceptable notches. Never cut a notch from the bottom edge in the middle of a span.
If your project seems to require a notch that violates these rules, you need a different plan. The structural risk is simply too high to ignore.
The Solution for Large Ducts: Boxing and Headers
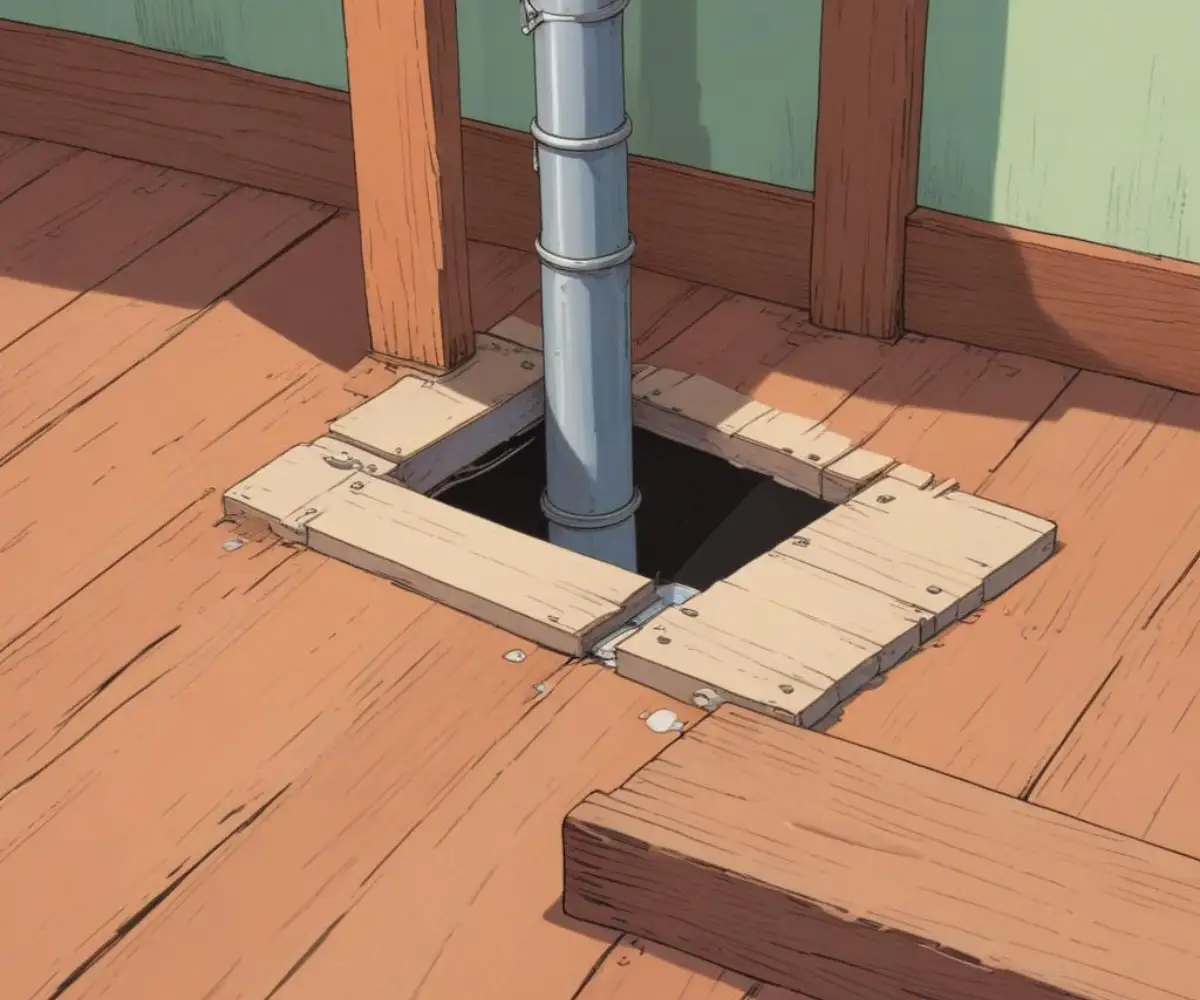
So what happens when you need to run a 6-inch or 8-inch rectangular duct that is clearly larger than any allowable hole? The answer is not to make a bigger cut. The correct solution is to re-frame the opening, a process known as “heading off” or “boxing out” a joist.
This involves cutting a joist completely out of the way and transferring its load to the adjacent joists. This is done by installing “header” joists perpendicular to the main joists to create a box around the opening. The existing joists that run alongside the opening are doubled up (sistered) to carry the extra weight transferred by the headers.
This is not a simple DIY task. It requires a solid understanding of structural framing, load paths, and proper fastening. For any project that requires cutting a joist completely or making an opening larger than the code allows, you should hire a qualified contractor or consult a structural engineer. The cost of a professional consultation is minuscule compared to the cost of repairing a failed floor.
The Critical Role of Reinforcement
Even if you make a code-compliant hole or notch, reinforcing the joist is a smart practice that adds a significant margin of safety. This is especially true in older homes or if the joist already has other defects. The most common method of reinforcement is “scabbing” or “sistering.”
This involves attaching a piece of structural material, typically 3/4-inch plywood or another piece of dimensional lumber, to the side of the cut joist. The reinforcing piece should extend well beyond the cut on both sides—a general rule is at least 2 feet in each direction. This choice of material is important, much like the decision between OSB or plywood for an attic floor, where structural integrity is key.
To properly sister a joist, apply a generous amount of construction adhesive to the face of the reinforcing piece and then fasten it securely to the joist with structural screws or nails. This combination of glue and fasteners ensures the two pieces act as a single, stronger unit, effectively restoring the strength lost from the cut.
A Special Warning: Engineered I-Joists and Trusses
The information discussed above applies only to traditional, solid wood dimensional lumber. If your home is built with engineered I-joists (which look like the letter “I”) or floor trusses (which have a web-like structure), all of these rules go out the window.
These components are precisely engineered systems, and you cannot cut, notch, or drill into them anywhere without following the explicit instructions provided by the manufacturer. The top and bottom “chords” of an I-joist or truss are under extreme stress, and any modification can lead to immediate failure. Most manufacturers provide diagrams showing designated “knock-out” areas where holes can be made, typically in the thin OSB webbing of an I-joist. Never cut the top or bottom chord.
If you have engineered joists, you must find the manufacturer’s technical guide online or consult an engineer before making any cuts. The risk of a mistake is simply too high to proceed otherwise. Proper planning in these situations is just as crucial as it is for other home systems; ensuring you have proper rim joist insulation, for example, is key to the overall thermal envelope, just as maintaining joist integrity is key to the home’s structure.
Conclusion: Plan Smart, Cut Safe
Cutting floor joists for ductwork is a task that carries significant responsibility. While it may seem like a minor part of a larger renovation, a single improper cut can undermine the safety and stability of your home. Always begin by planning a duct route that minimizes the need to cut structural members.
When cutting is unavoidable, adhere strictly to the rules of the building code. Measure twice, cut once, and always prioritize safety. Drill holes instead of notching whenever possible, keep them small, and place them correctly. For any cut that exceeds the standard limits, or for any work involving engineered joists, the right move is always to bring in a professional.
By respecting the structure that holds up your home, you can successfully complete your HVAC project without creating a much bigger, more dangerous, and more expensive problem down the road.