Cutting Colmet Steel Edging Is Easy With This Pro Guide
You’ve chosen Colmet steel edging for its durability and clean lines, but now you face the challenge: how to cut it for a perfect fit. An improper cut can ruin the piece, waste money, and leave you with a jagged, unprofessional finish that compromises your entire landscaping project. This is a common stumbling block for many DIY enthusiasts who find the resilient nature of steel to be surprisingly difficult to manage without the right approach.
The core of the problem lies in using the wrong tools or techniques. Many assume that the tools used for wood or softer metals will suffice, leading to frustration, damaged equipment, and even safety hazards. The solution is a combination of proper tool selection, meticulous preparation, and a clear understanding of the cutting process from start to finish. With the correct method, you can achieve clean, precise cuts that make installation seamless and give your landscape a truly professional look.
You'll Learn About
Why the Right Tool Is Non-Negotiable
Attempting to cut Colmet steel edging with inadequate tools is a recipe for disaster. Tools not designed for hardened steel, like tin snips or wood saws, will not only fail to make a clean cut but can also be damaged in the process. More importantly, using the wrong tool significantly increases the risk of injury from slipping blades or flying metal shards.
A poor cut results in a burred, uneven edge that is difficult to connect to other pieces and can leave dangerous sharp points exposed. It undermines the very reason you chose steel edging in the first place—its crisp, clean appearance. Therefore, investing in the right tool is not just about ease; it’s about achieving the quality and safety your project deserves.
Your Arsenal: The Best Tools for Cutting Steel Edging
When it comes to cutting through steel, not all tools are created equal. Your choice will depend on your budget, the tools you may already own, and your comfort level with power tools. Here are the top contenders for achieving a perfect cut on your Colmet edging.
The Powerhouse: The Angle Grinder
For speed and precision, nothing beats an angle grinder fitted with a metal cut-off wheel. This is the tool of choice for most professionals because it slices through steel quickly and leaves a relatively clean edge. The high-speed rotation of the abrasive disc makes short work of even thick-gauge steel.
When using an angle grinder, it is crucial to use a thin metal cut-off disc, not a grinding wheel. Let the tool’s speed do the work; forcing it through the metal will only lead to a rougher cut and potential kickback. Sparks will fly, so wearing full protective gear, including safety glasses, gloves, and non-flammable clothing, is absolutely mandatory.
The Manual Workhorse: The Hacksaw
If you prefer a more controlled, manual approach or don’t have access to an angle grinder, a hacksaw is an excellent and affordable alternative. The key to success with a hacksaw is selecting the right blade. You will need a blade with a high TPI (teeth per inch), typically between 18 and 24, designed specifically for cutting metal.
A hacksaw requires more physical effort and time, but it offers great precision. To get a straight cut, you must secure the edging firmly and use long, steady strokes. While slower, this method produces fewer sparks and is quieter than an angle grinder, making it a good option for smaller jobs or workshops with noise constraints.
Other Potential Tools (and Their Drawbacks)
While other tools can technically cut steel, they often come with compromises. A reciprocating saw (Sawzall) with a metal-cutting blade can power through the edging, but it’s known for creating a rough, vibrated cut that requires significant clean-up. Bolt cutters should be avoided entirely, as they will pinch and deform the edging rather than cutting it cleanly, ruining the profile of the material.
| Tool | Speed | Cost | Cut Quality | Skill Level |
|---|---|---|---|---|
| Angle Grinder | Fast | Moderate | Excellent | Intermediate |
| Hacksaw | Slow | Low | Good | Beginner |
| Reciprocating Saw | Fast | Moderate | Fair to Poor | Intermediate |
| Bolt Cutters | N/A | Low | Very Poor (Deforms Metal) | Beginner |
The Ultimate Step-by-Step Cutting Process
Achieving a perfect cut isn’t just about the tool; it’s about the process. Following these steps methodically will ensure a safe, clean, and accurate result every time, transforming a potentially difficult task into a manageable one.
Step 1: Measure Twice, Cut Once
Precision starts with measurement. Use a reliable tape measure to determine the exact length you need and double-check it before making any marks. For dark-colored Colmet edging, a silver permanent marker or a chalk line provides the best visibility for your cutting guide. An accurate mark is the foundation of a perfect cut.
Step 2: Safety First, Always
Cutting steel is inherently hazardous. Before you begin, equip yourself with the proper Personal Protective Equipment (PPE). This includes safety glasses or a full face shield to protect from sparks and debris, heavy-duty gloves to handle sharp metal, and hearing protection if using an angle grinder. Work in a clear, well-ventilated area away from any flammable materials.
Step 3: Secure the Edging
A moving target is impossible to cut accurately and safely. You must secure the steel edging firmly before cutting. Clamp the piece to a sturdy workbench or sawhorse, ensuring the marked cutting line overhangs the edge. This stability prevents the tool from binding and the metal from vibrating, which is crucial for a clean and straight cut.
Step 4: Making the Cut
With your workpiece secure and your PPE on, you are ready to cut. If using an angle grinder, bring the tool up to full speed before making contact with the metal. Apply gentle, consistent pressure and guide the cut-off wheel along your marked line. If using a hacksaw, start by creating a small groove to guide the blade, then proceed with smooth, even strokes using the full length of the blade.
Step 5: Deburring and Finishing the Edge
This final step is one that many overlook, but it is critical for both safety and a professional finish. The cut edge will be extremely sharp and will likely have small metal burrs. Use a metal file or a deburring tool to smooth these rough edges. This not only prevents injuries during handling and installation but also ensures a flush, tight fit when joining two pieces of edging and helps prevent premature rust on the exposed metal.
Common Mistakes to Avoid When Cutting Colmet Edging
Even with the right tools, simple mistakes can derail your project. The most common error is using a dull or incorrect blade, which will struggle to cut and can overheat the metal. Another frequent issue is failing to properly secure the edging, leading to crooked cuts and dangerous vibrations.
Rushing the process is another pitfall. Whether using a power tool or a manual one, forcing the cut will only result in a sloppy finish. Finally, never neglect your PPE. A single metal shard in an eye can have devastating consequences that are easily preventable by taking a few seconds to put on safety glasses.
Beyond the Cut: Pro Tips for a Flawless Installation
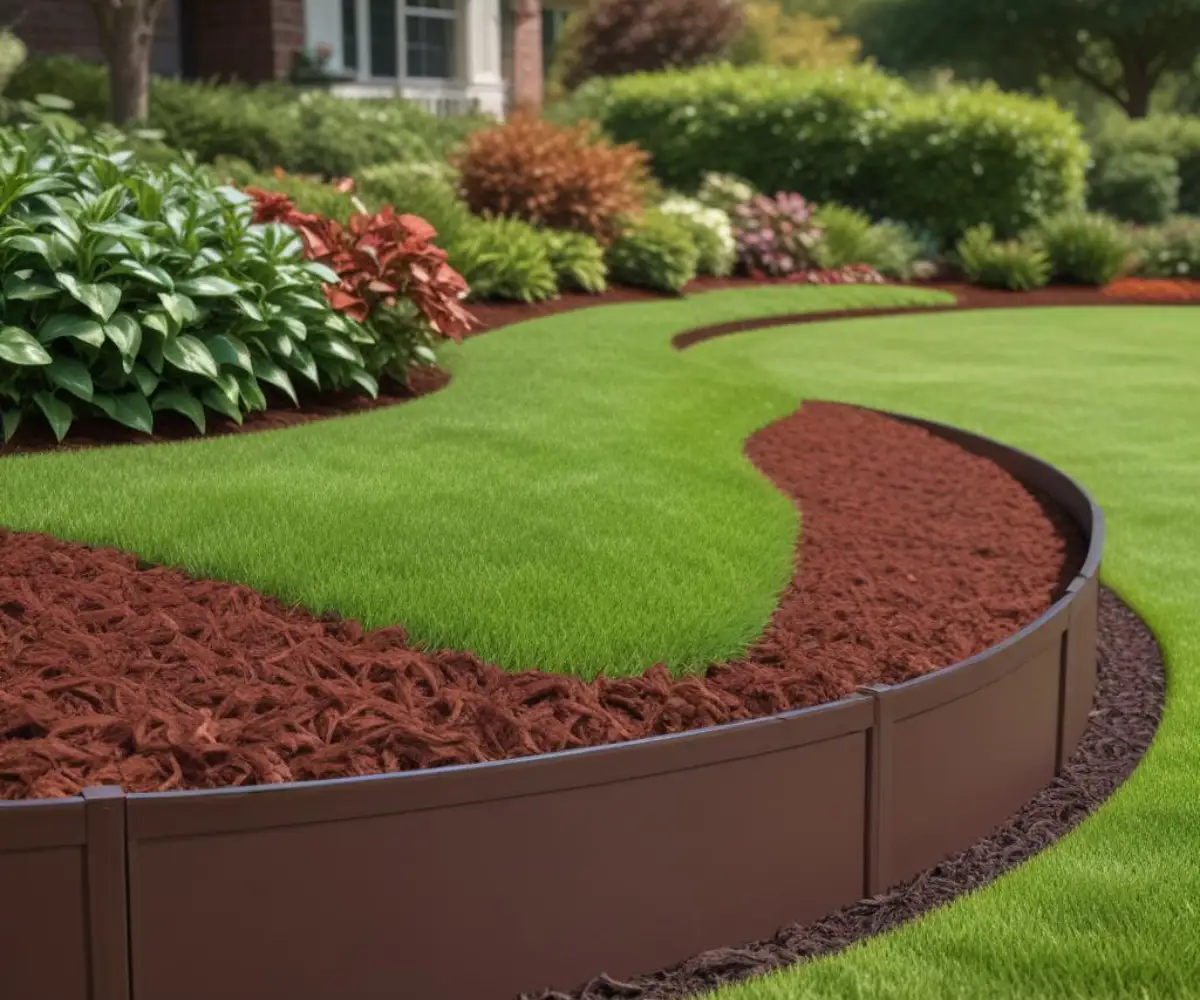
A perfect cut is only part of a successful installation. The quality of your cut directly impacts how well the edging pieces connect and form smooth, graceful curves. A clean, deburred edge allows for nearly invisible seams that won’t disrupt the flow of your landscape design.
Proper ground preparation is equally important. Ensure the trench you create is level and provides adequate support. For landscapes with heavy rainfall or poor drainage, consider how water will move around your new border. Installing a french drain in clay soil behind the edging can prevent water from pooling, which is crucial for preventing frost heave that can push the edging out of place over winter. Speaking of winter, proper maintenance like remembering to disconnect garden hoses is a small task that prevents big problems, a principle that applies to all aspects of landscape care, learn more about what to do if you forgot to disconnect my garden hose in winter what to do if.
Troubleshooting Your Cuts
Even with careful preparation, you might encounter issues. If your cuts are coming out jagged, the first thing to check is your blade or cutting disc for wear. A dull cutting surface is often the primary culprit. Also, re-check that your workpiece is clamped down as tightly as possible to eliminate any movement.
If your angle grinder seems to be binding or struggling, you may be applying too much pressure. Let the tool’s high RPM do the work for you. If a hacksaw blade binds, ensure you are keeping it perpendicular to the metal and not twisting it during the stroke.
Frequently Asked Questions (FAQ)
Many first-timers have similar questions about this process. One common query is whether tin snips can be used. For 14-gauge Colmet steel, the answer is a definitive no; they are not strong enough and will be ruined. Another frequent question is about the best hacksaw blade, which is a bi-metal blade with 18-24 TPI for a balance of speed and smoothness.
A final important consideration is whether to treat the cut edge to prevent rust. While Colmet edging is powder-coated, the cut exposes raw steel. Applying a coat of rust-inhibiting metal primer or paint to the cut end is a highly recommended step to ensure the longevity of your installation. This attention to detail extends to other permanent fixtures in your garden, such as landscape lighting, which might require an always on light switch for consistent operation.
Conclusion: Master the Cut, Master Your Landscape
Cutting Colmet steel edging does not have to be an intimidating task. By demystifying the process, it becomes clear that success hinges on a few key principles: selecting the appropriate tool for the job, adhering to strict safety protocols, and employing a methodical approach from measurement to the final finishing touch. Taking the time to deburr the edge and even apply a touch of paint shows a commitment to quality that pays off in the longevity and beauty of the final result.
With this knowledge, you are now equipped to tackle your landscaping project with the confidence of a professional. A clean cut is the cornerstone of a flawless installation, allowing you to create the crisp, durable, and beautiful landscape borders that will define your outdoor space for years to come.