Cutting Asphalt With an Angle Grinder: The Ultimate DIY Guide
You’ve got a small asphalt repair job. Maybe it’s a pesky pothole that’s been growing for months, a utility line that needs burying, or an uneven edge creating a trip hazard. The problem is, calling in a professional for a minor fix feels like overkill, but leaving it alone will only lead to bigger, more expensive problems down the road. You need a practical, cost-effective solution you can handle yourself.
Many homeowners find themselves in this exact situation, staring at a damaged driveway and feeling unsure of the next step. The good news is that for small-scale asphalt cutting, you don’t always need heavy-duty, rented equipment. A powerful and versatile tool already in many DIY arsenals can be the hero of the day: the angle grinder.
This guide will walk you through everything you need to know about cutting asphalt with an angle grinder. We’ll cover selecting the right blade, essential safety precautions, and a step-by-step process to ensure a clean, professional-looking cut every time. Get ready to tackle that asphalt project with confidence and save yourself time and money.
You'll Learn About
Why an Angle Grinder is Your Go-To for Small Asphalt Jobs
When faced with a large-scale road repair, professionals turn to heavy machinery like walk-behind saws. But for smaller, more precise tasks around your property, an angle grinder offers the perfect balance of power and maneuverability. It’s an ideal choice for cutting around existing structures, creating clean edges for patches, or making short, straight cuts.
An angle grinder is particularly effective for asphalt less than four inches thick. For these smaller projects, it provides a level of control that larger saws simply can’t match. Whether you’re a seasoned DIYer or a homeowner looking to tackle a new challenge, an angle grinder is an accessible and efficient tool for the job.
However, it’s crucial to understand that not just any angle grinder or blade will do. The success of your project hinges on using the correct equipment and techniques. The wrong blade can wear out quickly, create a messy cut, or even be a safety hazard.
Choosing the Right Blade: The Key to a Clean Cut
The single most important component for this task is the blade. Asphalt is a surprisingly abrasive material, a composite of aggregate (rocks and gravel) and bitumen (a sticky, black petroleum product). Using a standard metal or wood cutting blade is not only ineffective but also dangerous. You need a blade specifically designed to handle this tough combination.
For cutting asphalt, a diamond blade is the undisputed champion. Diamond blades don’t “cut” in the traditional sense; they grind through the material. Tiny industrial-grade diamonds are embedded in a metal matrix on the blade’s edge. As the blade spins, these diamonds do the hard work of grinding away the asphalt.
When selecting a diamond blade, you’ll encounter a few different types. Segmented rim blades are excellent for asphalt because the gaps (segments) help to dissipate heat and clear away debris, which is crucial for preventing the blade from overheating and getting gummed up with sticky bitumen. For a project like this, investing in a quality diamond blade designed for asphalt or hard materials is non-negotiable.
Angle Grinder and Blade Size Considerations
Angle grinders come in various sizes, typically measured by the diameter of the blade they can accommodate (e.g., 4.5-inch, 5-inch, 7-inch, 9-inch). A larger diameter blade will allow you to make a deeper cut in a single pass. A common 4.5-inch angle grinder, for instance, has a maximum cutting depth of about 1 to 1.5 inches. A 9-inch grinder can cut significantly deeper.
Before you start, assess the thickness of your asphalt. If it’s a standard residential driveway, it’s likely between 2 to 4 inches thick. This may mean you’ll need to make multiple passes to cut all the way through, especially with a smaller angle grinder. This is a normal part of the process, so patience is key.
Safety First: Essential Protective Gear
Cutting asphalt with an angle grinder generates a significant amount of dust, noise, and flying debris. Prioritizing safety is absolutely critical to prevent injury. Before you even think about starting the grinder, make sure you are equipped with the proper Personal Protective Equipment (PPE).
Your essential safety checklist should include:
- Full-face shield or safety glasses: To protect your eyes and face from high-velocity asphalt chunks and debris.
- Dust mask or respirator: Asphalt dust contains silica, which is harmful to your lungs when inhaled.
- Hearing protection: Angle grinders are loud, and prolonged exposure can damage your hearing.
- Heavy-duty gloves: To protect your hands from cuts and abrasions.
- Steel-toed boots: For foot protection against dropped tools or heavy materials.
Never operate an angle grinder without the manufacturer’s safety guard in place. It’s there for a reason—to deflect debris and protect you if the blade shatters. Working safely ensures your DIY project is a success, not a trip to the emergency room.
Step-by-Step Guide to Cutting Asphalt with an Angle Grinder
With your safety gear on and the right blade attached, you’re ready to start cutting. Following a methodical process will yield the best results and ensure you work efficiently and safely. A clean, straight cut is not just about aesthetics; it also allows a new asphalt patch to bond more effectively, leading to a longer-lasting repair.
Step 1: Prepare the Work Area
Start by thoroughly cleaning the area you intend to cut. Use a stiff broom or a leaf blower to remove all dirt, gravel, and loose debris. A clean surface prevents the grinder from kicking up unexpected projectiles and helps you see your cut line clearly.
If you’re dealing with larger cracks or potholes that need repair, a thorough cleaning might be the first step in a larger driveway scraping solution. Ensuring the base is solid and clean is foundational to any good repair.
Step 2: Mark Your Cut Line
Precision is key for a professional-looking repair. Use a chalk line to snap a straight, clear guide for your cut. For curves or irregular shapes, a can of spray paint works well. Take your time with this step; a well-marked line makes the cutting process much smoother.
When patching a damaged area, it’s best to cut a square or rectangular shape around the pothole. This should extend a few inches into the solid, undamaged asphalt on all sides to ensure you have a stable base for the new patch.
Step 3: Set Up for a Wet Cut (Optional but Recommended)
Cutting asphalt generates a lot of dust. One of the best ways to control this is by using a wet cutting technique. Have a garden hose with a spray nozzle handy. A gentle stream of water directed at the blade as it cuts will dramatically reduce airborne dust and also help to keep the diamond blade cool, extending its life.
If a constant stream of water isn’t practical, you can periodically spray the cut line to help manage dust. This method is highly effective and makes for a much cleaner and safer work environment.
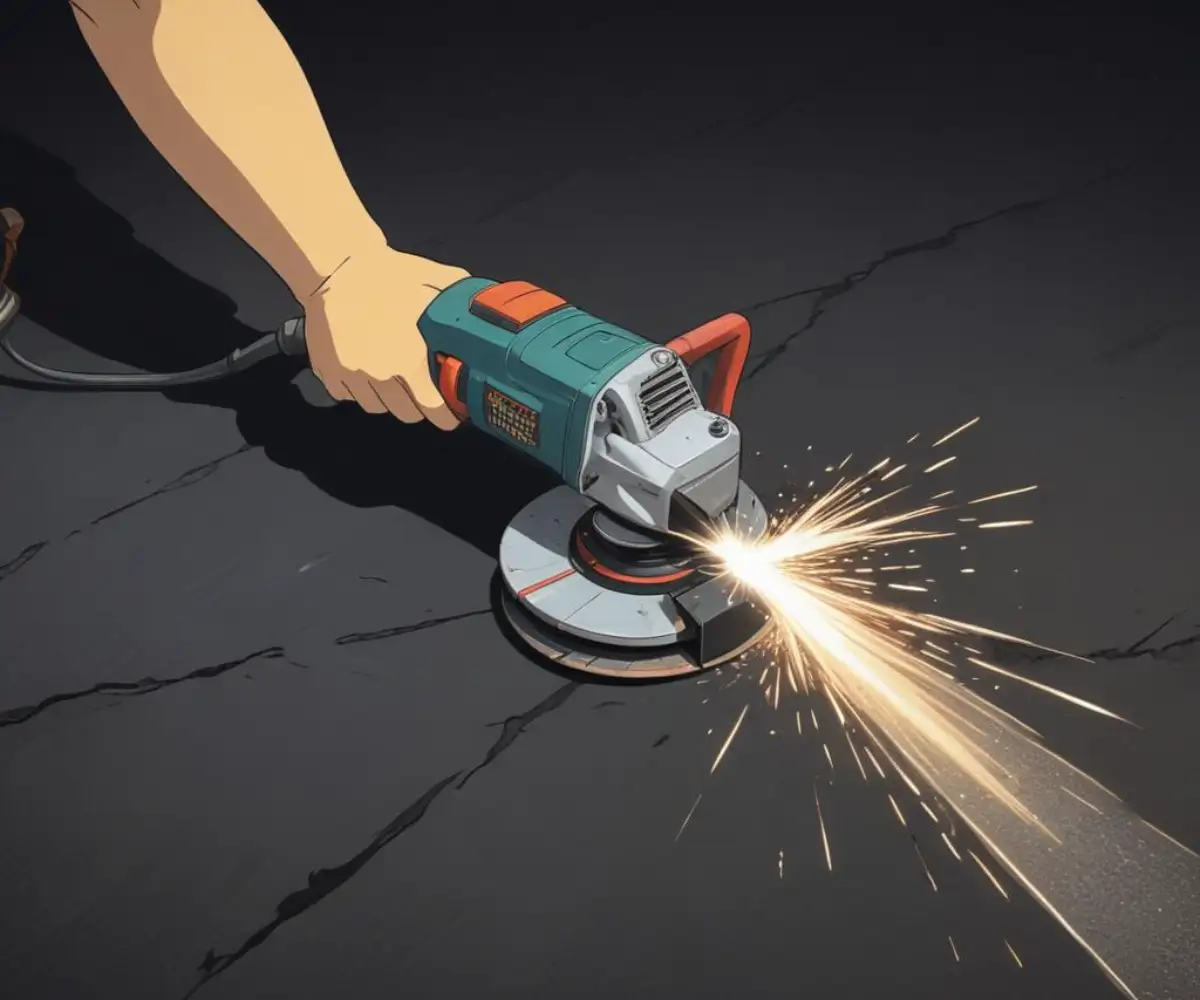
Step 4: Making the Cut
Now it’s time for the main event. Hold the angle grinder firmly with both hands and turn it on. Allow the blade to reach its full speed before making contact with the asphalt. A common mistake is to start the grinder while the blade is already touching the surface, which can cause it to kick back.
Begin by plunging the spinning blade into the asphalt at a 90-degree angle. Let the weight of the tool do the work; don’t force it down. Apply steady, gentle pressure and guide the grinder along your marked line. Move slowly and deliberately for a clean, straight cut.
Step 5: Multiple Passes for Deeper Cuts
As mentioned, you will likely need to make multiple passes to cut through the full depth of the asphalt, especially with a smaller grinder. After your initial pass, which creates a guiding groove, go back over the line, allowing the blade to cut a little deeper each time. Patience here will prevent you from overloading the grinder’s motor.
Continue making passes until you have cut completely through the asphalt layer and can see the base material underneath. You’ll feel a change in resistance when the blade has passed through the asphalt.
Step 6: Removing the Cut Section
Once your cuts are complete, you can remove the unwanted section of asphalt. For smaller pieces, a pry bar or a sturdy shovel should be sufficient to lift them out. If the section is larger, you may need to break it up further with a sledgehammer before removing it.
With the damaged section removed, you are left with a clean, well-defined area ready for patching. This clean edge is crucial for ensuring the new asphalt bonds properly and creates a seamless, durable repair.
Comparing Tools: Angle Grinder vs. Other Options
While an angle grinder is perfect for small jobs, it’s helpful to know how it compares to other tools. For larger, more extensive projects, other equipment might be more efficient. Understanding the pros and cons of each will help you make the best choice for your specific needs.
| Tool | Best For | Pros | Cons |
|---|---|---|---|
| Angle Grinder | Small repairs, precise cuts, short lines, curves. | Affordable, maneuverable, versatile for other projects. | Limited cutting depth, slower for large areas. |
| Circular Saw (with diamond blade) | Medium-sized jobs, long straight cuts. | Deeper cutting depth than small grinders, relatively easy to keep straight. | Can be bulky, still not as fast as a dedicated saw. |
| Walk-Behind Concrete Saw | Large driveways, long trenches, professional use. | Fastest and most efficient for big jobs, very deep cutting capacity. | Expensive to buy or rent, heavy and difficult to transport. |
| Jackhammer/Chipping Hammer | Demolition and removal of large sections (not for clean cuts). | Excellent for breaking up asphalt. | Creates rough, uneven edges not suitable for patching. |
Post-Cutting: Preparing for Repair
Successfully cutting the asphalt is only half the battle. The preparation you do next is vital for a long-lasting repair. After removing the old asphalt, inspect the base layer. If you notice any underlying issues, like saturated soil or deteriorating materials, these need to be addressed before you proceed. Sometimes, what seems like a simple surface problem can be a sign of deeper issues, much like how tar paper between subfloor layers can hide moisture problems indoors.
Ensure the base is compacted and level. Add and tamp down new base material if necessary. The goal is to create a solid foundation for your new asphalt patch. This attention to detail will prevent the patch from sinking or failing prematurely.
Just as you’d want to understand the difference between a kraft faced vs plastic vapor barrier to prevent wall rot, understanding the importance of a solid base will prevent your driveway repair from failing. Take the time to do it right, and your repair will stand the test of time and traffic.
Final Thoughts on a Job Well Done
Cutting asphalt with an angle grinder is a completely achievable DIY task that can save you significant money on small repairs. By arming yourself with the right knowledge, the correct diamond blade, and a steadfast commitment to safety, you can tackle potholes, cracks, and uneven edges with confidence. Remember that the key to a durable repair lies not just in the cut itself, but in the thorough preparation of the area for the new patch.
What starts as a small asphalt issue can quickly escalate if ignored. By taking proactive steps and using the tools you have at your disposal, you can maintain the integrity and appearance of your driveway for years to come. So, gear up, mark your lines, and get ready to make that clean cut—your smooth, repaired driveway awaits.