Why Is My Cut-In Paint Darker than Rolled? How To Fix
You’ve spent hours prepping, taping, and finally painting a room, only to step back and see it: a distinct, darker outline around the ceiling, trim, and corners. This frustrating phenomenon, where the paint applied with a brush (cutting in) dries darker than the paint applied with a roller, is known in the professional world as “picture framing” or “hatbanding.” It’s a common problem that can make an otherwise perfect paint job look amateurish and unfinished.
The good news is that you’re not alone, and this issue is entirely fixable. More importantly, it’s preventable. Understanding why this happens is the first step toward achieving the seamless, professional finish you want for your walls.
You'll Learn About
Unmasking the Culprit: Why Does Cut-In Paint Look Darker?
Before you can fix the problem, it helps to understand the science behind it. The darker appearance is rarely due to a difference in the paint color itself. Instead, it’s an optical illusion created by subtle differences in texture and sheen, which affect how light reflects off the wall.
The Illusion of Color: It’s All About Texture and Light
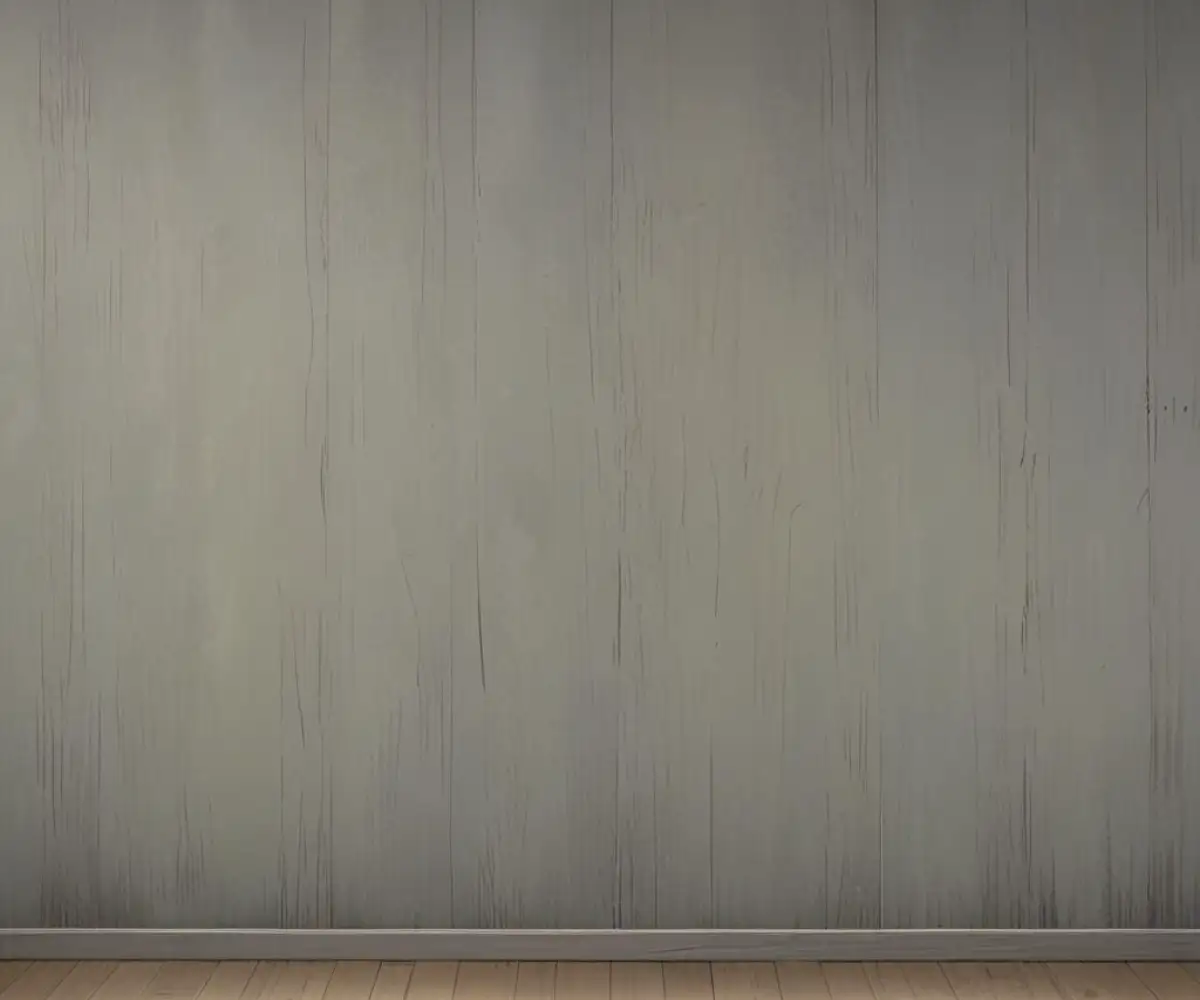
The core of the issue lies in the different textures created by a brush versus a roller. A paintbrush applies paint in smooth, linear strokes. Even with the best technique, these strokes create a flatter, less porous surface than the stippled “orange peel” texture left by a roller nap.
This difference in surface texture changes how light bounces off the wall. The smoother, brushed sections reflect light more uniformly, which can make them appear darker and more glossy than the textured, rolled areas that scatter light more diffusely. This effect is especially pronounced on walls that receive a lot of natural light and with higher-sheen paints like eggshell, satin, or semi-gloss.
Paint Film Thickness: A Little More Goes a Long Way
Another significant factor is the thickness of the paint film. A brush naturally applies a thicker layer of paint than a roller. A heavier coat means more pigment and binders are concentrated in that area, which can lead to a slightly deeper color and a higher sheen once dry.
When you cut in, you are essentially creating a concentrated band of paint. If the subsequent rolling doesn’t adequately blend into this thicker band, the difference becomes noticeable. This is why even when using the exact same can of paint, the application method alone can alter the final appearance.
The “Wet Edge” Dilemma
One of the golden rules of painting is to always maintain a “wet edge.” This means that you should always be rolling into a freshly brushed, wet cut-in line. When you cut in an entire room and let it dry completely before starting to roll, you create a distinct, cured edge.
Painting over this dry edge with a roller creates a lap mark, where two layers of paint are sitting side-by-side instead of blending into one uniform coat. This overlap zone is often where picture framing is most obvious. The paint in this area builds up, dries unevenly, and highlights the textural differences between the brush and roller.
How to Fix Dark Cut-In Lines on an Already Painted Wall
Discovering picture framing after the paint has dried can be disheartening, but it’s not a permanent disaster. With a bit of patience and the right technique, you can correct the issue and achieve the flawless finish you were hoping for.
Step 1: Assess the Situation and Prepare the Surface
First, confirm that the paint is fully cured. Most latex paints need at least 24 to 48 hours. The fix involves applying another coat of paint, and you need a stable base to work from.
Lightly clean the walls with a damp cloth to remove any dust or debris. Your primary goal in this step is to minimize the textural difference between the brushed and rolled areas. The most effective way to do this is by lightly sanding the darker cut-in lines.
Step 2: Gently Sand the Edges
Using extra-fine grit sandpaper (220-grit is ideal), gently sand the visible edge where the brushed and rolled sections meet. The goal is not to remove the paint, but to knock down the hard edge and smooth the transition between the two textures.
Use a light touch to avoid damaging the underlying drywall. After sanding, wipe the walls down with a tack cloth or a damp sponge to remove all sanding dust. A clean surface is crucial for the next coat of paint to adhere properly.
Step 3: Apply a Final, Unifying Coat
This is where technique is everything. To avoid recreating the same problem, you must work in smaller, manageable sections and maintain a wet edge. Do not cut in the entire room first.
Working one wall at a time, use your brush to cut in a section no more than 3-4 feet long along the ceiling and trim. Immediately after brushing, switch to your roller and paint the main body of the wall, rolling as close as possible to the edges and overlapping the still-wet brushed paint. This “wet-on-wet” application allows the brushed and rolled paints to meld together into a single, uniform layer as they dry.
When rolling, feather out the paint as you approach the cut-in line to create a seamless blend. Continue this process around the room, working in small sections until the entire wall is complete. This method ensures there are no hard edges and the texture remains consistent across the entire surface.
Prevention is Key: Pro Tips for a Flawless Finish Every Time
Fixing picture framing is possible, but avoiding it in the first place saves you time, effort, and paint. By adopting professional techniques and using the right tools, you can ensure your next paint job is perfect from the start.
Choose the Right Tools for the Job
Your choice of brush and roller can make a significant difference. Use a high-quality, 2.5 to 3-inch angled sash brush for cutting in. For rolling, select a roller cover with the appropriate nap length for your wall’s texture—a 3/8-inch nap is a great all-purpose choice for most interior drywall.
To further minimize texture differences, some pros use a very small, 3-inch “weenie” roller to get closer to the corners right after brushing. This applies the same stippled texture as the larger roller, making the final blend almost invisible.
Proper Paint Preparation is Non-Negotiable
Always stir your paint thoroughly before you begin and periodically as you work. The pigments and binders that create the color and sheen can settle at the bottom of the can. If not mixed properly, the paint you use for cutting in could have a slightly different composition than the paint you use for rolling, leading to noticeable variations.
Master the “Cut and Roll” Technique
The single most important technique to prevent picture framing is the wet-on-wet method described in the fixing section. Here’s a quick recap:
- Work in Sections: Divide your room into manageable sections, typically one wall at a time.
- Cut In a Small Area: Brush a strip of paint along the edges of your first section (e.g., 3-4 feet along the ceiling and down the corner).
- Roll Immediately: While that brushed paint is still wet, begin rolling the main part of the wall, overlapping the brushed area.
- Feather Your Edges: Use light pressure on your brush to “feather” the edge of your cut-in line, creating a softer, thinner transition zone for the roller to blend into.
This method is especially important around detailed areas. The clean lines required when painting near trim are often where this issue is most apparent, such as with the intricate profiles you find when dealing with crown molding.
Consider a Paint Extender
If you’re painting in a hot, dry environment or you find that your paint is drying too quickly, a paint extender (also called a conditioner) can be a lifesaver. Products like Floetrol for latex paint slow down the drying time, giving you a longer “open time” to maintain a wet edge and perfect your blend between brushed and rolled sections.
| Cause of Dark Cut-In Lines | Primary Solution | Tools/Materials Needed |
|---|---|---|
| Texture Difference | Match textures by rolling as close to the edge as possible and feathering the brushed line. | High-quality brush, appropriate roller nap (3/8″ typical), optional mini-roller. |
| Paint Film Thickness | Apply a thin, even coat when cutting in. Avoid overloading the brush. | 2.5″ angled sash brush, steady hand. |
| Letting Cut-In Dry | Maintain a “wet edge” by cutting and rolling one small section at a time. | Systematic painting plan (work wall-by-wall). |
| Improper Mixing | Stir paint thoroughly before and during the project. | Paint stirrer (wooden stick or drill attachment). |
| Fast-Drying Conditions | Slow the paint’s drying time to increase the wet-edge window. | Paint extender/conditioner (e.g., Floetrol). |
Achieving a Professional Finish
Painting is one of the most impactful DIY home improvement projects you can undertake. From major updates like improving closet insulation to seasonal chores, a fresh coat of paint instantly revitalizes a space. But nothing deflates that sense of accomplishment faster than seeing flawed results like picture framing.
By understanding that the darker appearance of cut-in lines is an illusion caused by texture and sheen, you’re already halfway to solving the problem. Applying the correct techniques—specifically maintaining a wet edge, choosing the right tools, and properly preparing your paint—will eliminate this issue from your future projects. Taking the time for home maintenance, whether it’s painting a room or remembering to winterize your lawn mower, always pays off in the long run.
With these professional tips in your arsenal, you can approach your next painting project with confidence, knowing you have the skills to achieve a seamless, beautiful, and impressively uniform finish on every wall.