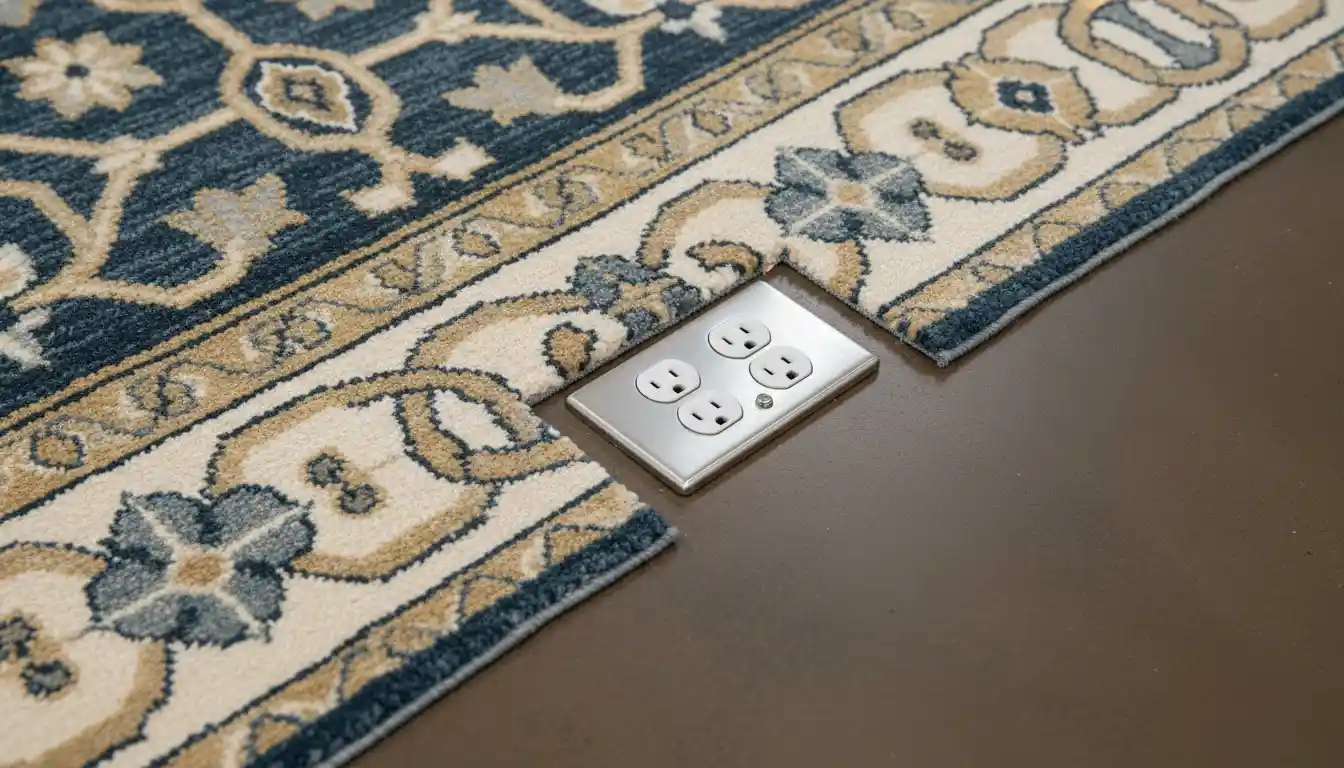
Cut a Hole in a Rug for an Outlet Without Ruining It!
You found the perfect area rug. It ties the room together, feels great underfoot, and adds that finishing touch you’ve been looking for. But there’s a major problem: it’s covering a crucial floor outlet, creating an unsightly lump and a potential safety hazard.
Many homeowners face this dilemma, torn between flawless interior design and practical access to power. Cutting a hole in a brand-new, expensive rug feels daunting, with fears of creating a frayed, ugly mess that ruins your investment. This guide will show you how to do it right.
You'll Learn About
Why You Can’t Ignore a Covered Floor Outlet
Simply leaving a rug over a floor outlet isn’t just an inconvenience; it’s a genuine safety risk. Understanding the dangers reinforces why a proper cutout is the only responsible solution for your home’s functionality and your family’s well-being.
The Hidden Fire Hazard
Electrical outlets can generate heat, especially when in use. Covering an outlet with a thick rug can trap this heat, creating a fire risk. Furthermore, a cord running under the rug can become pinched or damaged by foot traffic, leading to frayed wires and an even greater danger.
Tripping Hazards and Damaged Cords
The lump created by an outlet cover and a plug under a rug is a significant tripping hazard. It also puts constant pressure on the plug and the cord’s connection point. Over time, this can damage the cord, the plug, and even the internal wiring of the outlet itself.
Protecting Your Rug’s Integrity
Beyond safety, making a clean, intentional cut protects the rug itself. A cord pressing against the rug’s backing and fibers can cause premature wear and discoloration. A proper cutout allows the rug to lie flat and evenly, preserving its appearance and lifespan.
Before You Cut: Essential Preparation
A successful result depends entirely on careful preparation. Rushing into the cutting process is the single biggest mistake you can make. Take the time to gather the right tools and measure with absolute precision.
Gathering Your Tools and Materials
Having the correct tools on hand is non-negotiable for a clean, professional result. The most critical choice is your cutting tool, as different rugs require different methods. A sharp blade is paramount to avoid snagging and pulling the rug’s fibers.
You will also need a reliable measuring tape, a marking tool like chalk or a fabric pen that won’t permanently stain your rug, and a straightedge for guiding your cuts. For finishing the edges, have a quality fabric glue or seam sealer ready.
| Cutting Tool | Best For | Pros | Cons |
|---|---|---|---|
| Utility Knife / Box Cutter | Low-pile, synthetic rugs with a firm backing. | Inexpensive, readily available, easy to control. | Dulls quickly; requires multiple passes; not ideal for thick or natural fiber rugs. |
| Fabric Shears / Heavy-Duty Scissors | Natural fiber rugs (wool, jute, sisal) and some shag rugs. | Provides a clean slicing action that is less likely to pull fibers. | Can be difficult to cut through thick, dense backing. |
| Hot Knife / Wood Burning Tool | Synthetic rugs (nylon, polyester, olefin). | Melts and seals the synthetic fibers as it cuts, completely preventing fraying. | Requires good ventilation due to fumes; needs a steady hand; risk of burns. |
| Oscillating Multi-Tool | Very thick, dense rugs where other tools fail. | Powerful and fast for tough materials. | Can be aggressive and easy to over-cut; creates dust. |
Choosing the Right Cutting Method for Your Rug
The material of your rug dictates the best approach. Synthetic fiber rugs (like nylon or polyester) are essentially plastic, meaning a hot knife or wood-burning tool can melt the edges as it cuts, creating a perfectly sealed edge that will never fray.
For natural fiber rugs like wool, cotton, or jute, a hot knife is not an option as it will just singe the fibers. For these, a very sharp utility knife or heavy-duty fabric shears are the best choice, followed by a manual sealing of the edges with fabric glue or a seam sealer.
The Critical Measurement and Marking Phase
This is the most important step. Before you even think about cutting, ensure your electrical setup is sound. If your outlet not flush with plate is an issue, fix that first to guarantee the cover sits properly. Once confirmed, place the rug exactly where it will live. Do not estimate.
Feel for the outlet through the rug and mark the four corners directly on top of the rug with pins. Carefully roll the rug back to expose the outlet and the back of the rug. Use the pins as a guide to draw your final cut lines on the rug’s backing with a straightedge and your marking tool.
The Step-by-Step Guide to a Perfect Cut
With your preparation complete, it’s time to make the cut. Work slowly and deliberately from the back of the rug for the cleanest possible result. Remember, you can always remove more material, but you can’t put it back.
Step 1: Create a Precise Template
Don’t rely solely on your markings. Take a piece of paper or cardboard and place it over the floor outlet box. Trace the exact size and shape of the box onto the paper and cut it out. This physical template is your ultimate guide for a perfect fit.
Step 2: Transfer the Template to the Rug
Place your template on the back of the rug, aligning it with the marks you made earlier. Double-check that it is square and positioned correctly relative to the rug’s edges. Trace around the template with your fabric pen or chalk. This is your final, definitive cut line.
Step 3: Making the Cut (The Point of No Return)
Always cut from the back of the rug. This allows you to cut the sturdy backing first and minimizes damage to the pile on the front. Place a piece of scrap wood or a self-healing cutting mat under your cutting area to protect your floor.
Using your chosen tool, make slow, steady cuts along your marked lines. If using a utility knife, you may need to make several passes, scoring deeper each time. If using a hot knife, move at a consistent speed to ensure an even melt and seal.
Step 4: Finishing the Edges for a Fray-Free Future
Unless you used a hot knife on a synthetic rug, you must seal the cut edges. Apply a thin, continuous bead of fabric glue or a specialized fray-preventing sealant along the raw edge of the backing and fibers. Use a small brush or a cotton swab to work it in gently.
This final detail is what separates a DIY job from a professional one. Just as you need a clean border when you end a dry creek bed in landscaping, a sealed edge on your rug cut ensures durability and a clean look that lasts. Allow it to dry completely before placing the rug over the outlet.
Advanced Tips for a Flawless Finish
For those with challenging rug types or who want an even more integrated look, a few extra considerations can elevate the result. These techniques address specific rug characteristics and help make the final cutout almost invisible.
Working with High-Pile and Shag Rugs
For very thick or shaggy rugs, cutting from the back can be tricky as the long fibers get in the way. Before cutting, part the fibers on the front of the rug along your cut lines. Use scissors to trim the pile down to the backing in that specific area. This creates a clear channel, allowing for a much cleaner cut through the backing from the reverse side.
Aligning the Cut with Your Rug’s Pattern
A detail often overlooked is the rug’s pattern. If you have a geometric or repeating design, study it before deciding on the final placement of the cut. Shifting the rug by even an inch might allow you to place the cutout within a solid block of color or along a pattern line, making it far less conspicuous.
What If the Outlet Is In an Awkward Spot?
If your outlet is very close to a wall or furniture leg, you may not need a full four-sided cutout. Consider cutting a small slit or a U-shaped flap instead. This can provide cord access while requiring a much smaller and less noticeable alteration to the rug.
Common Mistakes to Avoid
Many well-intentioned DIY projects go wrong due to simple, avoidable errors. Planning your home projects thoughtfully is key. While some tasks, like deciding can you bury corrugated drain pipe, require thinking about unseen elements, this project is all about visible precision.
Cutting from the top: This is the most common error. It pushes the pile down, pulls at the fibers, and makes a clean cut through the backing nearly impossible.
Using a dull blade: A dull knife won’t slice cleanly. It will snag and pull on the rug’s woven fibers, starting the fraying process immediately and guaranteeing a messy edge.
Skipping the sealant: Unsealed edges on natural fiber rugs will fray over time with foot traffic and vacuuming. This small step is crucial for the longevity of your work.
Cutting the hole too large: An oversized hole will show gaps around the outlet plate, looking sloppy and creating a space for dirt to collect. Your template must be precise to the size of the outlet box, not the cover plate.
Conclusion: A Safe and Stylish Solution
Cutting a hole in an area rug for a floor outlet is a task that any homeowner can tackle with confidence. The key to success is not speed, but patience and preparation. By choosing the right tools, measuring meticulously, and taking the time to properly finish the edges, you can create a safe, functional, and professional-looking modification.
You no longer have to choose between your ideal room layout and access to power. This simple project eliminates a dangerous hazard and allows your rug and your room to look their absolute best, seamlessly blending design with practicality.