Cut Extension Cord with Hedge Trimmer? Here’s What to Do NOW
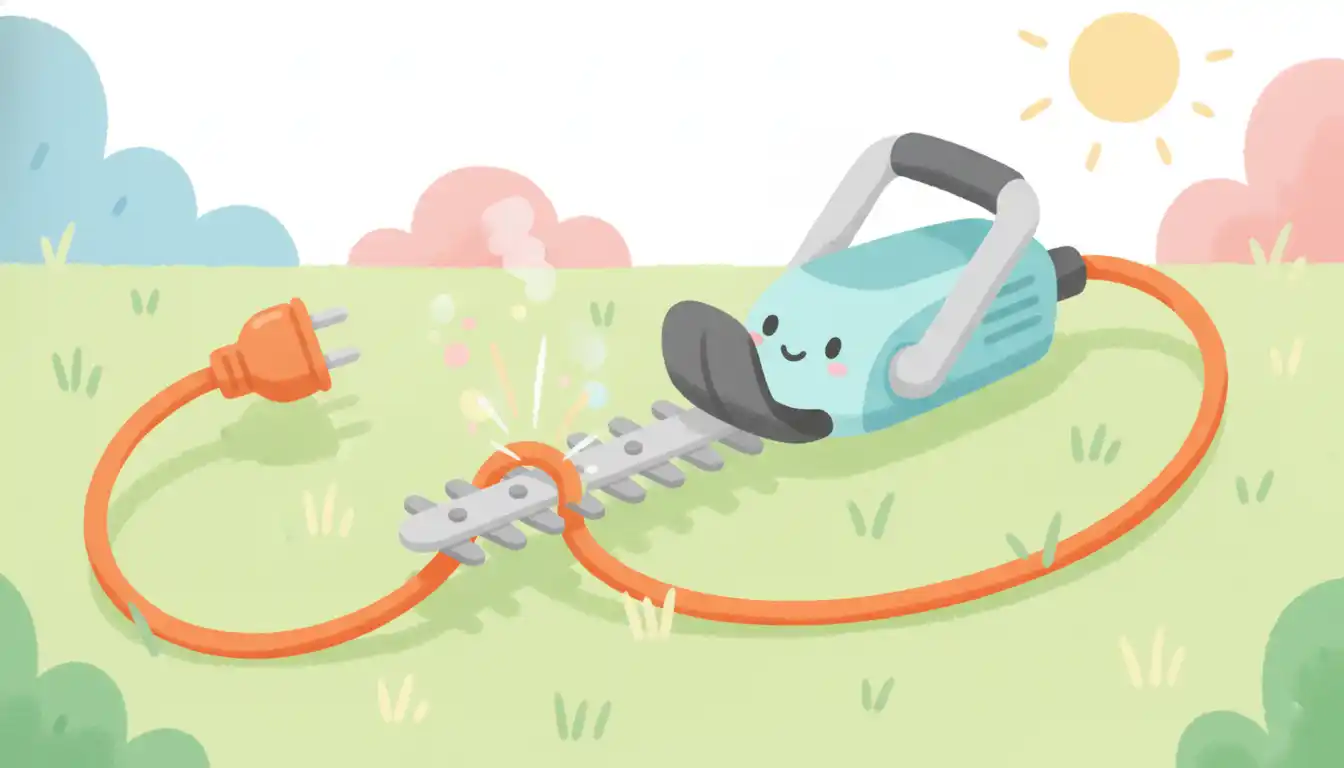
There are few moments in yard work more startling than this one. You’re shaping the hedges, lost in the rhythm of the task, when suddenly—*ZAP*—the world goes silent. The powerful hum of your hedge trimmer ceases, replaced by a sudden, unnerving quiet and the smell of burnt plastic.
You’ve just done what every corded tool user dreads: you cut the extension cord. It’s a surprisingly common and incredibly dangerous mistake. Your immediate actions in the next 30 seconds are critical for your safety.
You'll Learn About
An Electrifying Mistake: You’ve Cut the Cord, Now What?
The immediate aftermath of severing a live power cord is fraught with risk. The primary danger is severe electric shock, which can occur even without directly touching the exposed wires. Handling the situation correctly is not just about fixing the cord; it’s about preventing a life-threatening accident.
This guide will walk you through the immediate safety steps, how to assess the damage, the critical decision of repairing versus replacing the cord, and most importantly, how to ensure this never, ever happens again.
Step 1: Immediate Safety is Non-Negotiable
Before you even think about the cord or your trimmer, you must neutralize the electrical hazard. Do not touch the cord, the trimmer, or the metal blades.
Your first and only move should be to disconnect the power at its source. This means walking back to the outdoor outlet and physically unplugging the cord. If the outlet is not immediately accessible, go to your home’s circuit breaker box and shut off the corresponding breaker.
Step 2: Assess the Damage to the Cord and Trimmer
Once you are 100% certain the power is disconnected, you can safely inspect the scene. You will have two damaged items: the extension cord and potentially the hedge trimmer itself. Look at the cord first; it will likely be severed completely or have a deep gash with exposed copper wiring.
Next, carefully examine the blades of your hedge trimmer. The electrical arc created when the cord was cut can sometimes damage or weld parts of the metal blades. Check for any discoloration, melted plastic from the cord’s jacket, or pits in the metal.
Repair or Replace? The Critical Decision
Now you face the main question: can this cord be saved? While a repair is sometimes technically possible, replacement is almost always the safest and recommended option. An improperly repaired extension cord is a significant fire and electrocution hazard.
Using the wrong components for a repair, a common mistake discussed in articles like one exploring the consequences of using wrong nails in pressure treated lumber, can lead to catastrophic failure. The principle is the same: the integrity of the material is paramount for safety. A weak point in an extension cord is a disaster waiting to happen.
When is a Repair Acceptable?
A repair should only be considered under very specific circumstances and with the right tools. A simple wrap of electrical tape is never a safe or sufficient repair. If the cut is very close to one of the ends (within a foot or two), the best “repair” is to cut off the damaged section and install a new, high-quality replacement plug (male or female end).
Splicing a cord in the middle is highly discouraged for outdoor use. Moisture, dirt, and constant flexing can easily compromise the splice, creating a severe shock hazard.
Why Replacement is Almost Always the Smarter Choice
An extension cord is engineered to be a single, seamless unit for a reason. The outer jacket provides crucial protection against moisture, abrasion, and UV light. Any repair, no matter how well-done, introduces a weak point. When you weigh the low cost of a new, high-quality outdoor extension cord against the risk of equipment damage, house fire, or fatal electric shock, the choice becomes clear.
Table: Decision Matrix for Your Damaged Cord
Use this table to make an informed decision. It clearly outlines the risks and recommended actions for different types of damage.
| Type of Damage | Recommended Action | Reasoning & Risk Factor |
|---|---|---|
| Clean cut near the male or female plug (within 1-2 feet) | Repair Possible (Replace the plug end) | Low risk if a high-quality, weather-rated replacement plug is used correctly. You create a slightly shorter, safe cord. |
| Cut or deep gash in the middle of the cord | REPLACE CORD | High Risk. Splicing is not safe for outdoor use. The repair point is vulnerable to moisture, flexing, and physical stress, creating a severe shock and fire hazard. |
| Frayed jacket with visible internal wires | REPLACE CORD | High Risk. The cord’s primary defense against moisture and abrasion is gone. Electrical tape is not a permanent or safe solution. |
| Multiple nicks, cracks, or signs of dry rot | REPLACE CORD | Moderate to High Risk. The cord’s integrity is compromised. It’s only a matter of time before a critical failure occurs. |
How to Safely Repair a Damaged Extension Cord (When Appropriate)
If you have determined that the damage is near an end and you are comfortable with electrical work, you can replace the plug. This is the only safe method of repairing a cord for continued use.
Never attempt to simply twist the wires together and wrap them in electrical tape. This creates a dangerous and unreliable connection that can easily come apart or overheat.
Tools and Materials You’ll Need
To do this job correctly, you need the right supplies. Gather a high-quality replacement plug (male or female, matching the one you cut off), wire cutters, a wire stripper, and a screwdriver.
Ensure the replacement plug has the same amperage rating as your cord and is designed for outdoor use.
Step-by-Step Repair Guide
- Cut the Damage: Make a clean, straight cut across the cord just behind the damaged section, removing it completely.
- Remove the Outer Jacket: Carefully use a utility knife or wire stripper to remove about 2 inches of the outer orange (or other color) jacket, exposing the three insulated wires inside (black, white, and green).
- Strip the Inner Wires: Use the wire stripper to remove about 3/4 of an inch of insulation from the end of the black, white, and green wires, exposing the bare copper strands.
- Connect to the New Plug: Open the new replacement plug. You will see three screw terminals: brass (for the black “hot” wire), silver (for the white “neutral” wire), and green (for the green “ground” wire). Loosen the screws, loop the corresponding copper wires clockwise around them, and tighten the screws firmly.
- Reassemble Securely: Close the replacement plug’s housing and tighten any strain relief clamps. This clamp is crucial as it prevents the wires from being pulled out of the terminals if the cord is yanked.
Prevention is the Best Cure: 7 Pro Tips to Never Cut a Cord Again
The best way to deal with a cut extension cord is to never cut it in the first place. Adopting a few simple habits can almost eliminate the risk.
- Choose a Bright Cord: Always use a brightly colored extension cord (like orange, yellow, or bright green) that stands out against grass and foliage.
- The Over-the-Shoulder Technique: Drape the extension cord over your shoulder so it stays behind you at all times. This is the single most effective technique for keeping the cord out of the cutting path.
- Use a Cordless Trimmer: The ultimate solution is to eliminate the cord entirely. Modern battery-powered hedge trimmers are powerful, convenient, and completely remove this specific danger. Investing in quality tools often pays dividends in both performance and safety, a concept that applies whether you’re asking “are wolf appliances worth it” or choosing a hedge trimmer.
- Be Mindful of Your Path: Always be aware of where your cord is. Before starting a new section of hedge, physically move the cord to a safe location away from where you will be cutting.
- Unplug When Not in Use: Never leave a hedge trimmer plugged in and unattended, especially where children might be present.
- The Pool Noodle Hack: For extra visibility, you can slit a short section of a pool noodle lengthwise and wrap it around the cord near the tool. This makes the cord’s position much more obvious.
- Use a Carabiner Clip: Attach a carabiner to a back belt loop and run the cord through it. This acts as a guide, keeping the cord behind your body as you move.
Understanding the Hidden Dangers: Amps, Gauges, and GFCIs
To truly appreciate the risk, it’s helpful to understand the basic principles of electricity. The danger isn’t just the initial shock but also the long-term hazards of using damaged equipment.
A damaged or improperly repaired cord can create increased electrical resistance, leading to overheating and a potential fire, especially when hidden under foliage or coiled up.
The Lethal Math of Electricity
Power tools like hedge trimmers draw a significant amount of electrical current (amperage). An extension cord must have a thick enough wire (a lower gauge number) to handle this current safely. A damaged cord compromises this ability.
Even a small nick can cause wires to overheat at that point, melting the insulation and creating a short circuit or fire hazard.
Why a ‘Simple’ Nick is a Ticking Time Bomb
A cord with a small cut might still “work,” but it is dangerously compromised. The protective outer jacket has been breached, allowing moisture to seep in, which can lead to a short circuit or an unexpected electric shock, especially on a damp day.
All outdoor outlets should have Ground Fault Circuit Interrupter (GFCI) protection. A GFCI outlet monitors the flow of electricity and will instantly shut off the power if it detects a ground fault (like the current passing through you), potentially saving your life.
Conclusion: Prioritize Safety Above All Else
Cutting an extension cord with a hedge trimmer is a frightening but preventable event. Your first priority must always be to safely disconnect the power source. When it comes to the cord itself, remember that your safety and the safety of your home are worth far more than the cost of a new extension cord.
By following safe trimming practices, being mindful of your equipment, and always using GFCI-protected outlets, you can ensure your yard work remains a productive and safe activity. Don’t take chances with electricity—always err on the side of caution.