Stop Choosing Between Light & Privacy: The Layered Curtain Secret
You love the bright, airy feel of natural light flooding your home. But you also crave privacy from the outside world. This creates a frustrating daily dilemma: keep the curtains open and feel exposed, or close them and live in darkness?
This constant trade-off is one of the most common frustrations in home design. Heavy drapes provide excellent privacy but can make a room feel small and gloomy. On the other hand, lightweight sheers let the sunshine in but offer little to no seclusion.
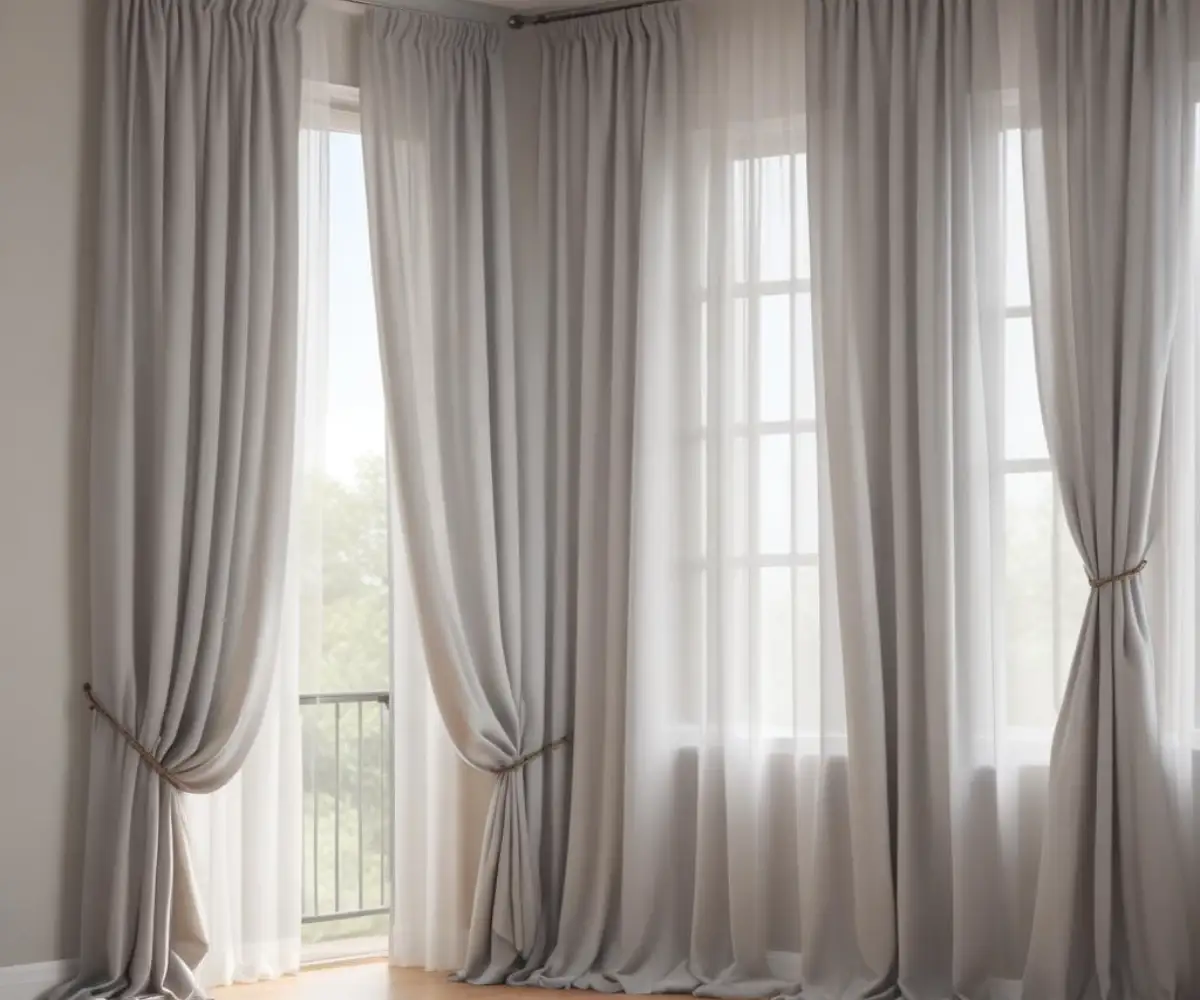
The solution is simpler and more elegant than you might think. By layering curtains with sheers behind them, you can achieve the perfect balance of light control, privacy, and style, transforming your windows into a versatile and beautiful focal point.
You'll Learn About
Why Layering Curtains is the Ultimate Window Solution
Combining sheer curtains with heavier drapes isn’t just a design trend; it’s a highly functional approach to window treatments. This method offers a level of flexibility that a single layer of curtains simply cannot match. It’s the key to creating a room that adapts to your needs throughout the day.
This layered system provides dynamic light control. During the day, keep the main drapes open and let the sheer curtains diffuse harsh sunlight, filling your room with a soft, gentle glow while shielding your interiors from prying eyes. When night falls, or you need total darkness, simply draw the outer curtains for complete privacy and light blockage.
The Undeniable Benefits of Layered Window Treatments
The advantages of this dual-layer system go far beyond just aesthetics. It’s a practical investment in your home’s comfort and efficiency. You gain unparalleled control over the ambiance of your space.
Beyond light and privacy, this combination offers enhanced insulation. The two layers of fabric create an air pocket that helps to keep your home warmer in the winter and cooler in the summer, which can contribute to energy savings. Furthermore, the added fabric layers provide a degree of sound dampening, creating a quieter and more peaceful indoor environment.
When you consider combining this setup with other treatments, the benefits multiply. For instance, you can explore pairing curtains with wood blinds for even more refined light management.
How to Perfectly Hang Curtains with Sheers Behind Them
Achieving this sophisticated look is straightforward with the right hardware. The most common and effective method is using a double curtain rod. This system features two parallel rods on a single bracket, allowing each curtain layer to be opened and closed independently.
The installation process is crucial for a professional finish. The golden rule is to mount the rod high and wide. Position the brackets 4-6 inches above the window frame and 6-12 inches wider on each side. This technique makes your windows appear larger and your ceilings taller, creating a grander, more intentional look.
Mastering the Hardware: Double Rods vs. Single Rods
While a double rod is the standard, it’s not the only option. In some cases, you can achieve a layered look with a single rod using specialized rings or by hanging both panels together, though this limits independent operation. However, for true flexibility, the double rod system is unparalleled.
When selecting your hardware, pay close attention to the rod’s diameter and material. Heavier drapes like velvet or lined panels require a sturdy rod to prevent sagging. Ensure the brackets are securely mounted, preferably into wall studs, to support the combined weight of both curtain layers.
| Method | Pros | Cons | Best For |
|---|---|---|---|
| Double Curtain Rod | Full independent control of each layer; Professional, clean look; Supports heavier fabrics well. | Requires more hardware; Can be more expensive. | Most situations, especially bedrooms and living rooms requiring versatility. |
| Single Rod with Clip Rings | Simpler installation; Less hardware required. | Layers cannot be moved independently; Can look bulky. | Decorative setups where functionality is less critical. |
| Tension Rod (for sheers) + Standard Rod | No drilling for the inner sheer layer. | Tension rods have weight limits; Only works for inset windows. | Rentals or situations where minimizing wall damage is a priority. |
Choosing the Right Fabrics and Colors
The magic of this layered look lies in the interplay of textures and colors. The contrast between the light, airy sheer and the heavier, opaque drape creates visual depth and sophistication. This is your opportunity to add a rich, textural element to your room’s decor.
For the sheer layer, fabrics like voile, chiffon, or lightweight linen are excellent choices. They filter light beautifully and add a soft, ethereal quality. For the outer drapes, consider materials like velvet, heavy cotton, linen, or blackout fabric to provide substance, privacy, and insulation.
Creating a Cohesive Color Palette
Color coordination is key to a harmonious look. A classic and foolproof approach is to pair crisp white or off-white sheers with colored or patterned drapes. This creates a clean backdrop that complements any decor style.
If you prefer a more coordinated feel, select a sheer and a drape from the same color family but in different shades. For example, pair light beige sheers with darker taupe drapes. Alternatively, if your drapes have a pattern, pull a subtle color from the design for your solid sheer curtains to tie the look together.
Step-by-Step Installation for a Flawless Finish
A successful installation is all about precise measurements and a level line. Taking the time to get this right will make all the difference in the final appearance. Follow these steps for a result that looks professionally done.
First, measure the width of your window frame and add your desired extension on each side (6-12 inches is recommended). Then, determine the height by measuring from your desired rod position (4-6 inches above the frame) down to the floor. This will give you the correct curtain length and rod width.
Mounting the Hardware Securely
Use a level to ensure your pencil markings for the brackets are perfectly straight. Pre-drilling pilot holes will make it easier to install the screws and prevent the drywall from cracking. Secure the brackets firmly to the wall, using drywall anchors if you are not drilling into a stud.
Once the brackets are in place, you can hang your curtains. Remember the correct order: the sheer curtains go on the inner rod (closest to the window), and the heavier drapes go on the outer rod (closer to the room). This allows the sheers to remain a constant, light-filtering layer while the drapes can be opened and closed over them.
Avoiding Common Layering Mistakes
While layering is a powerful design tool, a few common pitfalls can undermine the effect. One of the biggest mistakes is not getting the fullness right. Both layers should be wide enough to look full and luxurious when closed, typically 2 to 2.5 times the width of the window.
Another issue is mismatched lengths. For a cohesive and high-end look, both the sheers and the drapes should be the same length, ideally just grazing the floor. Curtains that are too short can make a room feel truncated and unfinished.
Tackling Light Gaps and Functionality Issues
Even with blackout curtains, light can sometimes peek through the sides. A simple trick is to use a curtain rod with a wraparound return, which allows the curtain to curve back and touch the wall, blocking side light effectively. If you still have persistent light leaks, a DIY light gap blocker can offer a targeted solution.
It’s important to recognize that while layered curtains offer excellent light control, they serve a different purpose than dedicated blackout options. Some find that relying solely on blackout curtains make mornings hard by completely eliminating natural light cues. The layered approach provides a healthier, more adaptable alternative.
By thoughtfully combining sheer curtains with heavier drapes, you no longer have to compromise. You can welcome in the daylight, protect your privacy, and elevate your home’s style all at once. This versatile window treatment solution puts you in complete control, allowing you to craft the perfect atmosphere for any time of day.
Frequently Asked Questions
What are the benefits of layering curtains with sheers?
Layering curtains with sheers provides versatile light control and privacy. Sheers diffuse natural light to create a soft ambiance during the day while offering a degree of privacy. The heavier outer curtains can be drawn for complete privacy and light blocking when needed.
How do you hang curtains with sheers behind them?
The most common method for hanging curtains with sheers is by using a double curtain rod. This allows both the sheer and the main curtain to be opened and closed independently. Alternatively, you can install two separate single rods.
Which layer goes closest to the window?
Typically, the sheer curtains are placed on the inner rod, closest to the window. This allows them to filter light and provide a continuous layer of privacy when the outer curtains are open. However, for a more decorative and streamlined look, some designs place the sheer curtain in the front.
What kind of rod is best for layered curtains?
A double curtain rod is the most convenient option, as it is a single bracket system designed to hold two separate rods. When selecting a rod, ensure it is sturdy enough to support the weight of both sets of curtains. The diameter of the rod will also depend on the weight of your curtains, with thicker rods being necessary for heavier drapes.
Can you layer sheers with any type of curtain?
Yes, sheers can be layered with a wide variety of curtain types, including blackout curtains, velvet drapes, and linen panels. This layering technique allows for both functional benefits like insulation and light blocking, as well as aesthetic advantages by adding depth and texture to your window treatments.
How do layered curtains impact energy efficiency?
Layering curtains, especially with a heavier outer layer like thermal or blackout curtains, can improve a room’s insulation. This combination helps to prevent heat loss during colder months and keep rooms cooler in the summer, potentially leading to lower energy bills.