Craftsman Snowblower Fuel Shut Off Valve Location (Can’t Find It?)
You’re ready for the first big snow, but your Craftsman snowblower won’t start, or worse, it’s leaking gas. A common culprit is an issue with the fuel shut-off valve, a small but crucial component. The problem is, many owners can’t seem to find it. This guide solves that mystery.
Understanding the location and function of this valve is essential for maintenance, storage, and troubleshooting. Whether your machine has a factory-installed valve or not, this article provides the definitive answer to keep your snowblower running safely and efficiently.
You'll Learn About
The Big Secret: Not All Craftsman Snowblowers Have One
Here’s the most important piece of information: many Craftsman snowblower models do not come with a factory-installed fuel shut-off valve. This is especially true for models manufactured in the last 10-15 years. This design choice often leaves owners searching for a part that simply doesn’t exist on their machine.
Manufacturers sometimes omit this valve to simplify the design and reduce production costs. They rely on the carburetor’s float needle to stop fuel flow. However, this needle can fail, leading to fuel leaks and other engine problems.
Where to Look if Your Model HAS a Valve
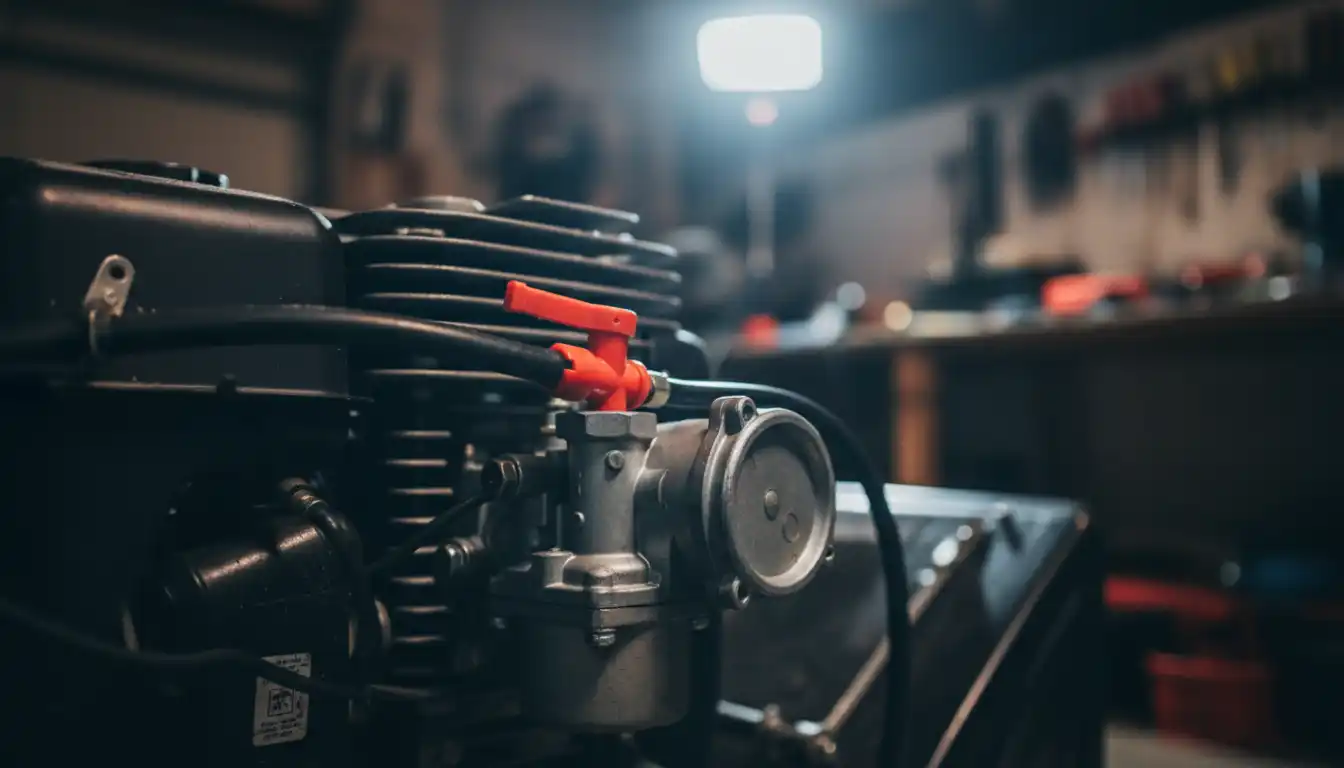
If your Craftsman snowblower does have a fuel shut-off valve, it will almost always be located along the fuel line. Follow the black rubber fuel hose from the bottom of the gas tank toward the engine’s carburetor. The valve is typically a small, plastic component (often red or black) with a lever or knob that you can turn.
The valve will be positioned in an accessible spot, usually near the engine housing or beneath the fuel tank. Its purpose is to allow you to manually stop the flow of gasoline from the tank to the carburetor. This is crucial for safe storage and maintenance.
Why Your Snowblower Needs a Fuel Shut-Off Valve
A fuel shut-off valve is more than just a convenience; it’s a critical component for engine longevity and safety. Without one, you leave your snowblower vulnerable to a range of issues, particularly during off-season storage. Understanding these risks highlights why installing one is a wise decision.
The primary function of the valve is to prevent fuel from sitting in the carburetor for extended periods. Old fuel can degrade, leading to gummy deposits that clog tiny passages within the carburetor. This is a leading cause of starting problems after summer storage.
Preventing Dangerous Fuel Leaks
One of the most serious risks of not having a fuel shut-off valve is the potential for gasoline leaks. The carburetor’s float needle is the only thing stopping fuel from continuously flowing from the tank. If this small part fails or gets stuck open by debris, gas can overflow from the carburetor.
This creates a significant fire hazard, especially if the snowblower is stored in a garage or shed with ignition sources like a water heater pilot light. If you ever notice your snowblower smells like gas, a leaking carburetor is a prime suspect. A manual shut-off valve provides a reliable, secondary barrier against these dangerous leaks.
Simplifying Maintenance and Repairs
Working on the fuel system or carburetor requires stopping the fuel flow. Without a valve, the only way to do this is to drain the entire gas tank, which can be messy and inconvenient. Sometimes, people will try to pinch the fuel line, but this can damage the line and cause cracks.
A shut-off valve allows you to instantly and cleanly cut off the fuel supply. This makes tasks like cleaning the carburetor, replacing a fuel filter, or repairing a fuel line much simpler and safer. It’s a small feature that makes a huge difference during routine maintenance.
Installing a Fuel Shut-Off Valve: A Step-by-Step Guide
If you’ve discovered your Craftsman snowblower doesn’t have a fuel shut-off valve, the good news is that they are inexpensive and easy to install. This simple upgrade can prevent countless headaches down the road. It typically takes less than 30 minutes and requires only basic tools.
You can purchase a universal in-line fuel shut-off valve from most hardware stores, auto parts stores, or online. Ensure the valve’s diameter matches your snowblower’s fuel line, which is typically 1/4 inch for most models.
Step 1: Drain the Fuel Tank
Before you begin, safety is paramount. Run the snowblower until it is completely out of fuel. Alternatively, use a siphon pump to safely drain all the gasoline from the tank into an approved container. Never work on the fuel system with gasoline present in the tank.
Work in a well-ventilated area away from any open flames or sparks. Disconnecting the spark plug wire is an extra safety precaution to prevent any accidental engine starts.
Step 2: Locate and Cut the Fuel Line
Identify the rubber fuel line that runs from the bottom of the fuel tank to the carburetor. Choose a location along this line to install the valve. You’ll want a spot that is easily accessible but also protected from accidental bumps. A good spot is often a straight section of the hose just below the tank.
Once you’ve chosen the spot, use a sharp utility knife or hose cutters to make a clean, straight cut through the fuel line. Be prepared for a small amount of residual fuel to drip out of the line.
Step 3: Install the Valve and Secure Clamps
Before inserting the valve, slide a small hose clamp onto each of the cut ends of the fuel line. Pay attention to the arrow on the shut-off valve; it indicates the direction of fuel flow. The arrow should point from the gas tank side of the line towards the carburetor side.
Firmly push each end of the fuel line onto the corresponding barbed fitting of the valve. Once the line is fully seated on both sides, use pliers to slide the hose clamps over the connection points and squeeze them tight. This ensures a leak-proof seal.
Step 4: Refill and Check for Leaks
After the installation is complete, reconnect the spark plug wire. Add a small amount of fresh gasoline to the fuel tank. Turn the new shut-off valve to the “ON” position and carefully inspect the valve and connections for any signs of leaking fuel.
If everything is dry and secure, you are ready to start the engine. Let it run for a few minutes while continuing to monitor the connections to ensure there are no leaks under pressure.
Understanding Different Types of Fuel Shut-Off Valves
While the concept is simple, not all fuel shut-off valves are created equal. The most common type for snowblowers is a simple in-line valve, but it’s helpful to know the options. The right valve can make operation more convenient and reliable.
Choosing a quality valve is important. Cheaper, poorly made plastic valves can become brittle in the cold and crack, creating the very leak you’re trying to prevent. It’s often worth spending a little extra on a valve from a reputable brand.
Comparing Valve Materials and Designs
The market offers a variety of valves, and understanding their differences will help you select the best one for your snowblower. Consider the material, the shape, and the type of handle when making your choice.
The table below breaks down the common options to simplify your decision.
| Valve Type | Material | Pros | Cons |
|---|---|---|---|
| Standard In-Line | Plastic | Inexpensive, widely available, corrosion-resistant. | Can become brittle in extreme cold, lever can be small. |
| 90-Degree (L-Shape) | Plastic or Metal | Useful for tight spaces and routing the fuel line around obstacles. | Can restrict fuel flow slightly more than a straight valve. |
| Premium In-Line | Metal (Brass/Aluminum) | Highly durable, resistant to cold, often has a larger, easier-to-use lever. | More expensive, can be slightly heavier. |
| Valve with Fuel Filter | Plastic | Combines two components in one, saving space and providing extra filtration. | Filter is often just a simple screen; can be harder to find. |
Proper Use and Long-Term Care
Installing a fuel shut-off valve is the first step. Using it correctly is the key to preventing fuel-related problems and extending the life of your Craftsman snowblower’s engine. It should become a regular part of your operating and storage routine.
The most important habit to develop is shutting off the fuel and letting the engine run until the carburetor is empty after each use. This simple action prevents old gas from gumming up the carburetor, which is the number one cause of starting issues.
The Correct Shut-Down Procedure
A common mistake is to simply turn off the engine using the key or throttle control while leaving the fuel valve open. This traps fuel in the carburetor bowl, where it will slowly degrade. Following the correct procedure is essential for off-season storage.
After you are finished clearing snow, move the snowblower to a safe location. Turn the fuel shut-off valve to the “OFF” position while the engine is still running. The engine will continue to run for a minute or two as it consumes the remaining fuel in the carburetor bowl and fuel line. Once the engine sputters and stops on its own, the carburetor is effectively empty and dry. This is the ideal condition for storage.
Conclusion
If your Toro S-120 snowblower isn’t starting, there are several common culprits to check before declaring it “dead.” From simple issues like a drained fuel tank or clogged carburetor to more complex problems such as electrical or engine failures, many of these can be addressed with some troubleshooting.
By taking the time to inspect your machine thoroughly, you can often restore it to working order without needing to call in a professional.
However, if the issue persists or you’re unsure about handling repairs yourself, it’s always a good idea to consult a technician to avoid further damage. With the right approach, your Toro S-120 can continue to help you clear the way through many winters to come.