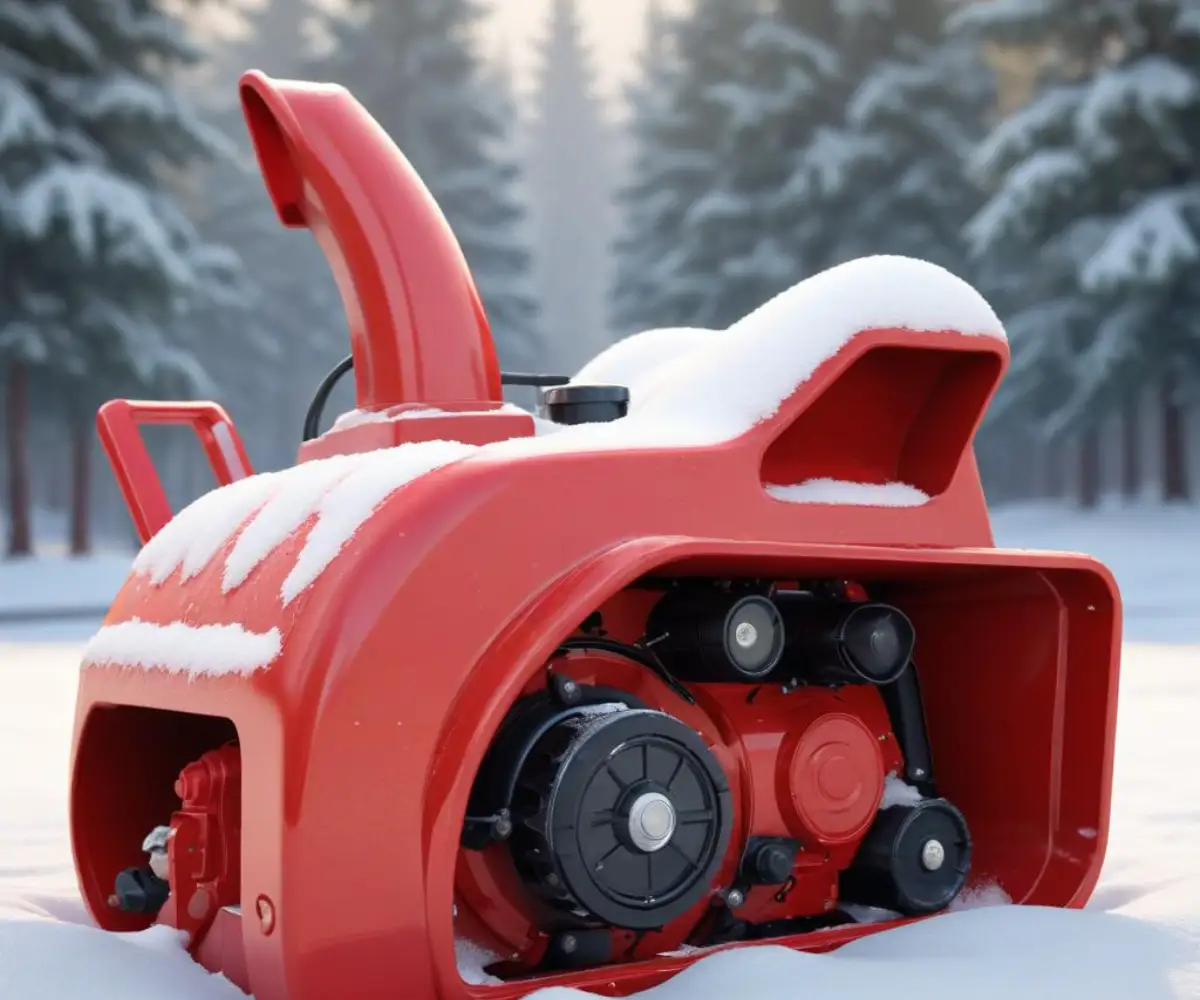
Craftsman Snowblower Electric Start Not Working? Your Ultimate Fix Guide
You’re staring down six inches of fresh snow, the driveway is impassable, and your trusty Craftsman snowblower sits ready. You plug it in, press the electric start button, and… nothing. Just a disheartening silence, a faint click, or a weak hum. When the convenient electric start fails, it can turn a simple task into a frustrating ordeal, leaving you to wrestle with a stubborn pull-cord in the freezing cold.
This failure to launch is a common headache for many snowblower owners. The culprit could be anything from a simple connection issue to a more complex mechanical failure within the starter assembly. Understanding the root cause is the first step toward a reliable solution, ensuring you’re not left stranded after the next winter storm.
You'll Learn About
Why Your Electric Start Failed: Uncovering the Root Causes
When you press that button, a sequence of events should spring the engine to life. Electrical power flows through a switch, energizes a starter motor, which then engages the engine’s flywheel to start combustion. A failure at any point in this chain will result in a non-starting machine. Let’s break down the most common failure points in your Craftsman’s electric start system.
From the power source to the internal mechanics of the starter motor itself, several components can be the source of the problem. Often, the issue is relatively minor and can be resolved with basic troubleshooting. However, sometimes it may point to a component that needs replacement.
Initial Power and Connection Checks
Before diving into the machine’s mechanics, always start with the simplest explanations. The problem might not be with the snowblower at all, but with the power source it relies on. These initial checks can save you significant time and effort.
Ensure the extension cord you’re using is in good condition, without any frays or breaks. Test the wall outlet with another device, like a lamp, to confirm it’s providing power. It’s also crucial to use a heavy-gauge extension cord appropriate for outdoor use, as a thin cord may not deliver enough amperage to turn the starter motor, especially in cold weather.
The Starter Switch: A Common Point of Failure
The button you press to start the snowblower is a switch that completes the electrical circuit. Over time, this switch can wear out or become corroded, preventing electricity from reaching the starter motor. You might hear no sound at all or just a faint click when you press a faulty button.
To diagnose this, you can sometimes bypass the switch to see if the motor engages. However, this requires some electrical knowledge and should be done with extreme caution. Often, a visual inspection after removing the switch housing can reveal corrosion or a loose wire that is simple to fix.
The Starter Motor and Bendix Gear
If the switch is working, the problem likely lies with the starter motor itself or the gear that engages the engine. The starter motor is a small but powerful component that can burn out if the start button is held down for too long. If you hear a humming or buzzing sound but the engine doesn’t turn, the motor might be seized or damaged.
The starter motor has a small gear, often called a Bendix gear, that slides out to mesh with the teeth on the engine’s flywheel. If this gear is damaged, stripped, or stuck, the starter will spin but won’t be able to crank the engine. A grinding noise is a common symptom of a damaged starter gear or flywheel teeth.
Step-by-Step Troubleshooting Guide to Fix Your Electric Start
Now that you understand the potential causes, it’s time to systematically diagnose and fix the problem. This guide will walk you through the process, from basic checks to more involved repairs. Always ensure the snowblower is unplugged and the spark plug wire is disconnected before performing any mechanical work for safety.
Following a logical sequence is key. Don’t jump to replacing the starter motor before you’ve confirmed your extension cord and outlet are working. Patience and methodical testing will lead you to the solution.
Step 1: Verify Your Power Source
This is the most fundamental step. Plug a different appliance into the same outlet and extension cord to confirm they are functioning correctly. A faulty extension cord is a surprisingly frequent cause of electric start problems. Double-check that the cord is fully seated in both the outlet and the snowblower’s plug.
Inspect the prongs on the snowblower’s plug for any signs of corrosion or damage. Clean them with a wire brush if necessary. Cold weather can make plastic brittle, so also check the cord for any cracks in the insulation.
Step 2: Inspect the Starter Button and Wiring
If the power source is good, your next focus is the starter switch. Unplug the machine and remove the housing that covers the start button. Look for any loose or disconnected wires. Wires can sometimes vibrate loose during operation.
If the wiring looks secure, the switch itself might be faulty. A multimeter can be used to test for continuity across the switch terminals when the button is pressed. If the switch fails this test, it will need to be replaced. These switches are typically inexpensive and relatively easy to install.
Step 3: Examine the Starter Motor and Gear Engagement
If the switch and wiring are fine, the issue is likely with the starter motor assembly. Unplug the machine, disconnect the spark plug wire, and remove the bolts holding the starter motor to the engine block. Carefully pull the starter away from the engine.
Inspect the teeth on the starter gear and the flywheel. Look for broken, worn, or chipped teeth. A damaged gear on either the starter or the flywheel will prevent proper engagement and require replacement. Also, check if the starter gear slides freely on its shaft; it can sometimes get stuck due to dirt or old grease.
A more fundamental issue could be preventing the engine from turning over at all. If you’ve addressed the starter, but the engine still won’t crank, it’s worth investigating other possibilities. Sometimes, a lack of combustion is the real problem, which could be due to an issue like having no spark in your Craftsman snowblower.
Step 4: Testing the Starter Motor Directly
With the starter motor removed from the snowblower but still connected to its power cord, you can perform a bench test. Secure the motor in a vise or hold it firmly on the ground. Plug it into a known good power source and carefully press the start button.
If the motor spins powerfully and the gear extends, the motor is likely functional, and the problem may be an alignment issue when installed. If the motor is dead, hums, or spins weakly, it has likely failed and needs to be replaced. Be extremely cautious during this test, as the motor can jump due to its torque.
Beyond the Basics: Advanced Troubleshooting and Uncommon Issues
Sometimes, the problem isn’t one of the common culprits. Cold weather, internal corrosion, and subtle electrical faults can cause elusive starting problems that require a deeper look. These issues often get overlooked but can be the key to solving a persistent electric start failure.
Understanding these less common factors can help you diagnose problems that others might miss. For instance, the internal resistance of wires increases in the cold, which can sometimes be enough to prevent a marginally functional starter from working.
The Hidden Impact of Extreme Cold
Extreme cold affects more than just your comfort; it impacts your machine’s electrical and mechanical systems. The grease inside the starter’s Bendix gear can become very thick, preventing it from sliding out to engage the flywheel. Cleaning and re-lubricating with a low-temperature grease can solve this issue.
Cold also increases the load on the starter motor. Thick, cold engine oil makes the engine harder to turn over. Using the correct viscosity oil for your climate is crucial not only for engine health but also for reliable starting.
Internal Corrosion: The Silent Killer
Snowblowers operate in a wet, often salty environment. Over time, moisture can seep into electrical connections, the starter switch, and even the starter motor itself, causing corrosion. This corrosion creates resistance, weakening the electrical current and preventing the starter from getting the power it needs.
When you have components apart, look for any green or white powder on electrical terminals. Cleaning these connections with a wire brush and applying dielectric grease can restore a solid connection and prevent future corrosion. Sometimes, rust can form inside the starter motor itself, causing it to seize.
Preventative Maintenance: Key to a Reliable Electric Start
The best way to fix a problem is to prevent it from happening in the first place. Regular maintenance on your snowblower’s electric start system will ensure it’s ready to go when you need it most. These simple steps can save you from a major headache on a snowy morning.
A few minutes of preventative care at the beginning and end of each season is a small investment for reliable performance. This is especially true for the electrical components, which are often neglected until they fail.
Seasonal Electrical System Checklist
Before storing your snowblower for the summer, take a moment to care for the electric start system. Disconnect the power cord and lightly spray electrical connections, including the plug and the switch area, with a moisture-displacing lubricant like WD-40. This helps prevent corrosion during storage.
At the start of the next winter, inspect all the wiring for any signs of damage from pests, which may chew on wires during storage. Ensure all connections are tight. Giving the starter a quick test run before the first snow ensures you have time to address any issues.
Proper Storage and Off-Season Care
Storing your snowblower correctly is vital. Keep it in a dry, sheltered location like a garage or shed to protect it from the elements. If you must store it outdoors, use a high-quality, waterproof cover to keep moisture away from the engine and electrical components.
If your machine has seen many winters, you might be weighing the cost of repairs against buying a new one. This is a common dilemma, especially when considering different brands. Understanding the key differences, for instance in an Ariens or Craftsman snowblower comparison, can help you decide if an upgrade makes sense. If you do decide to upgrade, knowing where to sell your old snowblower can help you recoup some of your investment.
Troubleshooting Summary Table
To help you quickly diagnose your electric start issue, here is a table summarizing the common symptoms, potential causes, and recommended solutions.
| Symptom | Potential Cause | Solution |
|---|---|---|
| Nothing happens, no sound | No power, faulty cord, dead outlet, broken switch | Test outlet and cord, inspect/test/replace switch |
| A single, loud “click” | Starter solenoid engaging but motor not turning | Check for seized engine, test starter motor |
| Humming or buzzing sound | Starter motor is seized or jammed | Remove and inspect starter motor, check for obstructions |
| Starter motor spins, but engine doesn’t crank | Broken or stuck Bendix gear, stripped flywheel teeth | Inspect starter gear and flywheel, clean and lubricate Bendix |
| Grinding noise | Damaged or misaligned starter/flywheel gear teeth | Inspect gears for damage, check starter motor alignment |
When to Call a Professional
While many electric start issues can be resolved with basic tools and troubleshooting, there are times when it’s best to seek professional help. If you’re not comfortable working with electrical components, or if you’ve gone through the steps and still can’t identify the problem, a small engine repair shop can provide a solution.
Complex electrical diagnostics, engine seizures, or internal motor repairs are often best left to experienced technicians. Attempting a repair beyond your skill level can sometimes cause more damage. A professional can quickly and safely get your machine back in working order, ensuring it’s ready for the next snowfall.