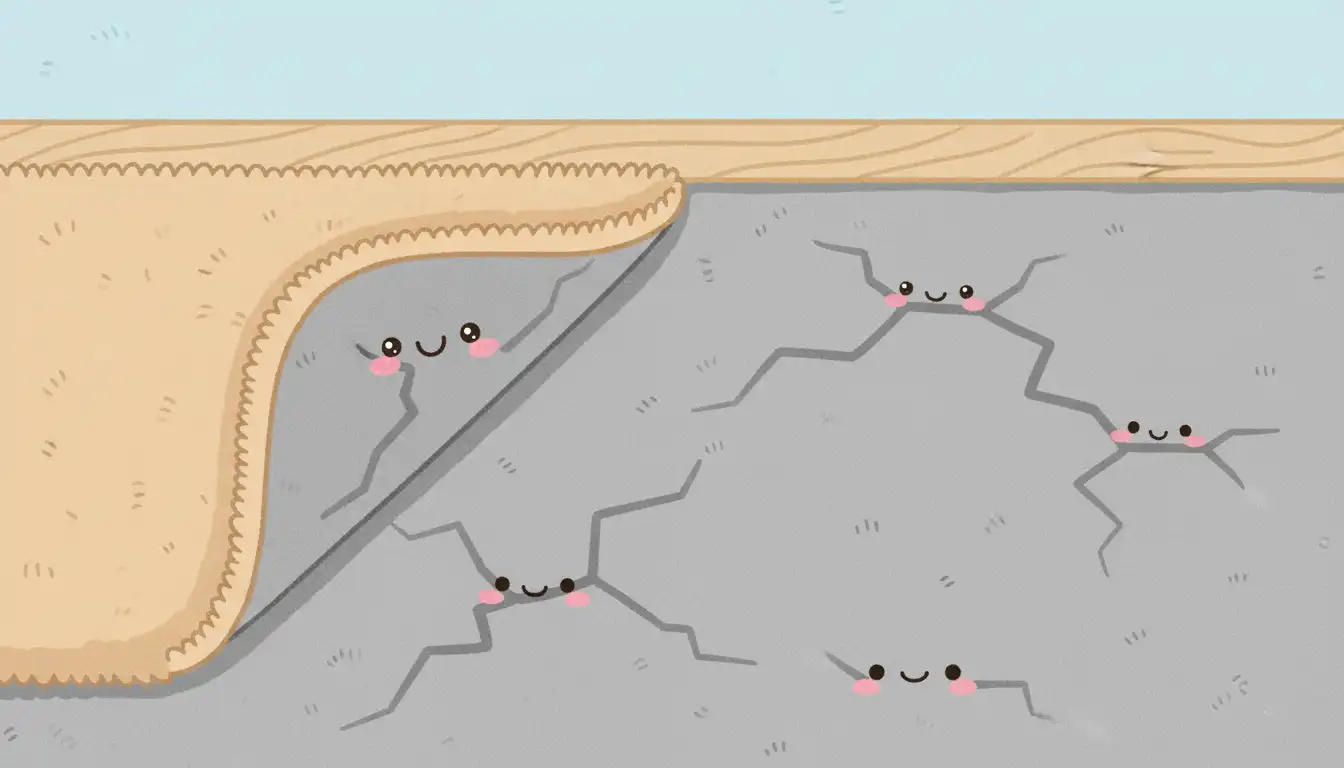
Cracks in Your Slab Under the Carpet? Your Action Plan Starts Now
Pulling back an old carpet often comes with surprises. Discovering cracks snaking across the concrete slab beneath can be alarming, sparking immediate questions about your home’s structural integrity and the cost of repairs. While it’s a disconcerting find, not all cracks signal a foundational crisis.
Many cracks are cosmetic, resulting from the natural curing and settling of concrete. However, some can indicate more serious underlying issues that require prompt attention. Understanding the difference is crucial to protecting your home’s value and safety.
You'll Learn About
First Steps: How to Assess the Cracks You’ve Uncovered
Once you’ve found cracks, the first step is a careful visual inspection. This initial assessment will help you determine whether you have a simple cosmetic issue or a problem that requires a professional opinion. Look closely at the crack’s width, depth, and any vertical displacement.
A good rule of thumb is the coin test. If a crack is wider than a quarter (about 1/16 to 1/8 inch), it warrants a closer look. Also, check if one side of the crack is higher than the other; this is known as displacement or heaving and can be a sign of significant soil movement beneath the slab.
Is It a Structural or Non-Structural Crack?
Concrete cracks generally fall into two categories: structural and non-structural. Distinguishing between them is key to deciding your next steps. Non-structural cracks are typically harmless, while structural cracks can threaten your home’s stability.
Non-structural cracks are often hairline fissures caused by the concrete shrinking as it cures. This is a normal process and these small cracks rarely pose a threat. They are usually uniform in width and don’t penetrate the full depth of the slab.
Structural cracks, however, are caused by forces that stress the foundation, such as soil settlement, hydrostatic pressure, or excessive weight. These cracks are often wider, deeper, and may show signs of ongoing movement. They can appear in various patterns, including diagonal, vertical, or “stair-step” shapes, especially on foundation walls.
Common Causes of Cracks in a Concrete Slab
Understanding why your slab cracked can help prevent future issues. Concrete is incredibly strong under compression but weak under tension. When forces pull it apart, it cracks. Several factors can lead to this.
One of the most frequent causes is plastic shrinkage during the curing process. If the surface of the concrete dries too quickly, it shrinks and creates small surface cracks. Other common culprits include soil settlement, where the ground beneath the slab shifts, and heaving, where soil expands due to moisture or freezing temperatures.
The Hidden Danger of Moisture
Before you even think about repairs or installing new flooring, you must address a critical, often-overlooked factor: moisture. A concrete slab can act like a sponge, drawing moisture up from the ground through vapor transmission. Cracks can accelerate this process, introducing excess moisture into your home.
This moisture can lead to mold, mildew, and damage to new flooring materials. Therefore, conducting a moisture test on your concrete slab is an essential diagnostic step. Simple tests, like taping a plastic sheet to the floor for 24-48 hours, can reveal the presence of moisture if condensation appears underneath.
For more accurate results, professionals use methods like relative humidity (RH) testing, which involves drilling into the slab to measure moisture deep within the concrete. Many flooring manufacturers require an RH reading below a certain percentage (often 75-85%) to honor their warranties.
Your Guide to Repairing Slab Cracks
Once you’ve determined the cracks are non-structural and have addressed any moisture issues, you can proceed with repairs. The goal is to create a smooth, stable surface ready for new flooring. Sealing these cracks not only provides a better finish but also helps block moisture and soil gases like radon from entering your home.
For minor hairline cracks, a simple concrete crack filler or sealant is often sufficient. For wider cracks, the process is more involved but still manageable for a determined DIYer.
Step-by-Step DIY Crack Repair
1. Prepare the Crack: The first rule of a lasting repair is proper preparation. Thoroughly clean the crack of all dust, debris, and loose concrete. A wire brush and a shop vacuum are essential tools for this step. For wider cracks, it’s recommended to chisel the edges to create an inverted “V” shape, which helps the patching compound lock into place.
2. Choose Your Filler: The type of filler depends on the crack’s size. For cracks up to 1/2 inch wide, you can use epoxy compounds, polyurethane sealants, or concrete patching compounds. Epoxy fillers create a very strong, rigid bond, essentially “welding” the concrete back together. Polyurethane sealants offer more flexibility, which is beneficial if minor slab movement is expected.
3. Fill the Crack: For deep cracks wider than 1/4 inch, insert a foam backer rod into the crack before applying the filler. This saves material and creates a more uniform repair. Apply your chosen patching compound with a trowel or putty knife, pressing it firmly into the crack to eliminate air pockets. Overfill the crack slightly to account for any shrinkage as it dries.
4. Smooth and Cure: Smooth the surface of the patch so it’s level with the surrounding slab. Allow the repair material to cure completely according to the manufacturer’s instructions. Curing times can vary from a few hours to several days depending on the product, temperature, and humidity.
In some cases, you may be dealing with more than just cracks. If your slab is uneven, you might need to investigate solutions for leveling concrete surfaces to ensure a flat base for your new flooring.
Prepping the Full Slab for New Flooring
After the cracks are repaired and fully cured, the final step is to prepare the entire slab. This may involve grinding down the repaired areas to ensure they are perfectly flush with the rest of the floor. For projects requiring significant leveling or the installation of new tile, using a product like a crack isolation membrane can provide an extra layer of protection, preventing future slab movements from transferring to and cracking your new flooring.
If your project involves running new utilities, you might also need to consider cutting channels into the slab, a task best left to professionals to avoid compromising the slab’s integrity.
When Should You Call a Professional?
While many small cracks can be a DIY project, certain signs indicate it’s time to call a structural engineer or foundation repair specialist. Ignoring these red flags can lead to much costlier repairs down the line.
Seek professional help if you observe any of the following:
- Cracks that are wider than 1/4 inch.
- One side of the crack is higher than the other (vertical displacement).
- The cracks are actively growing in width or length.
- You see numerous cracks in a concentrated area.
- The cracks are accompanied by other signs of foundation issues, such as sticking doors, uneven floors, or cracks in your drywall.
Understanding Repair Costs
The cost of repairing concrete slab cracks varies widely based on the severity and repair method. Minor DIY crack filling can cost under a hundred dollars for materials. Professional repairs for non-structural cracks typically range from a few hundred to a thousand dollars. However, if structural issues are found, costs can escalate significantly, potentially running into thousands of dollars for foundation stabilization.
| Crack Type | Typical Width | Common Cause | Recommended Action |
|---|---|---|---|
| Hairline Cracks | Less than 1/16″ | Concrete Curing/Shrinkage | Monitor; seal before installing flooring. |
| Medium Cracks | 1/16″ to 1/4″ | Settling, Temperature Changes | Clean, fill with flexible sealant or epoxy. |
| Wide Cracks | Greater than 1/4″ | Significant Settlement, Soil Pressure | Consult a structural engineer immediately. |
| Displaced Cracks | Any width | Heaving or Major Settlement | Consult a structural engineer immediately. |
Protecting Your Foundation and Your Peace of Mind
Discovering cracks under your carpet doesn’t have to be a catastrophe. By taking a methodical approach—assessing the type of crack, checking for moisture, and performing the correct repairs—you can effectively address the issue. Remember that most small cracks are a normal part of a home’s life.
The key is to differentiate between minor cosmetic flaws and true warning signs. When in doubt, investing in a professional assessment provides not only an expert opinion but also peace of mind. A sound slab provides the foundation for a safe and beautiful home, so taking these steps ensures that what lies beneath your feet is solid for years to come.