Cracks in Ceiling After New Roof? Don’t Panic, Here’s Why
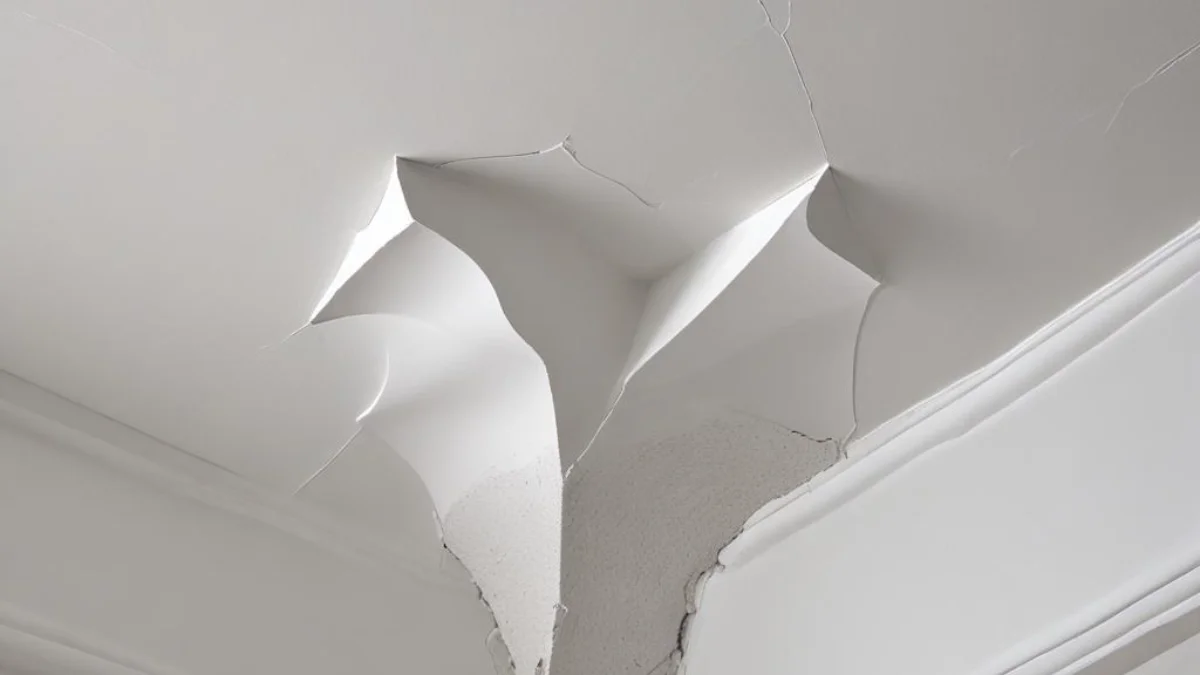
You’ve just invested a significant amount of money into a brand new roof. It looks fantastic from the outside, and you’re feeling secure, protected, and proud of your home improvement project. But then you walk inside, look up, and your heart sinks. You see them: fine, spiderweb-like lines or even more prominent cracks spreading across your once-pristine ceiling. The immediate reaction is often panic, followed by the frustrating question, “Did my brand new roof just damage my house?”
Discovering cracks in the ceiling after a new roof installation is a surprisingly common and deeply unsettling experience for many homeowners. It feels counterintuitive; a project meant to protect your home seems to have caused internal, cosmetic damage. Before you jump to conclusions or assume the worst about your roofing contractor, it’s important to understand the various reasons these cracks can appear. Often, they are a normal and temporary side effect of a major construction project, but sometimes they can signal underlying issues that need attention.
You'll Learn About
Why Do Ceilings Crack After a Roof Replacement?
A roof replacement is a heavy-duty construction job. It involves much more than just laying down new shingles. Understanding the forces at play can help demystify why your ceiling might be showing signs of stress.
Vibrations are the Primary Culprit
Think about the process of a reroofing job. It involves tearing off old layers of roofing material, hammering thousands of new nails, and the constant movement of workers and heavy equipment on your roof. All this activity generates significant vibrations that travel through your home’s entire structure, from the roof rafters down to the ceiling joists. Drywall and plaster, the most common ceiling materials, are rigid and can be brittle. When subjected to these intense vibrations, they can easily develop stress cracks.
The constant hammering and use of power tools create a ripple effect through the wooden framework of your roof. This movement, even if microscopic, is often enough to cause small fractures in the ceiling material below. These are often superficial and don’t indicate a structural problem with your home or the new roof.
The Weight of New Materials
Roofing materials are incredibly heavy. A single bundle of asphalt shingles can weigh between 50 and 80 pounds. During a replacement, dozens of these bundles are often stacked on the roof before installation. This sudden increase in weight, even temporarily, can cause the roof trusses and ceiling joists to flex and shift slightly. This minor deflection can be enough to pop drywall seams or create small cracks in the ceiling finish. While a properly structured roof is built to handle this load, the slight movement during the process can lead to cosmetic issues inside.
It’s important to remember that roofers remove several tons of old material and then load several tons of new material back on. This shift in weight is a significant event for your home’s structure and can easily result in minor cosmetic adjustments like ceiling cracks.
Structural Settling and Truss Uplift
Sometimes, the cracks are not directly caused by the roofing work itself but are related to the natural movement of your home’s structure. One common phenomenon is “truss uplift.” Roof trusses, the wooden framework supporting your roof, can expand and contract with changes in temperature and humidity. The bottom chord of the truss, often buried in attic insulation, stays warmer and drier than the top chords exposed to the attic air. This difference can cause the truss to arch or lift slightly, creating a gap between the ceiling drywall and the wall, which often appears as a crack along the ceiling-wall joint.
While the roofing project might not cause truss uplift, the vibrations and shifting during the installation can sometimes exacerbate a pre-existing tendency for this to occur. If you notice cracks primarily at the corners where the ceiling meets interior walls, truss uplift could be the reason.
Pre-Existing, Hidden Issues
In many cases, a roof replacement can reveal or worsen tiny, pre-existing cracks that were previously invisible. Years of normal house settling can create hairline fractures that are hidden under layers of paint. The intense vibrations from the reroofing process can shake these dormant cracks loose, making them suddenly visible. So, while the roofing job may have been the trigger, the underlying condition was already present.
Decoding the Cracks: A Homeowner’s Guide
Not all ceiling cracks are created equal. Identifying the type of crack you’re seeing can provide valuable clues about its cause and severity. This can help you determine whether it’s a simple cosmetic issue or something that requires professional attention.
| Type of Crack | Appearance | Likely Cause | Recommended Action |
|---|---|---|---|
| Hairline/Spiderweb Cracks | Very fine, thin cracks that may spread out from a central point. | Vibrations from roofing work, paint aging, normal house settling. | Monitor the cracks. If they don’t grow, they are likely cosmetic and can be repaired with filler and paint. |
| Straight Cracks Along Seams | A single, straight crack, often where two pieces of drywall meet. | Vibrations causing drywall tape to loosen, minor structural shifting. | Usually a cosmetic issue. The seam may need to be re-taped and mudded before repainting. |
| Cracks at Wall/Ceiling Joint | A crack appearing in the corner where the ceiling meets an interior wall. | Truss uplift due to temperature/humidity changes, structural movement. | Often cosmetic. Repairing with a flexible caulk can be a solution. If persistent, investigate attic ventilation. |
| Large, Jagged, or Widening Cracks | Cracks wider than 1/8 inch that appear to be growing or are accompanied by sagging. | Potentially serious structural issue or water damage. | Contact a professional immediately. This is not a typical result of a roof replacement. |
| Cracks with Discoloration | Yellow or brown stains around the crack. | Water damage. This indicates a leak, which could be from the new roof installation. | Contact your roofing contractor immediately to inspect for and repair a roof leak. |
Your Action Plan: What to Do About New Ceiling Cracks
Seeing cracks is alarming, but a methodical approach will help you resolve the issue efficiently. Don’t panic; instead, take these steps to assess and address the problem.
Step 1: Document Everything Thoroughly
Before you do anything else, document the damage. Take clear, well-lit photos of every crack you find from various angles. Use a measuring tape to show the length and width of the cracks. It’s also helpful to place a coin or another common object next to the crack for scale. Keep a written log of when you first noticed the cracks and any changes you observe over the following days.
This documentation will be invaluable if you need to discuss the issue with your roofing contractor. It provides a clear, objective record of the situation.
Step 2: Contact Your Roofing Contractor
Your first call should be to the company that installed your new roof. A reputable contractor will stand by their work and should be willing to come and inspect the issue. Explain the situation calmly and provide them with the photos you’ve taken. Most roofing contracts include clauses about potential cosmetic damage like drywall cracks, but a good contractor will want to ensure there isn’t a larger problem, such as a leak.
Remember that hairline cracks from vibrations are often considered a normal consequence of the job. However, if you see any signs of water damage or large structural cracks, insist on an immediate inspection.
Step 3: Distinguish Between Cosmetic and Structural
Most of the time, cracks that appear after a reroof are purely cosmetic. Hairline cracks and small cracks along drywall seams, while unsightly, do not threaten the integrity of your home. These are typically the homeowner’s responsibility to repair, though some contractors may offer to fix them as a gesture of goodwill.
However, if a crack is wide (you can fit a quarter in it), is actively growing, or is accompanied by a sagging ceiling, you could be looking at a more serious structural problem. Similarly, any discoloration points to a moisture issue that must be addressed promptly. For concerns about structural integrity or persistent water issues, it may be wise to get a second opinion from a structural engineer or a different trusted contractor.
How to Repair Minor Ceiling Cracks
For the common, cosmetic hairline cracks, the repair process is a straightforward DIY project for many homeowners. It’s a great way to restore your peace of mind and the beauty of your ceiling.
Gather Your Materials
You will need a few basic supplies from your local hardware store:
- Spackling compound or joint compound
- A flexible putty knife
- Fine-grit sandpaper (120- or 220-grit)
- A small paintbrush or roller
- Primer and ceiling paint that matches your existing color
The Repair Process
First, use the corner of your putty knife to gently widen the crack into a small “V” shape. This helps the spackling compound get a better grip inside the crack. Next, apply a thin layer of spackle over the crack, pressing it firmly into the groove. Scrape away any excess to make the surface as smooth as possible.
Allow the spackle to dry completely according to the manufacturer’s instructions. Once dry, lightly sand the area until it is smooth and flush with the rest of the ceiling. You may need to apply a second, thinner coat of spackle for a perfectly seamless finish. After the final sanding, apply a coat of primer, let it dry, and then paint the patched area to match the rest of your ceiling.
Prevention and Final Thoughts
While some minor cosmetic cracking can be an unavoidable part of a major roofing project, communication with your contractor is key. Before the job starts, discuss the possibility of vibrations causing cracks. A good contractor will advise you to remove pictures and valuables from walls to prevent them from falling. While they cannot defy the laws of physics and stop all vibrations, they should take care to minimize impact, such as not dropping heavy bundles of shingles carelessly.
Ultimately, discovering cracks in your ceiling after a new roof is more often a minor nuisance than a major catastrophe. By understanding the causes, identifying the type of crack, and taking a calm, methodical approach, you can address the issue effectively. A few simple repairs are often all that’s needed to restore your ceiling to its former glory, allowing you to fully enjoy the security and peace of mind your new roof provides.