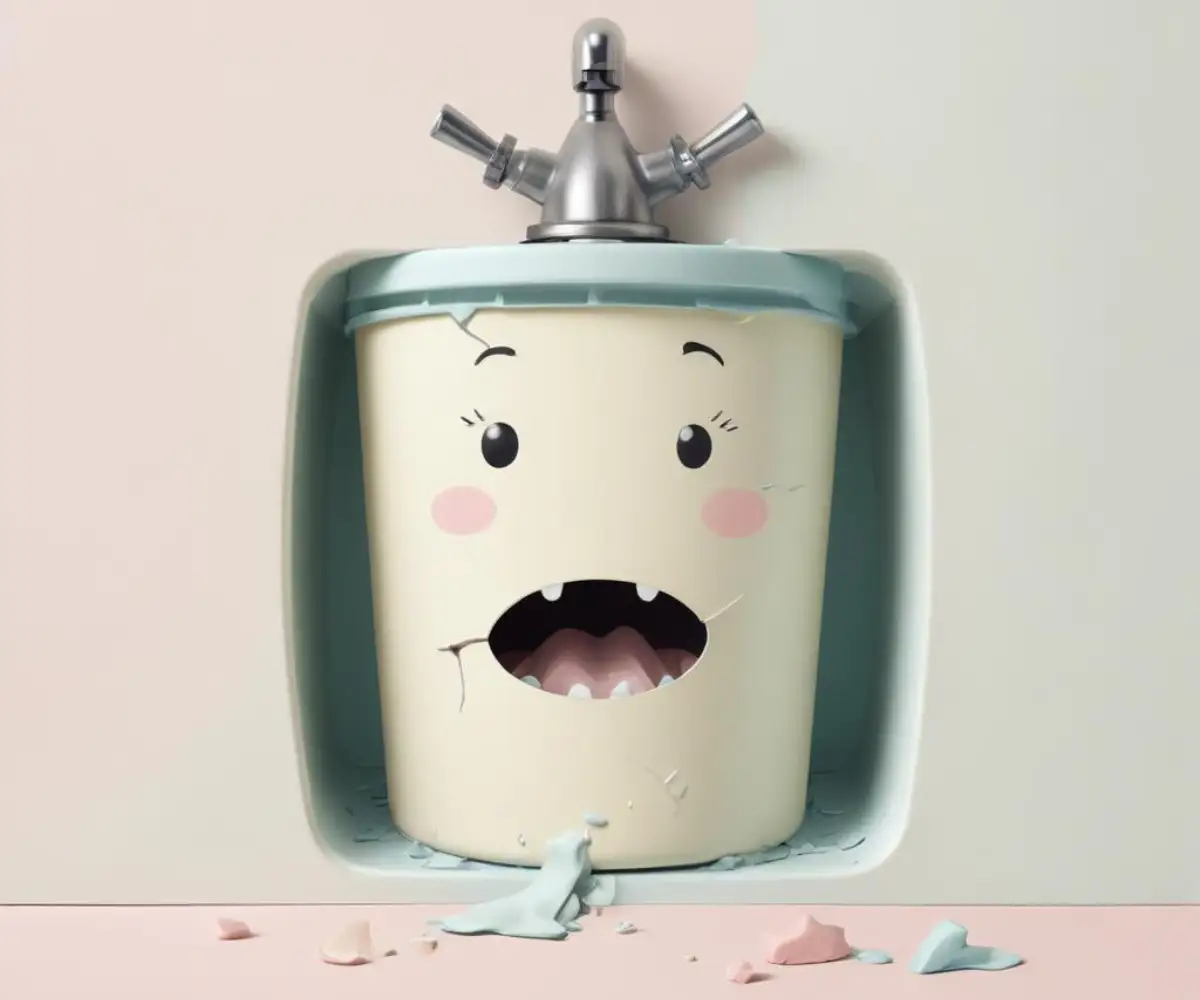
Crack in Garbage Disposal? Here’s the #1 Reason to Replace It Now
That moment of dread is universal. You reach under the kitchen sink for the dish soap and your hand lands in a cold, murky puddle. A quick investigation reveals the culprit: a slow, persistent drip originating from the body of your garbage disposal. A closer look confirms your fear—a visible crack in the garbage disposal housing.
This discovery often triggers a cascade of questions. Can it be fixed? Is it dangerous? What caused this to happen? While the immediate instinct might be to find a quick patch, a crack in your garbage disposal is a serious issue that, in almost every case, signals the end of the unit’s life.
Ignoring this problem is not an option. A leaking garbage disposal can lead to extensive and expensive damage, from warped cabinets and ruined flooring to hazardous mold growth and electrical risks. This guide will walk you through why garbage disposals crack, why a repair is almost never the right answer, and how to confidently tackle a replacement.
You'll Learn About
Why Do Garbage Disposals Crack? Uncovering the Root Causes
A crack in the housing of a garbage disposal rarely happens overnight. It’s typically the result of cumulative stress and environmental factors that weaken the unit’s structure over time. Understanding these causes is key to preventing the issue in the future.
One of the most common culprits is thermal stress. The rapid fluctuation between scalding hot water from cooking and cold water rinses causes the plastic or metal housing to expand and contract. Over years of daily use, this thermal cycling creates microscopic fissures that can eventually grow into a full-blown crack.
Physical impact is another frequent cause. Accidentally dropping a heavy pot or a can of food into the sink can deliver a sharp blow to the disposal unit below. While they are built to be durable, a direct impact on a vulnerable spot can easily fracture the housing, leading to an immediate leak.
The Hidden Failures: Internal Corrosion and Material Fatigue
While external factors are significant, the internal environment of a garbage disposal is incredibly harsh. The constant exposure to water, food acids, and cleaning agents can lead to internal corrosion. Over time, metal components rust and degrade, placing additional stress on the housing and internal seals.
Material fatigue is also a critical factor, especially in units with plastic housings. The intense vibration from the motor during operation puts constant strain on the entire assembly. This, combined with the thermal stress and chemical exposure, causes the plastic to become brittle and lose its structural integrity, making it highly susceptible to cracking.
The Critical Decision: Repairing vs. Replacing a Cracked Disposal
When faced with a cracked garbage disposal, many homeowners wonder if a simple repair with epoxy or sealant is possible. While this might seem like a cost-effective solution, it is a temporary and often dangerous gamble. The unique operational stresses of a garbage disposal make DIY repairs notoriously unreliable.
The powerful motor generates intense vibrations that will quickly break the bond of any sealant. Furthermore, the constant thermal expansion and contraction of the housing material will cause the patch to fail, leading to renewed leaks. A failed repair not only brings back the original problem but can also result in catastrophic water damage if the leak worsens when you’re not home.
Given these factors, replacement is almost always the safest and most logical solution. A crack is a clear sign that the unit’s structural integrity is compromised beyond a simple fix. Investing in a new unit resolves the immediate leak and prevents the cycle of failed repairs and potential water damage.
When is a Repair Even Possible?
In very rare instances, a hairline crack on a non-structural part of the unit might be sealed temporarily. However, this should only be considered a stopgap measure while you procure a replacement. Leaks from the main body or near the motor housing are definitive signs that the unit must be replaced immediately to avoid electrical hazards.
Attempting to seal a major crack is not worth the risk. The combination of water and electricity under your sink is a recipe for disaster. Prioritizing safety by choosing to replace the unit is the most responsible course of action.
| Symptom | Common Cause | Recommended Action | Risk of Ignoring |
|---|---|---|---|
| Water leaking from the bottom of the unit | Crack in the main housing or failed internal seal | Immediate Replacement | Severe water damage, mold, electrical shock hazard |
| Water dripping from sink flange | Loose mounting bolts or failed plumber’s putty | Tighten bolts and/or re-seal with putty | Minor water damage, cabinet warping |
| Leak at dishwasher hose connection | Loose clamp or cracked hose | Tighten clamp or replace hose | Water damage to cabinet and floor |
| Unit hums but doesn’t grind | Jammed flywheel | Use Allen wrench to free jam | Motor burnout if not addressed |
The Definitive Guide to Replacing Your Garbage Disposal
Replacing a garbage disposal might sound intimidating, but it’s a manageable project for a homeowner with basic tools and a methodical approach. Following these steps will ensure a safe and leak-free installation.
Step 1: Safety First – Disconnect the Power
This is the most critical step. Before you do anything else, you must completely cut power to the garbage disposal. Unplug the unit from the outlet under the sink. If it’s hardwired, you must go to your home’s breaker box and shut off the corresponding circuit. Confirm the power is off by trying to turn the disposal on at the wall switch.
Step 2: Gather Your Tools and Materials
Having everything ready will make the process much smoother. You will typically need:
- A new garbage disposal unit
- Plumber’s putty
- Bucket and towels
- Pliers (channel-lock style)
- Screwdrivers (flathead and Phillips)
- Allen wrench (usually included with the new unit)
- Safety glasses
Step 3: Disconnect the Plumbing
Place a bucket under the disposal to catch any residual water. Start by disconnecting the dishwasher drain line if you have one connected. Use pliers to loosen the P-trap slip nuts that connect the disposal’s discharge pipe to your sink’s drain line and swing the pipe out of the way.
Step 4: Remove the Old Garbage Disposal
The disposal is attached to the sink flange via a mounting ring. To release it, insert a screwdriver or the provided tool into one of the lugs on the mounting ring and turn it counter-clockwise. Be prepared to support the weight of the unit as it detaches—they can be surprisingly heavy. Once it’s free, lower it and set it aside.
Step 5: Replace the Sink Flange
With the old unit removed, you can now access the sink flange from under the sink. Loosen the three mounting screws, remove the snap ring, and push the old flange up and out of the sink drain. Clean the sink opening thoroughly, removing all old putty.
Apply a generous rope of new plumber’s putty around the underside of the new flange and press it firmly into the sink drain. From below, slide on the fiber gasket, backup flange, and mounting ring. Tighten the mounting screws evenly until the mounting ring is secure and excess putty squeezes out around the top of the flange.
Step 6: Mount and Connect the New Unit
If your old disposal was hardwired, now is the time to transfer the power cord to the new unit, following the manufacturer’s instructions carefully. If dealing with wiring seems daunting, consulting a guide on electrical work, like how to install a garbage disposal switch, can provide valuable insights into safe practices.
Lift the new disposal and align its mounting tabs with the ramps on the mounting ring. Push the unit up and turn the mounting ring clockwise until the disposal locks securely into place. Reconnect the P-trap and the dishwasher line. Hand-tighten the slip nuts first, then give them a final quarter-turn with pliers to ensure a snug seal.
Step 7: The Final Test
Remove any tools or debris from the sink. Place the stopper in the drain and fill the sink with a few inches of water. Remove the stopper and check every connection point—the sink flange, the discharge pipe, and the dishwasher hose—for any signs of dripping. Once you’ve confirmed it’s watertight, restore power at the breaker or plug the unit in. Run cold water and turn on the disposal to ensure it operates smoothly.
Protecting Your Investment: How to Prevent Future Cracks
Once your new disposal is installed, a few simple habits can significantly extend its lifespan and prevent a repeat of the cracking issue. The most important practice is to always run a strong flow of cold water before, during, and for about 30 seconds after using the disposal. This helps solidify grease and fats, allowing them to be chopped up and flushed away, and it also helps cool the motor.
Avoid pouring boiling water or large amounts of hot liquids directly into the disposal, as this is a primary cause of thermal stress. Also, be mindful of what goes down the drain. Hard, non-food items can damage the unit, and fibrous foods like celery or corn husks can tangle the blades. If a garbage disposal blade breaks off, it’s a sign that improper items have been introduced.
Finally, for some households, the constant maintenance of a disposal isn’t worth the convenience. In these cases, exploring how to live without a garbage disposal can be a practical alternative, simplifying your plumbing and eliminating a potential point of failure under your sink.