Cost to Cut Basement Concrete Floor for Plumbing? The Answer Will Shock You
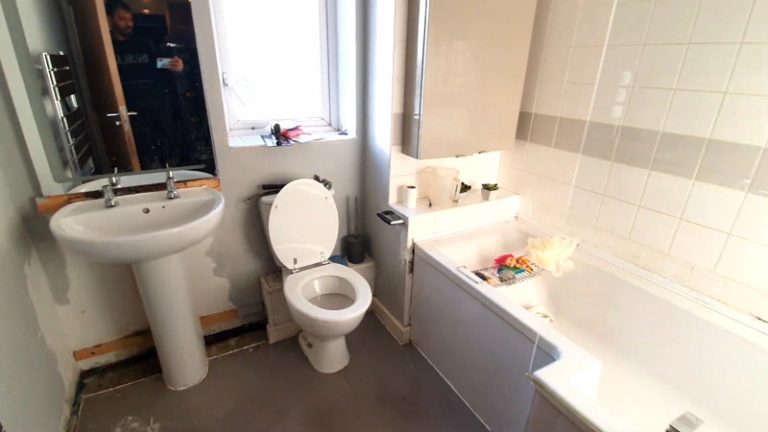
You have a vision: a gleaming new bathroom, a convenient laundry room, or a stylish wet bar in your basement. But then you look down and reality hits. There’s a thick, unyielding slab of concrete between your dream and its plumbing. The single biggest question that stops homeowners in their tracks is: what is the real cost to cut that concrete floor for plumbing?
Breaking into your foundation sounds expensive and intimidating, and frankly, it can be. But armed with the right knowledge, you can budget effectively and avoid the costly surprises that derail so many basement renovation projects. This guide will break down every cost component, from the saw blade to the final patch.
You'll Learn About
Why You MUST Cut Your Basement Floor for Plumbing
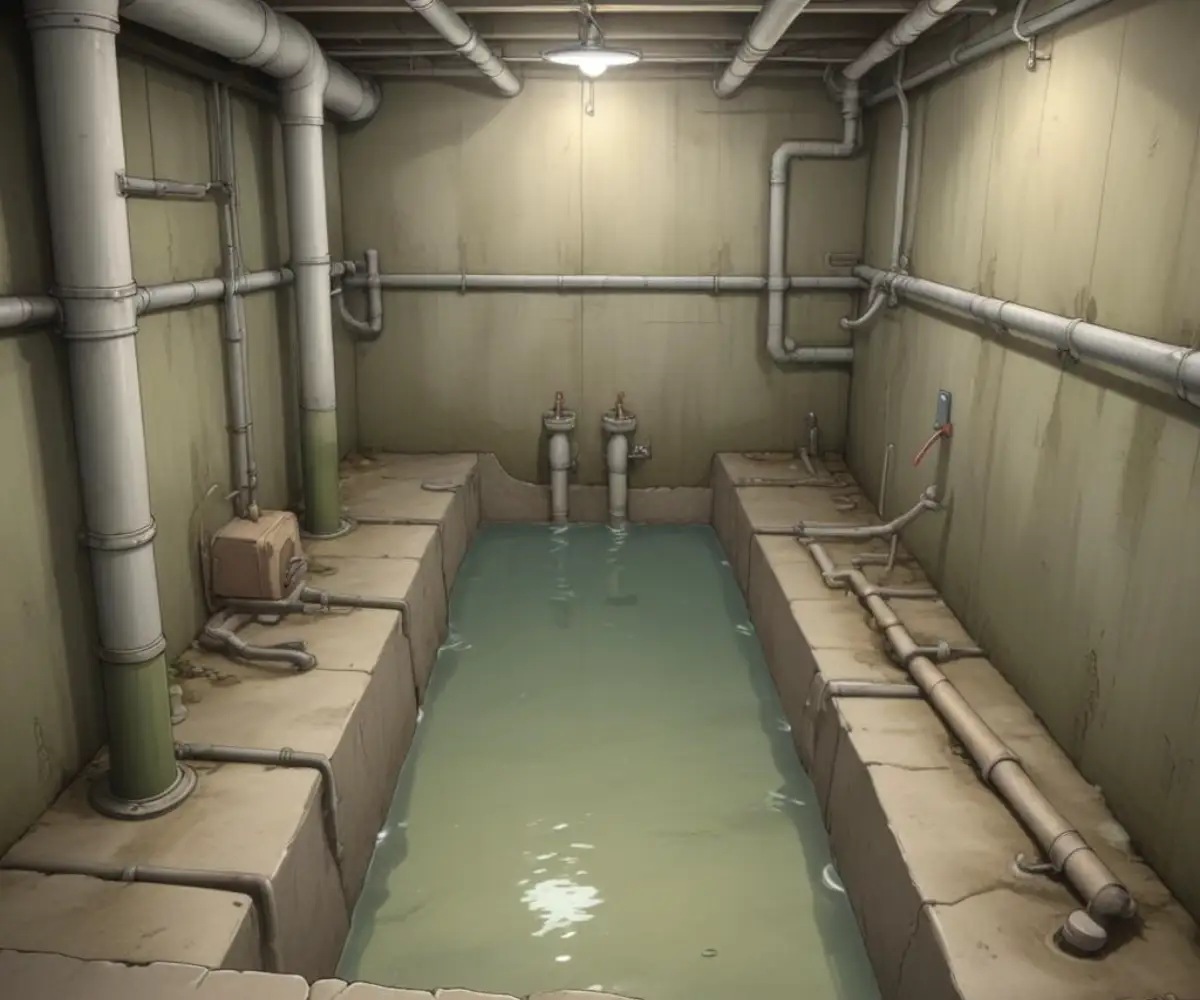
Before we talk numbers, it’s critical to understand why this step is non-negotiable for most basement additions. Plumbing, specifically drainage, relies on one simple force: gravity. For wastewater from a toilet, shower, or sink to exit your home, the drain pipes must have a consistent downward slope—typically a quarter-inch of drop for every linear foot of pipe.
This means burying drain lines beneath the floor is the only way to achieve the necessary slope to connect to your home’s main sewer line. Trying to work around this fundamental principle leads to constant clogs, backups, and plumbing nightmares. This process is essential for projects like adding a full bathroom, relocating a kitchen, or even installing a simple floor drain.
The Real Cost Breakdown: What Are You Paying For?
The total price isn’t just a single line item. It’s a combination of several distinct services, each with its own cost range. Understanding these individual components is the key to deciphering quotes and building an accurate budget for your project.
Here is a typical breakdown of the costs you can expect. Keep in mind that prices vary significantly based on your location, the complexity of the job, and the thickness of your concrete slab.
| Service or Cost Factor | Average Cost Range |
|---|---|
| Concrete Cutting (per linear foot) | $10 – $30 |
| Trenching & Debris Removal | $500 – $1,500+ |
| Plumbing Rough-In (Labor & Materials) | $1,000 – $3,500+ |
| Concrete Patching & Finishing | $300 – $1,000 |
| Building Permits & Inspections | $50 – $500 |
Factor 1: The Cost of Cutting Concrete Per Linear Foot
The first major expense is the physical act of cutting the concrete. Professionals use specialized saws to create clean lines for the trenches. The cost for this service often ranges from $10 to $30 per linear foot. For a simple 10-foot trench, this might seem low, but remember you need two parallel cuts, effectively doubling the length.
The price depends on the thickness of your slab (most are 3-5 inches) and accessibility. Thicker, reinforced concrete will be on the higher end of the cost spectrum.
Factor 2: Trenching, Excavation, and Debris Removal
Once the lines are cut, the real labor begins. The cut sections of concrete must be broken up with a jackhammer and removed. Then, a trench must be dug into the soil or gravel beneath the slab to the required depth for the new pipes.
This is heavy, manual labor that can cost between $500 and $1,500, or more, depending on the length and depth of the trenches. This price typically includes the cost of hauling away and disposing of the old concrete and excavated dirt.
Factor 3: The Plumbing Itself (The Main Event)
With the trench open, the plumber can finally do their work. The “rough-in” phase involves laying the new PVC or ABS pipes, connecting them to your existing drain stack, and installing the lines for sinks, showers, and toilets. You’ll be paying for the plumber’s hourly rate, which can be $50 to $150 per hour, plus the cost of materials.
A complete rough-in for a three-piece bathroom can take 10 to 20 hours of labor. The total plumbing portion can easily range from $1,000 to $3,500 or more, depending on the complexity of the layout.
Factor 4: Backfilling and Patching the Concrete
After the plumbing passes inspection, the trench is backfilled with gravel and new concrete is poured to patch the floor. This step is crucial for restoring the integrity and level surface of your basement floor. The cost for backfilling and patching can range from $300 to $1,000, depending on the size of the area being repaired.
Hidden Costs That Can Bust Your Budget
The numbers above cover the standard process, but basements are notorious for surprises. Being aware of these potential hidden costs can save you from major financial stress down the road.
GPR Scanning: Before any cutting begins, it’s wise to have the slab scanned with Ground Penetrating Radar (GPR). This technology can detect rebar, electrical conduits, or radiant heat lines embedded in the concrete. Accidentally cutting one of these can be a catastrophic and expensive mistake. Scanning can add a few hundred dollars but provides invaluable peace of mind.
Unexpected Obstacles: You never know what lies beneath the slab until you open it up. Discovering solid bedrock, large boulders, or a high water table can significantly increase labor costs and complicate the project.
Permits and Inspections: Don’t let a contractor talk you out of getting a permit. Proper permits ensure the work is done to code and passes inspection, which is vital for your safety and your home’s resale value. Permit fees can range from $50 to $500.
Waterproofing Issues: Cutting into your concrete slab breaks the original vapor barrier. If not properly sealed, this can create a path for moisture to seep in. Over time, you may find yourself wondering why there is water under Lifeproof flooring, and the source could be a poorly patched trench.
DIY vs. Hiring a Pro: A Dangerous Gamble?
The high costs might tempt you to rent a concrete saw and tackle the job yourself. This is strongly discouraged for most homeowners. The risks associated with DIY concrete cutting are significant and can lead to far greater expenses than hiring a professional.
The dangers include exposure to harmful silica dust, the risk of the powerful saw kicking back, and the potential for irreversible structural damage if you cut reinforcing steel. Furthermore, getting the plumbing slope wrong will guarantee future problems. A professional crew has the safety gear, expertise, and insurance to do the job correctly and safely. An improperly filled trench could even lead to foundation issues or you may start asking why is a cold spot on the floor developing where the work was done.
How to Save Money on Your Basement Plumbing Project
While cutting corners is a bad idea, there are smart ways to manage costs for your basement project.
Get Multiple Quotes: Always get at least three detailed quotes from licensed and insured plumbers or concrete cutting specialists. This allows you to compare prices and services.
Plan an Efficient Layout: Work with your plumber to design a layout that minimizes the length of the trenches needed. The less cutting and digging required, the lower the cost.
Do the “Dumb” Labor: If your contractor agrees, you may be able to save some money by handling tasks like clearing the workspace before they arrive or hauling away the broken concrete yourself.
Schedule in the Off-Season: Contractors are often busiest in the summer and fall. You might be able to negotiate a better rate during slower periods like late winter.
Your Step-by-Step Guide to the Concrete Cutting Process
- Finalize Your Layout: Know exactly where every fixture will go.
- Hire a Reputable Contractor: Choose a licensed professional with experience in basement plumbing.
- Scanning and Marking: The crew will scan for hidden obstacles and mark the exact cutting lines on the floor.
- The Cut and Trench: Using a wet saw to control dust, workers will cut the concrete and then break it out with jackhammers before digging the trench.
- Plumbing Rough-In and Inspection: The plumber lays the pipes, and the work is inspected by the city to ensure it’s up to code.
- Backfilling and Concrete Patching: The trench is filled with gravel, and fresh concrete is poured and smoothed.
- Curing and Finishing: The new concrete must cure for several days before you can put any flooring over it.
Adding plumbing to your basement is a significant investment, but it’s one that can dramatically improve your home’s functionality and value. Even if you’re working with limited headroom and looking for 6 foot basement ceiling ideas, adding a bathroom can transform the space. By understanding the true costs and potential pitfalls of cutting your concrete floor, you can plan your project with confidence and turn that dusty, unused space into the basement of your dreams.