Corner Grooving Tool Secrets: Get Flawless Edges Every Time
There’s nothing more frustrating than spending hours on a project only to have it ruined by a sloppy, uneven groove. A clean, precise corner groove is often the detail that separates amateur work from a professional-grade finish, yet it remains one of the most challenging tasks in woodworking and flooring installation.
Whether you’re fitting a door seal, preparing vinyl flooring for welding, or creating decorative joinery, a subpar groove can compromise the entire project. The common struggle is real: splintered wood, inconsistent depths, and wobbly lines are frequent complaints. This guide demystifies the process, empowering you with the knowledge to achieve perfect corner grooves every time.
You'll Learn About
What Exactly Is a Corner Grooving Tool?
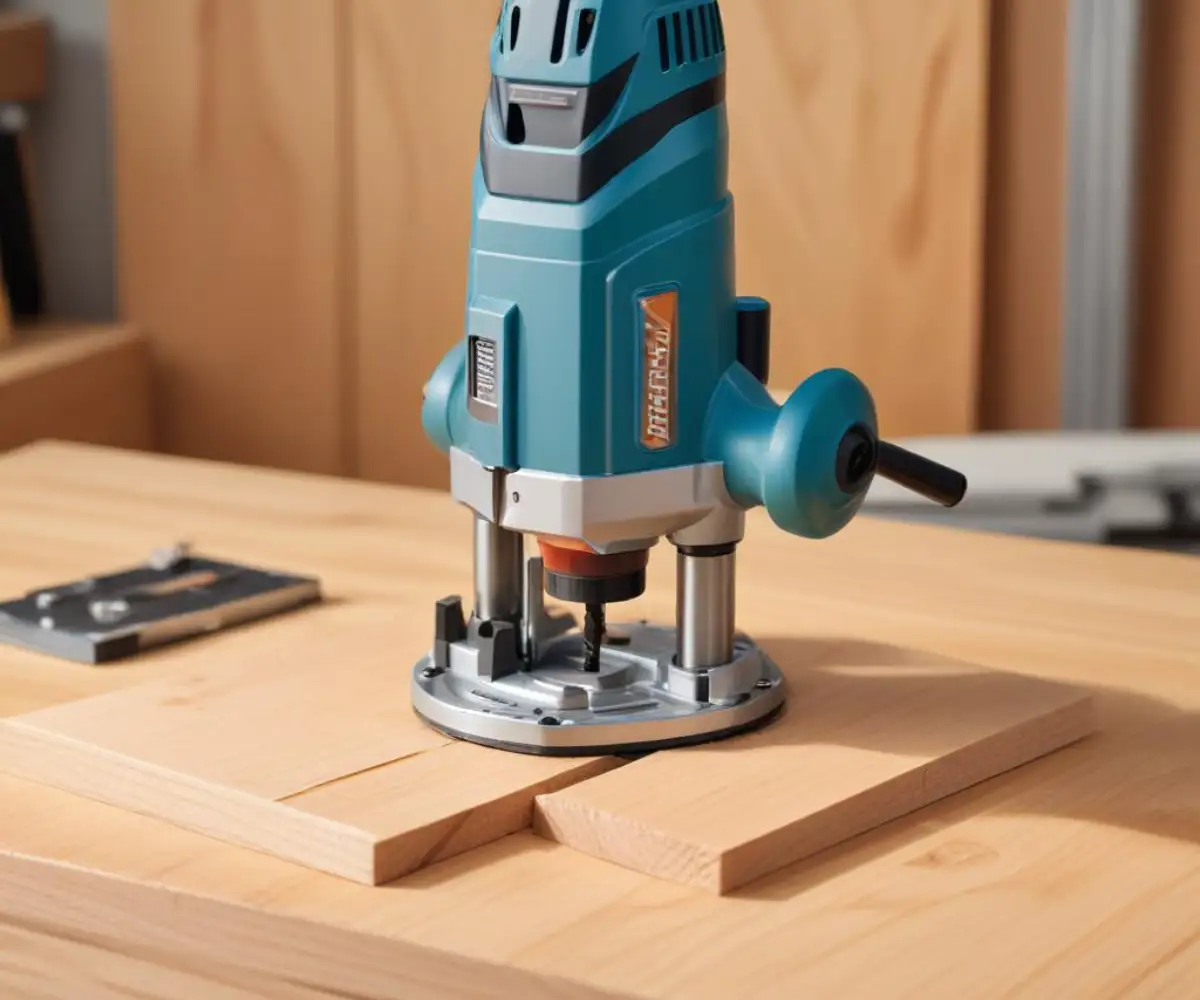
At its core, a corner grooving tool is a specialized device designed to excavate a precise channel, or groove, at the intersection of two surfaces. Unlike a standard router that works on flat planes, this tool is built to follow an inside corner, ensuring the groove is perfectly placed and consistent. Its primary function is to create clean channels for a variety of applications, from functional to decorative.
These tools are indispensable in tasks like installing silicone weatherstripping in door and window jambs, where a snug fit is crucial for insulation. In flooring, they are used to cut grooves along the seams of vinyl or linoleum sheets, preparing them for a heat-welded bead that creates a seamless, waterproof surface. For woodworkers, they offer a method for creating intricate inlays and strong, hidden joinery.
Manual vs. Electric: Choosing Your Weapon
Corner grooving tools generally fall into two categories: manual and electric. Each has its place, and the right choice depends entirely on the scale and demands of your project.
Manual corner groovers are simple, hand-powered tools that require the user to apply physical force to pull a cutting blade through the material. They are excellent for small-scale jobs or materials like soft vinyl where precision is more important than speed. Their main advantage is the tactile control they offer, but they can be labor-intensive and may produce less consistent results over long distances.
Electric corner grooving tools, on the other hand, are powerful and efficient, utilizing a high-speed motor and a router-style bit to make cuts. These are the go-to for professionals and serious hobbyists. They excel at creating long, uniform grooves in harder materials like wood and are significantly faster. The key to their success is a V-shaped base or guide system that keeps the cut perfectly aligned in the corner.
Selecting the Perfect Corner Grooving Tool for Your Needs
Making the right choice in a corner grooving tool can dramatically impact your workflow and the quality of your final product. Beyond the manual versus electric debate, several key features differentiate the models available and determine their suitability for specific tasks.
Consider factors like the power source—corded models offer consistent power for workshop use, while cordless options provide unmatched portability for on-site jobs. The type of blade or bit is also critical; V-groove bits are common for decorative work and flooring, while straight bits are often used for joinery and weatherstripping channels. Pay close attention to the depth adjustment mechanism, as a tool with micro-adjustments will offer far greater precision. The guide system, whether it relies on wheels or a fixed fence, is what ensures a straight and true cut.
Feature Comparison for Smart Shopping
To simplify the decision-making process, this table breaks down the essential features to look for when purchasing a corner grooving tool. Understanding these elements will help you invest in a tool that not only meets your current needs but will also serve you well in future projects.
| Feature | What to Look For | Why It Matters for Your Project |
|---|---|---|
| Power Source | Corded, Cordless (Battery Voltage) | Corded offers unlimited runtime for shop use. Cordless provides essential portability for job sites. |
| Blade/Bit Type | V-Groove, U-Groove, Straight Bit | The bit shape determines the profile of your groove, crucial for flooring seams vs. weatherstripping. |
| Depth Adjustment | Micrometer Dial, Stepped Settings, Fixed | Precise, repeatable depth control is key for professional results and preventing damage to the workpiece. |
| Guide System | V-Shaped Base, Roller Guides, Edge Fence | A stable and accurate guide system is non-negotiable for keeping the groove perfectly straight in the corner. |
| Dust Collection | Integrated Port, Vacuum Adapter | Effective dust collection keeps your workspace clean and, more importantly, your cutline clearly visible. |
Your Step-by-Step Guide to Flawless Corner Grooves
Having the right tool is only half the battle. Proper technique is what truly elevates your work from passable to perfect. Follow these steps methodically to ensure a clean, accurate, and professional-looking corner groove every time.
Step 1: Meticulous Preparation
Begin by ensuring your work surface is clean and completely free of debris. Any stray particle can cause the tool to bump or veer off course. Carefully mark your intended groove line with a pencil, using a high-quality straightedge for guidance. Secure your workpiece firmly with clamps; any movement during the cut will lead to an imperfect line.
Step 2: Calibrating Your Tool
Install the correct bit for your desired groove profile. Before powering on, adjust the cutting depth on your tool. It is always wise to perform a test cut on a scrap piece of the same material. This allows you to verify the depth and alignment without risking your actual project. Check that any guides or fences are securely tightened and perfectly parallel to the bit.
Step 3: Executing the Cut
Turn on the tool and allow it to reach its full operating speed before making contact with the material. Place the tool’s guide firmly into the corner at the start of your marked line. Move the tool forward with a slow, steady, and constant speed. Avoid stopping mid-cut, as this can create burn marks or slight divots in the wood. Always push the tool; never pull it backward against the bit’s rotation.
Step 4: Final Inspection and Cleanup
Once the cut is complete, turn off the tool and wait for the bit to stop spinning before lifting it from the workpiece. Inspect the groove for consistent depth and a clean finish. Use a small brush or a vacuum to clear away any remaining sawdust or debris from the channel.
Troubleshooting Common Grooving Problems
Even with careful preparation, issues can arise. Understanding how to diagnose and solve these common problems is crucial for any craftsperson. From frustrating tear-out to inconsistent cuts, there is almost always a straightforward solution.
Problem: Ugly Wood Tear-Out and Splintering
Tear-out happens when the cutting blade lifts and rips wood fibers instead of shearing them cleanly. To prevent this, apply painter’s tape along the cut line before you start. This simple trick helps hold the surface fibers in place. Additionally, ensure your router bit is extremely sharp; dull bits are a primary cause of tear-out. For particularly troublesome woods, making multiple shallow passes instead of one deep cut can significantly improve the result.
Problem: Inconsistent Groove Depth and Wobbles
If your groove’s depth varies, first check that your workpiece is perfectly flat and securely clamped. Any rocking or instability will translate directly into the cut. Next, ensure the tool’s base is held firmly and consistently against the surfaces throughout the pass. A common mistake is applying uneven pressure, causing the tool to tilt slightly. A lighter touch and focusing on a smooth glide often solves this.
Problem: Burn Marks on the Wood
Burn marks are a sign of excessive friction. This is typically caused by moving the tool too slowly, pausing during the cut, or using a dull bit. It can also happen if the router speed is too high for the type of wood. The heat generated by this friction can become so intense that it causes issues similar to those seen when paint melting occurs under a heat gun. Maintain a consistent, moderately paced feed rate and ensure your bit is clean and sharp to avoid scorching your project.
Advanced Techniques and Professional Insights
Going beyond the basics, a true master of the corner grooving tool knows how to adapt its use for unique situations and materials. One such advanced concept is “grain-aware grooving.” This involves analyzing the grain direction of the wood before making a cut. By orienting the tool to cut “downhill” with the grain, you can dramatically reduce the likelihood of tear-out, especially in woods with figured or irregular grain patterns.
Furthermore, don’t limit the tool to its most common applications. With the right bit, a corner grooving tool can be used to create custom joinery, such as a sliding dovetail preparation, or to craft decorative channels for resin inlays in custom furniture. This versatility transforms it from a single-purpose device into a creative woodworking asset.
Essential Maintenance and Safety Protocols
A well-maintained tool is a safe and effective tool. Neglecting basic care not only shortens the life of your equipment but also compromises the quality of your work and your safety. Establishing a routine for maintenance is a non-negotiable part of professional craftsmanship.
Tool Care for Longevity and Performance
After each use, clean your corner grooving tool thoroughly. Use compressed air to blow dust out of the motor vents and wipe down the body and base. Periodically inspect the power cord for any signs of fraying or damage. Router bits should be cleaned of resin buildup and checked for sharpness. A sharp bit cuts more cleanly and puts less strain on the tool’s motor. Proper care is vital for any high-quality tool, including a versatile option like a DeWalt corner grooving router tool, to ensure it performs reliably for years.
Safety First: Non-Negotiable Rules
Safety should always be the top priority. Always wear safety glasses to protect your eyes from flying debris. Disconnect the power source before changing bits or making any adjustments to the tool. Keep your hands clear of the cutting area at all times and maintain a firm grip on the tool during operation. Following these simple rules helps prevent accidents and ensures a safe working environment.
Mastering the Corner Groove
The corner grooving tool, when understood and used correctly, is a gateway to a higher level of precision and professionalism in your projects. By moving beyond the frustration of common errors and embracing proper technique, you can unlock its full potential. From preparation to the final pass, every step is an opportunity to ensure a flawless result.
By mastering this tool, you gain the ability to create strong, clean lines that define high-quality craftsmanship. While DIY skills are incredibly rewarding, it’s also wise to recognize when a project requires a different kind of expert; for major home issues like pest infestations, knowing when to call a professional and asking if Terminix is worth it can be just as important as knowing how to use your tools. Embrace the process, practice the techniques, and approach your next project with the confidence of a seasoned professional.