Cork Subfloor Over Concrete: Your #1 Defense Against Failure
That concrete slab in your basement or ground floor is cold, hard, and unforgiving. You want to install a beautiful new floor, but placing it directly on the concrete feels like a recipe for disaster. You’re right to be concerned.
Concrete is notorious for transmitting cold, amplifying sound, and, worst of all, secretly releasing moisture vapor. Ignoring these issues can lead to warped flooring, chilly rooms, and a noisy environment. This is the core problem many homeowners face when upgrading their space.
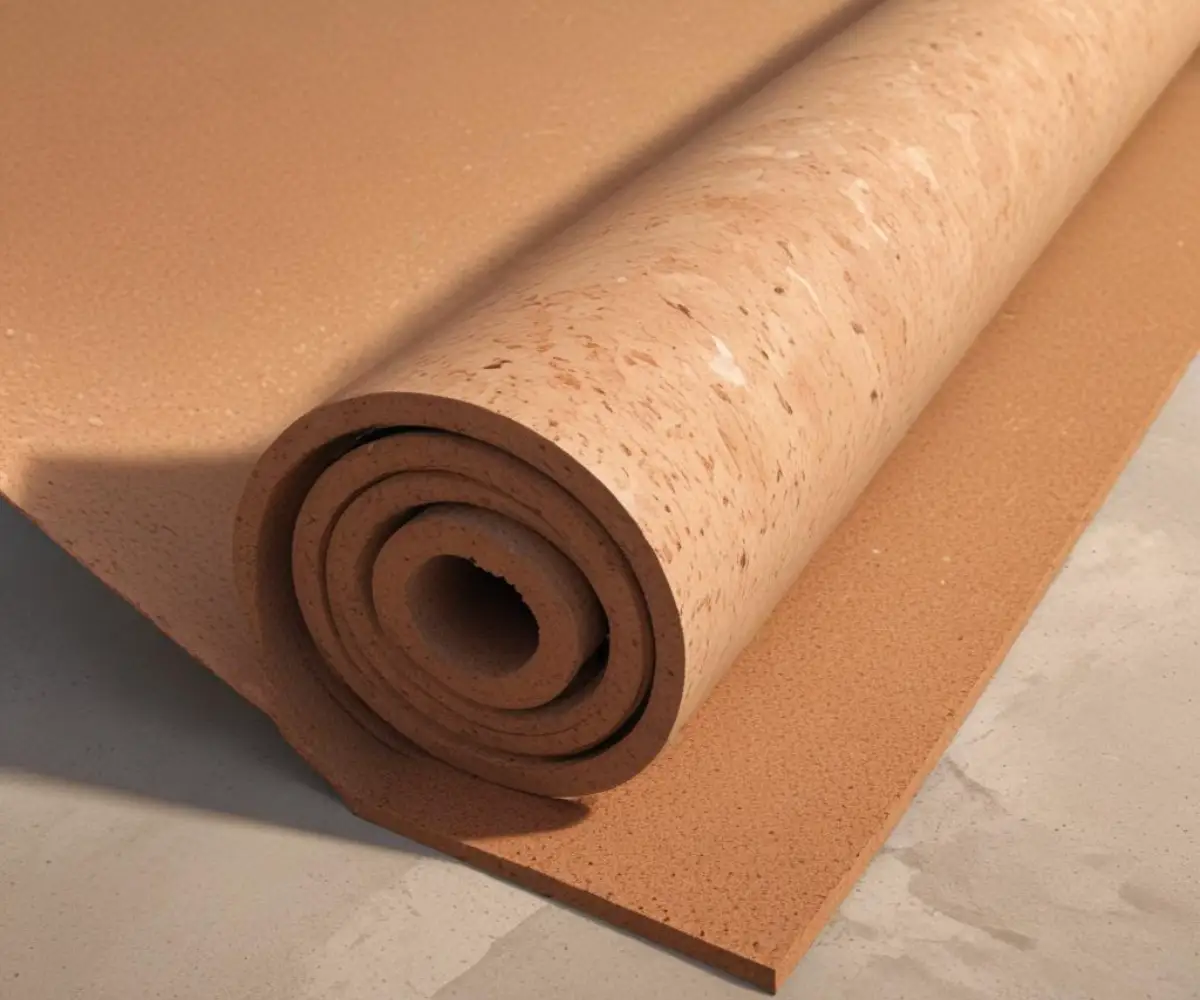
Fortunately, there is a natural, effective solution that transforms problematic concrete into the perfect foundation for your new floor. A cork subfloor, or more accurately, a cork underlayment, is the ultimate intermediary between the harsh concrete and your finished flooring.
You'll Learn About
Why Your Concrete Slab Is a Problem (And How Cork Fixes It)
Concrete slabs, especially on or below grade, present a unique set of challenges that can compromise the comfort, longevity, and health of your home. Understanding these issues is the first step toward appreciating why a cork underlayment isn’t just a recommendation—it’s often a necessity.
The Unseen Enemy: Moisture Vapor
Concrete is porous and acts like a slow-moving sponge. It naturally wicks moisture from the ground beneath it and releases it as vapor into your home. Trapping this moisture under a non-permeable floor covering can lead to the growth of mold and mildew, which can compromise air quality and damage your flooring from below.
The Cork Solution: While cork itself is moisture-resistant, its most critical role here is working in tandem with a vapor barrier. A proper installation always includes a 6-mil polyethylene sheet laid over the concrete before the cork goes down. This combination completely blocks moisture from reaching your floor.
The Battle Against Cold Floors
Concrete has very poor thermal insulation. In colder months, it acts as a heat sink, constantly pulling warmth out of your room and making your floors uncomfortably cold to the touch. This can lead to higher heating bills as your HVAC system works harder to maintain a comfortable temperature.
The Cork Solution: Cork’s unique honeycomb-like cell structure, containing millions of air pockets, makes it an excellent natural insulator. Adding a layer of cork underlayment creates a thermal break, effectively stopping the concrete from stealing your room’s warmth and making your floors noticeably warmer and more comfortable underfoot.
Sound Amplification and Impact Noise
Hard surfaces like concrete reflect sound, creating echoes and making rooms feel loud and cavernous. Furthermore, any impact on the floor—from footsteps to dropped objects—transmits directly through the structure, which is a major issue in multi-level homes or condos.
The Cork Solution: The same air-filled cells that provide thermal insulation also excel at absorbing sound. Cork underlayment significantly dampens both ambient sound within a room and impact noise traveling to the floor below. This creates a quieter, more peaceful living environment.
Don’t Lay a Single Roll Until You Do This: Concrete Prep 101
A successful flooring installation is built on a solid foundation. You cannot place a high-quality cork underlayment on a flawed concrete slab and expect good results. Proper preparation is the most critical phase of the entire project.
The Moisture Test You Absolutely Cannot Skip
Before anything else, you must determine how much moisture your slab is releasing. Even if the concrete looks and feels bone-dry, it can still emit enough vapor to cause major problems. Skipping this test is a gamble you don’t want to take.
A simple and reliable method is the plastic sheet test. Tape a 2’x2′ square of clear plastic sheeting to the concrete on all four sides with heavy-duty tape. After 24-48 hours, check for condensation on the underside of the plastic. Any sign of moisture means a vapor barrier is non-negotiable.
Leveling and Smoothing: Your Foundation for Success
Cork is resilient, but it is not a structural leveler. It will conform to the contours of the slab beneath it. Any significant dips, bumps, or cracks in the concrete will eventually telegraph through to your finished floor, causing uneven wear and potential failure of the flooring joints.
Use a long, straight edge to identify high and low spots. High spots can be ground down with a concrete grinder. Low spots and cracks should be filled with a high-quality, cement-based patching or self-leveling compound. The goal is a flat, smooth surface, generally within a tolerance of 3/16 of an inch over a 10-foot span.
Cleaning the Slab: The Unskippable Chore
The concrete must be impeccably clean. Scrape off any old adhesive, paint, or drywall compound. Afterward, sweep and vacuum thoroughly to remove all dust and debris. A clean surface ensures a proper installation and prevents contaminants from interfering with any adhesives or the performance of the underlayment.
Not All Cork Is Created Equal: Selecting Your Underlayment
Once your concrete is prepared, you need to choose the right type of cork underlayment for your specific project. Key factors like thickness and density play a huge role in the final performance of your floor.
Thickness Matters: A Guide to Performance
Cork underlayment is commonly available in three main thicknesses, each suited for different applications and performance goals.
- 3mm (1/8″): This is a standard thickness suitable for most laminate and floating vinyl plank (LVP) installations. It provides good basic sound reduction and a slight thermal break.
- 6mm (1/4″): This is the most popular choice for homeowners seeking a significant upgrade in performance. It offers superior sound insulation and noticeable thermal benefits, making it ideal for basements, condos, and second-story installations over concrete.
- 12mm (1/2″): This thicker option provides maximum acoustic and thermal insulation. It’s often used in home theaters, music rooms, or in situations where floor height needs to be raised significantly.
For those looking for a product that combines some of the best features of different materials, a comparison like Eco Cork Foam vs QuietWalk can provide additional insights into blended underlayments.
| Cork Thickness | Primary Benefit | Best For | Considerations |
|---|---|---|---|
| 3mm (1/8″) | Basic Sound & Crack Suppression | Laminate, Engineered Wood, LVP | Minimal thermal benefit. |
| 6mm (1/4″) | Superior Sound & Thermal Insulation | Basements, Condos, All Floating Floors | Most versatile and popular choice. |
| 12mm (1/2″) | Maximum Acoustic & Thermal Performance | Home Theaters, Premium Installations | Adds significant height to the floor. |
Compressive Strength: The Unspoken Specification
A critical but often overlooked factor is the cork’s compressive strength. This measures the underlayment’s ability to resist compression under heavy loads. A low-density cork can feel spongy and may not provide adequate support for certain types of flooring, leading to the failure of click-lock joints or cracking in grout if used under tile.
Always check the manufacturer’s specifications to ensure the cork’s density is suitable for your chosen flooring. High-density cork offers better durability and long-term performance, especially under heavy furniture or appliances.
The Installation Process: A Step-by-Step Guide
With the right preparation and materials, installing a cork underlayment is a straightforward process. Following these steps ensures a successful outcome and a floor that will perform beautifully for years.
Step 1: The Vapor Barrier Is Essential
This is the most crucial step over concrete. Roll out a 6-mil polyethylene plastic sheeting over the entire concrete slab. Overlap the seams by at least 6-8 inches and seal them with a quality moisture-resistant tape. Run the plastic up the walls by a few inches; it will be hidden by your baseboards later.
Step 2: Acclimate Your Cork
Cork is a natural material that needs to adjust to its new environment. Unroll or unbox the cork underlayment and let it sit in the room where it will be installed for at least 48-72 hours. This acclimation period prevents the material from expanding or contracting after it has been installed.
Step 3: Laying the Cork
Start in one corner and roll out the cork on top of the vapor barrier. The edges of the cork sheets or rolls should be butted up tightly against each other, but never overlapped. Use a sharp utility knife and a straight edge to make clean, precise cuts around walls and obstacles.
For most floating floor installations, the cork itself is also floated (not glued down). You can use a quality seaming tape to hold the joints of the cork together and prevent them from shifting during the installation of your main flooring.
The “Moisture Sandwich” Trap: A Critical Warning
Many modern Luxury Vinyl Plank (LVP) floors come with a pre-attached underlayment pad. If this attached pad functions as a vapor barrier, placing it over a cork installation that *also* has a 6-mil poly vapor barrier can be a mistake. This setup can trap atmospheric moisture between the two vapor-blocking layers with no way for it to escape, a phenomenon known as the “moisture sandwich.”
To avoid this, either choose a flooring product without a pre-attached pad or carefully consult the flooring manufacturer’s guidelines for installation over a separate underlayment and vapor barrier. When in doubt, it is often better to use a flooring product without an attached pad to ensure a proper, breathable system. Understanding all the layers is key, just as it is when considering older methods like using tar paper between subfloor layers.
The Final Verdict: Is a Cork Subfloor Over Concrete Worth It?
Absolutely. For anyone installing a new floor over a concrete slab, a cork underlayment is one of the best investments you can make in the comfort, health, and longevity of your home. It directly solves the inherent problems of concrete—it makes floors warmer, quieter, and more comfortable to walk on.
By transforming a cold, hard slab into a high-performance foundation, a cork subfloor ensures that your beautiful new flooring is supported properly and protected from the hidden dangers of moisture. It’s the unseen hero that makes a good floor truly great. For more insights into the benefits of cork, exploring the pros and cons of cork-backed flooring can provide a broader perspective on this versatile material.