Double Your Outlets! How to Convert a 2-Plug to a 4-Plug Outlet Safely
Tired of constantly juggling cords and searching for an available outlet? It’s a familiar frustration in today’s gadget-heavy world. But there’s a simple solution: upgrading your standard two-plug outlet to a four-plug quad receptacle. Not only does this add extra convenience, it also gives your space a sleek, organized look. Best of all, it’s a safe and straightforward upgrade you can tackle yourself with the right know-how.
In this guide, we’ll walk you through the steps to make this upgrade a reality, while keeping safety top of mind. Say goodbye to outlet overcrowding and hello to a more functional, decluttered home. Let’s dive in!
You'll Learn About
Why Your Home Never Seems to Have Enough Outlets
It’s a modern-day dilemma that feels universal. You’re setting up your home office, creating a media center, or just trying to plug in a lamp and a phone charger, and you immediately run out of plug space. The result is often a tangled mess of power strips and extension cords, creating an unsightly and potentially unsafe situation.
This constant shortage of outlets is a common frustration in many homes, especially older ones not designed for our device-heavy lives. The good news is there’s an elegant, professional, and surprisingly simple solution that can permanently double your capacity in a single location.
Forget the temporary fixes. We’re going to show you how to properly and safely convert a standard two-plug outlet to a four-plug outlet, giving you the convenience you need with the safety you demand.
What Exactly Is a Four-Plug Outlet?
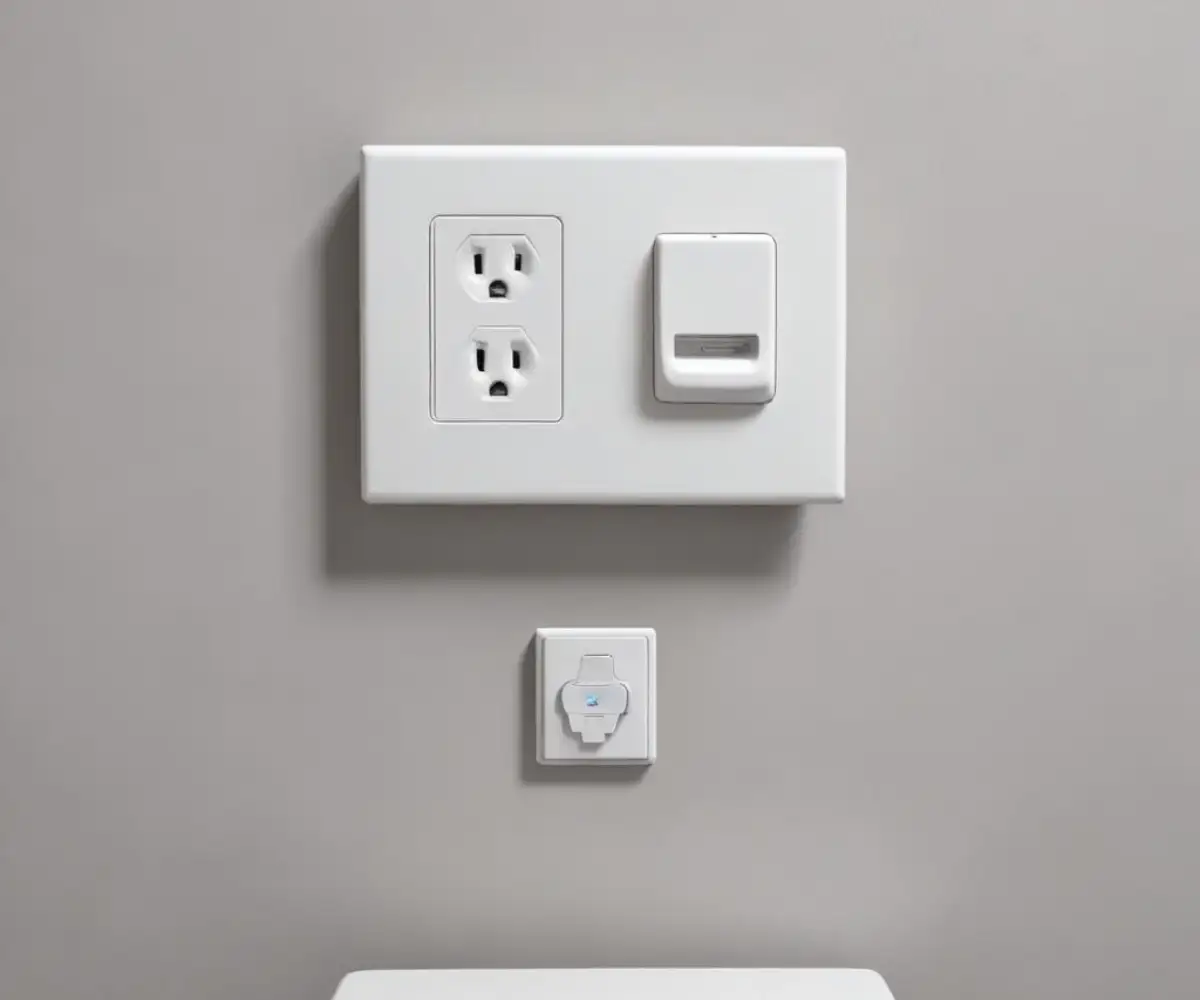
A four-plug outlet, professionally known as a quadplex or quad receptacle, is a single device that provides four sockets for your plugs. Unlike a standard duplex outlet with two sockets, a quad outlet integrates four into one neat package, all fitting within a standard electrical box.
This permanent installation is often called an outlet with 4 holes because of its appearance. It provides a clean, factory-finished look that is far superior to bulky adapters or overflowing power strips.
By replacing your existing duplex receptacle, you gain two extra plug-in points without needing to cut a bigger hole in your wall. It’s one of the most efficient electrical upgrades you can make for high-traffic areas like kitchens, offices, and entertainment centers.
Before You Begin: Is This Upgrade Right for You?
Before you rush to the hardware store, it’s crucial to understand what this upgrade can and cannot do. Simply increasing the number of sockets does not increase the amount of power available from the circuit. This is a critical safety consideration that must not be overlooked.
Assessing Your Needs vs. Your Circuit’s Capacity
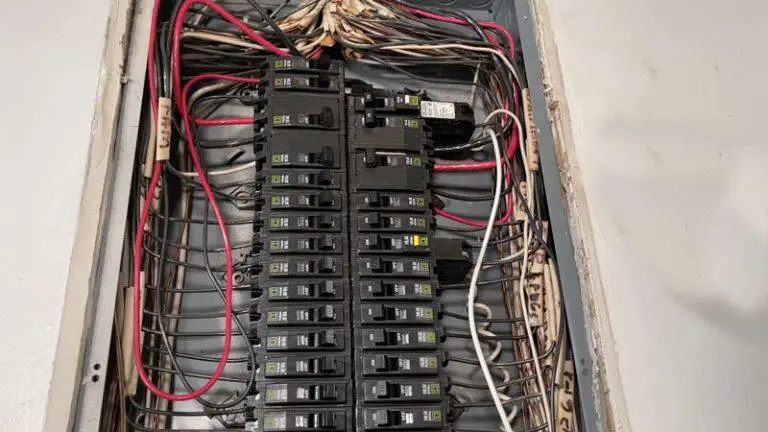
Every outlet in your home is part of a circuit, which is protected by a circuit breaker in your main electrical panel. Most standard home circuits are either 15-amp or 20-amp. Doubling your outlets does not double the circuit’s amperage.
Plugging in four high-draw devices—like a space heater, a vacuum cleaner, a microwave, and a hair dryer—into one quad outlet will almost certainly overload the circuit and trip the breaker. This upgrade is best for locations where you need to plug in multiple low-power items, such as phone chargers, lamps, TVs, and computer peripherals.
The Easy Way vs. The Right Way: Outlet Adapters vs. Quad Receptacles
You’ve likely seen cheap plug-in adapters that turn two outlets into three or even six. While they offer a quick fix, they are often a poor long-term solution. These adapters can be bulky, unstable, and put stress on the underlying outlet, potentially creating a loose connection and a fire hazard over time.
A properly installed quad receptacle provides a secure, direct connection to your home’s wiring. It’s a safer, more reliable, and more permanent solution that adds real value and functionality to your home.
The Project Lowdown: Tools, Materials, and Safety
Proper preparation is key to a successful and safe electrical project. Before you touch a single wire, gather all your necessary tools and materials and internalize the safety precautions. This is a simple project, but working with electricity demands respect.
Essential Safety Precautions
This is the most important part of the entire process. You must turn off the power to the outlet at your main circuit breaker panel before you begin. There are no exceptions to this rule. Label the breaker so no one accidentally turns it back on while you are working.
Once you’ve flipped the breaker, you must use a voltage tester to confirm that there is no power at the outlet. Test both the top and bottom sockets. Only when your tester confirms the outlet is dead is it safe to proceed. Always wear safety glasses to protect your eyes from debris.
Your Shopping and Tool List
Having everything you need on hand will make the job go smoothly. Below is a complete list of tools and materials required to convert your two-plug outlet to a four-plug outlet.
| Item | Purpose |
|---|---|
| Quad Receptacle | The four-plug outlet itself. Ensure it matches your circuit’s amperage (15A or 20A). |
| Matching Faceplate | A new cover plate designed specifically for a quad receptacle. |
| Non-Contact Voltage Tester | For safety. Used to confirm the power is off before you begin work. |
| Phillips and Flathead Screwdrivers | For removing the old outlet and installing the new one. |
| Wire Strippers | For stripping insulation from wires if needed. |
| Needle-Nose Pliers | For bending wires into loops to fit around terminal screws. |
| Electrical Wire (for pigtails) | A small amount of 12-gauge or 14-gauge solid copper wire to match your home’s wiring. |
| Wire Nuts/Connectors | For creating secure pigtail connections. |
Step-by-Step Guide: Converting Your Duplex Outlet to a Quad Outlet
With your tools gathered and safety precautions in mind, you’re ready to begin the installation. Follow these steps carefully for a professional-quality result. This entire process should take less than an hour for most DIYers.
Step 1: Kill the Power and Verify
Locate your home’s main electrical panel (breaker box). Find the circuit breaker that controls the outlet you’ll be working on and switch it to the “OFF” position. If your breakers aren’t labeled, you may need to plug a lamp into the outlet and flip breakers until it turns off.
Return to the outlet and use your non-contact voltage tester to double-check that the power is off. Insert the tip of the tester into the slots of both the top and bottom receptacles. The tester should not light up or make any noise. This verification step is non-negotiable.
Step 2: Remove the Old Duplex Outlet
Using your screwdriver, remove the single screw holding the faceplate in place and set the plate aside. Next, you will see two longer screws at the top and bottom of the outlet itself, holding it to the electrical box in the wall. Unscrew both of these.
Gently pull the outlet and its attached wires out from the wall. Before you disconnect anything, take a clear photo of the wiring with your smartphone. This photo will be your reference to ensure you reconnect everything correctly later.
Step 3: Inspect the Electrical Box and Wires
With the old outlet pulled out, take a moment to inspect the wires and the box. You should see three types of wires: a black (hot) wire, a white (neutral) wire, and a bare copper or green (ground) wire. Check the insulation for any signs of cracking, brittleness, or scorching.
Also, check the electrical box. A standard single-gang box should have enough room for a quad receptacle, but if it feels exceptionally crowded, you may have what’s known as a “box fill” issue. The wires should not be crammed so tightly that they could become damaged.
Step 4: Wiring the New Quad Receptacle (The Right Way)
Look at your new quad receptacle. You will see three types of terminal screws: brass-colored screws for the black (hot) wires, silver-colored screws for the white (neutral) wires, and a green screw for the bare copper or green (ground) wire. This color-coding is standard and must be followed.
While you can simply move the wires from the old outlet to the new one, professionals use a safer and more reliable technique called “pigtailing.” This method ensures a better connection and maintains the integrity of the circuit for any other outlets that are “downstream.”
The Pigtail Method: The Professional’s Choice for Safety
A pigtail is a short, 6-inch piece of new electrical wire. Instead of connecting the circuit’s wires directly to the outlet, you connect all the circuit wires of the same color together with a pigtail using a wire nut. That single pigtail wire is then the only wire that connects to the outlet’s screw terminal.
To do this, cut one 6-inch pigtail for each color (black, white, ground). Use your wire strippers to strip about 3/4 of an inch of insulation off the ends of each pigtail. Group the two black circuit wires with your new black pigtail, and twist them all together with a wire nut. Do the same for the white wires and the ground wires. You will now have just three single wires (pigtails) to connect to your new outlet.
Step 5: Installing the New Outlet
With your pigtails created, the final connections are simple. Loosen the terminal screws on the quad receptacle. Using your needle-nose pliers, bend a small hook on the end of each pigtail. Hook the black pigtail around the brass screw, the white pigtail around the silver screw, and the ground pigtail around the green screw.
Ensure the hooks wrap around the screws in a clockwise direction. This way, tightening the screw will also tighten the wire loop. Once all connections are secure, gently fold the wires back into the electrical box in an accordion shape. Screw the new quad receptacle into the box, then attach your new quad faceplate.
Step 6: The Moment of Truth – Restoring Power
With the new outlet fully installed, it’s time to test your work. Go back to your electrical panel and switch the circuit breaker back to the “ON” position. Your outlet should now be live.
Use an outlet tester or plug in a small, simple appliance like a lamp or a phone charger to test all four sockets. If everything works as expected, you have successfully completed your upgrade. Congratulations!
Common Problems and Troubleshooting
Even with careful work, you might encounter an issue. Most problems are simple to solve if you approach them methodically. Remember to always turn the power off at the breaker before making any adjustments.
What if the New Outlet Doesn’t Fit in the Box?
If the quad receptacle and wires are too tight in the box, you may have a box fill issue. Do not force it, as this can damage wires. The safest solution is to have an electrician replace the standard box with a deeper one to provide more space.
The Outlet Doesn’t Work: What Went Wrong?
If there’s no power, first check that the circuit breaker is fully in the “ON” position. If it is, turn it off again and remove the outlet. Check that all your wire nut connections are tight and that each pigtail is securely fastened under its terminal screw.
The Breaker Trips Immediately
If the breaker trips as soon as you turn it on, this indicates a short circuit. This usually means a hot (black) wire is touching a neutral (white) wire, a ground wire, or the side of the metal electrical box. Turn the power off, pull the outlet out, and carefully inspect your wiring to ensure no wires are crossed or touching where they shouldn’t be.
Beyond the Basics: Electrical Planning for Your Whole Home
This project can make you think more about your home’s entire electrical system. Sometimes, adding a new circuit is a better solution than just expanding an existing outlet, especially for areas with high-power appliances.
For example, adding new appliances like a modern bidet seat might require a dedicated circuit, a task very different from this upgrade. If you’re considering such an addition, understanding the specifics of installing an electrical outlet for a bidet is crucial.
Thinking about your home’s total electrical load includes both indoor and outdoor fixtures. High-wattage systems, like custom gable peak lighting, can also impact circuit planning, so it’s wise to consider all power usage when planning upgrades.
When to Call a Professional Electrician
While this is a manageable DIY project for many, there are times when calling a licensed electrician is the smartest and safest choice. If you open the outlet and find aluminum wiring (dull gray wires), stop immediately and call a pro, as it requires special handling.
Other signs you should call for help include finding old, brittle, or cracked wire insulation, seeing any evidence of charring or melting, or simply feeling unsure about any step in the process. There is no shame in prioritizing safety; a professional can complete the job quickly and give you total peace of mind.
Conclusion: A Simple Upgrade with a Big Impact
Converting a standard two-plug outlet to a four-plug quad receptacle is a high-impact upgrade that tackles one of the most common modern household annoyances. It declutters your space, increases your convenience, and, when done correctly, is a perfectly safe addition to your home.
By following these steps, prioritizing safety, and understanding the limits of your circuit, you can confidently complete this project. You’ll enjoy the clean look and expanded functionality every single day.