Convert Outdoor Light to Outlet: Your Ultimate Power Upgrade
The modern home extends far beyond its four walls, with patios, decks, and gardens becoming essential living spaces. Yet, a common frustration hinders the full potential of these areas: a glaring lack of outdoor electrical outlets.
This shortage becomes painfully obvious when you’re fumbling with extension cords for holiday lighting, pressure washers, or simply wanting to charge a phone. Tapping into an existing outdoor light fixture is a clever and efficient solution to this problem, providing the power you need right where you need it.
You'll Learn About
Is This Electrical Project Right for You?
Before beginning any electrical work, a serious assessment of your skills, your home’s wiring, and the inherent risks is crucial. This project, while straightforward for those with basic electrical knowledge, is not for the complete novice. Safety must always be the top priority.
Working with electricity demands respect and careful attention to detail. A mistake can lead to serious injury or property damage. If you have any doubts about your ability to complete this project safely, it is always best to hire a licensed electrician.
Understanding the Critical Safety Components
The cornerstone of outdoor electrical safety is the Ground-Fault Circuit Interrupter (GFCI) outlet. A GFCI is a fast-acting device designed to shut off electric power in the event of a ground fault, preventing severe electrical shock. All outdoor outlets are required by the National Electrical Code (NEC) to have GFCI protection.
You must also consider the load on the circuit. Most lighting circuits are on 15-amp breakers. Adding a high-power device could overload the circuit, causing the breaker to trip frequently. Check what else is on the circuit and ensure it can handle the additional demand of whatever you plan to plug in.
Dealing with a Switched Power Source
A key consideration is that the power to your outdoor light is almost certainly controlled by a switch inside your home. When you convert the light to an outlet, that outlet will also be controlled by the switch. This can be perfect for things like holiday lights, but inconvenient if you want constant power for a security camera.
If you require the outlet to be “always hot,” the wiring at the switch box must be modified. This involves bypassing the switch so that power flows continuously to the outdoor outlet. This is a more advanced step that may be best left to a professional if you are not comfortable with modifying indoor wiring.
Gathering Your Tools and Materials
Having the right equipment is essential for a safe and successful installation. You will need a specific set of tools and materials designed for outdoor electrical work. Using indoor-rated components externally is a serious safety hazard.
All components, from the electrical box to the outlet and its cover, must be rated as weather-resistant (WR) and suitable for wet locations. This ensures they can withstand exposure to rain, snow, and moisture without degrading or becoming a safety risk.
Essential Equipment for the Job
Proper preparation makes the job smoother and safer. Before you begin, assemble everything you will need. This prevents interruptions and ensures you are not tempted to use a tool that isn’t right for the task.
The following table outlines the necessary tools and materials for converting an outdoor light fixture into a GFCI outlet. Ensure all electrical components are new and from a reputable manufacturer.
| Category | Item | Description |
|---|---|---|
| Tools | Voltage Tester | A non-contact voltage tester is crucial for confirming the power is off before you touch any wires. |
| Screwdrivers | Both Phillips head and flathead screwdrivers will be needed. | |
| Wire Strippers | Used to safely remove insulation from the ends of the wires without damaging the copper. | |
| Pliers | Needle-nose pliers are useful for bending wires to fit onto terminal screws. | |
| Materials | GFCI Receptacle | Must be a 15-amp or 20-amp weather-resistant (WR) GFCI outlet. |
| Weatherproof Electrical Box | A “bell box” or similar outdoor-rated box to house the new outlet. | |
| Weatherproof “In-Use” Cover | This cover protects the outlet from the elements even when a cord is plugged in. | |
| Wire Connectors | Often called wire nuts; ensure they are the correct size for the wires you are connecting. | |
| Caulk/Sealant | Exterior-grade silicone caulk to seal the box against the wall and prevent water intrusion. |
Step-by-Step Guide: From Light to Power Outlet
Follow these steps carefully to ensure a safe and code-compliant installation. The most important step is always the first one: ensuring the power is completely off. Never assume a circuit is off just because a switch is flipped.
This guide assumes the existing electrical box is in good condition and suitable for mounting the new outlet. If the box is damaged or not secure, it will need to be replaced, which can add complexity, especially on brick or stucco exteriors.
Step 1: Safety First – Shut Off the Power
Locate your home’s main electrical panel and turn off the breaker that controls the outdoor light. After flipping the breaker, go to the light switch and flip it on and off to confirm the light does not turn on.
As a final, critical safety check, use a non-contact voltage tester to verify that there is no power at the light fixture itself. Hold the tester near the wires inside the fixture; it should not light up or make a sound.
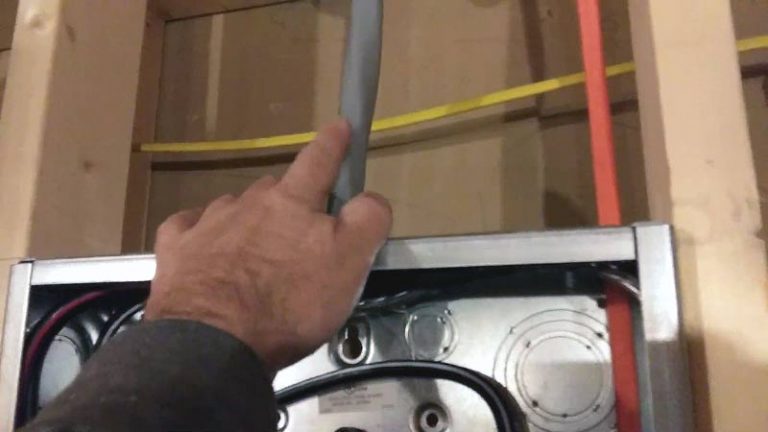
Step 2: Remove the Existing Light Fixture
With the power confirmed off, you can safely remove the old light fixture. This is typically held in place by two screws. Once the screws are removed, gently pull the fixture away from the wall.
The fixture will be connected by three wires: a black (hot), a white (neutral), and a bare copper or green (ground) wire. Unscrew the wire nuts to disconnect the fixture and set it aside.
Step 3: Inspect the Wiring and Box
Look at the wires coming out of the electrical box. They should be in good condition, without any cracks in the insulation. You should see a black wire, a white wire, and a ground wire.
If the existing box is a round “pancake” style box, it may not be deep enough to house a GFCI outlet. In this case, you will need to install a surface-mount weatherproof box over the existing location.
Step 4: Prepare and Mount the New Box
If you are using a new surface-mount box, it will have several knockout holes for wiring. Remove one of the knockouts on the back of the box. Feed the wires from the wall through this hole.
Apply a bead of silicone caulk around the back perimeter of the new box. Securely mount the box to the wall using exterior-grade screws, ensuring it is level. The caulk will create a watertight seal against the siding.
Step 5: Wire the GFCI Outlet
A GFCI outlet has two sets of terminals: LINE and LOAD. The incoming power from the breaker must be connected to the LINE terminals. The LOAD terminals are used to provide GFCI protection to other outlets downstream, which you will not be using in this case.
Connect the black wire from the wall to the brass screw on the LINE side. Connect the white wire to the silver screw on the LINE side. Connect the bare copper ground wire to the green ground screw on the outlet.
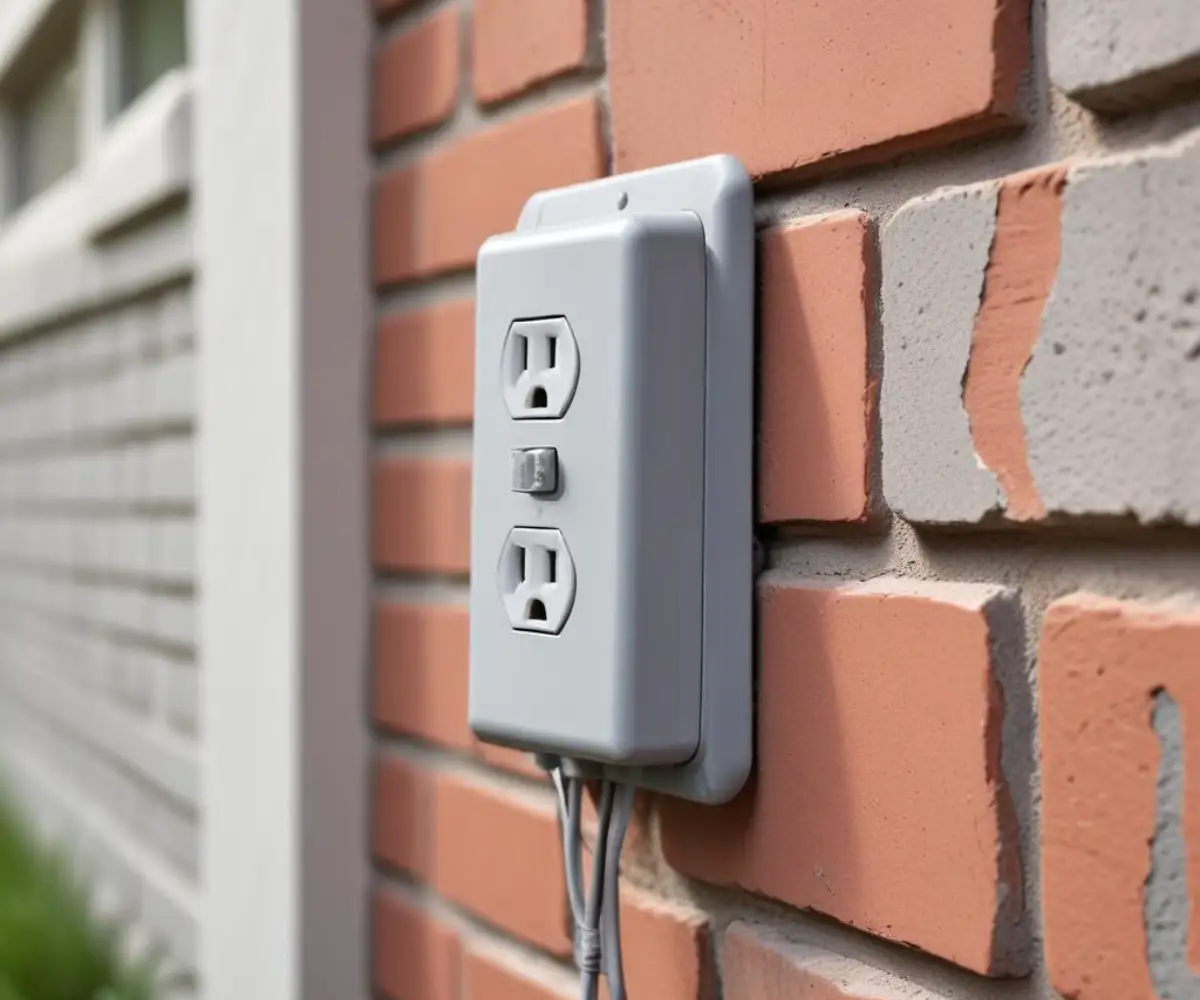
Step 6: Install the Outlet and Weatherproof Cover
Carefully fold the wires into the electrical box. Screw the GFCI outlet into the box. Attach the weatherproof “in-use” cover according to the manufacturer’s instructions.
These covers are essential for safety, as they are designed to keep the outlet dry even when something is plugged in. Ensure the gasket provides a tight seal around the edges.
Step 7: Restore Power and Test
Go back to the electrical panel and turn the breaker back on. The GFCI outlet has a small status light; it should be green, indicating it has power and is working correctly. Press the “TEST” button; the power should cut off, and the light will go out or turn red. Press “RESET” to restore power. Finally, plug in a small appliance to confirm the outlet is functioning.
Advanced Considerations and Upgrades
Beyond the basic conversion, there are several factors that can enhance the functionality and safety of your new outdoor outlet. Understanding these nuances helps tailor the project to your specific needs and can add significant value to your home.
This project is also an excellent opportunity to think about your home’s broader electrical needs, from energy efficiency to smart home integration. For instance, while upgrading your outdoor power, you might consider other energy-saving projects like installing energy-saving window inserts to improve your home’s insulation.
Challenges with Different Siding Materials
The type of exterior your house has can significantly impact the installation process. Mounting an electrical box on a flat wood or vinyl surface is relatively simple. However, brick, stone, or stucco present unique challenges that require more planning.
For brick or masonry, you will need to use a hammer drill and masonry bits to create pilot holes for the mounting screws. It is crucial to anchor the box securely. This kind of work is much more involved than smaller home fixes and is a different skill set than what’s needed to address issues like an uneven second floor.
Integrating with Your Smart Home
A new, constantly powered outdoor outlet opens up a world of smart home possibilities. It provides the perfect power source for outdoor security cameras, smart lighting systems, or weather sensors without relying on batteries.
This small upgrade can become the backbone for a more connected and secure outdoor living space. It’s a foundational step towards a truly modern, automated home environment.
When to Call a Professional Electrician
While this guide provides a detailed overview, certain situations absolutely require the expertise of a licensed electrician. Recognizing these scenarios is key to ensuring your safety and the integrity of your home’s electrical system.
If you encounter aluminum wiring, knob-and-tube wiring, or wiring that appears old and brittle, stop immediately. These older systems require special handling. Similarly, if your home’s electrical setup seems complex, such as having multiple switches controlling one light, it’s best to consult a professional. The decision to invest in professional help is similar to weighing the pros and cons of major home systems, like when asking, “Should I buy a house with baseboard heating?” – sometimes an expert opinion is invaluable.
Unlocking Your Outdoor Potential
Successfully converting an unused outdoor light into a functional outlet is a rewarding project that adds immense convenience and utility to your outdoor spaces. It eliminates the hassle of extension cords and empowers you to use a wide range of tools and electronics outside.
By prioritizing safety, using the correct materials, and following a methodical approach, you can complete this upgrade with confidence. Enjoy the new-found power and freedom in your backyard, on your patio, or wherever you’ve chosen to expand your home’s living area.