Convert Can Light to Track Light: Your Ultimate Upgrade Guide
Are your outdated recessed lights making your rooms feel dim and uninspired? You’re not alone. Many homes are filled with can lights that cast harsh, narrow beams, creating uneven lighting and leaving important areas in the shadows. This inflexible lighting can make a space feel dated and prevent you from highlighting your home’s best features.
Fortunately, there is a brilliant solution that doesn’t require a major remodel or hiring an expensive electrician. By converting your can lights to a versatile track lighting system, you can take complete control of your home’s ambiance. This simple upgrade allows you to direct light exactly where you need it, transforming a dull room into a dynamic and beautifully illuminated space.
You'll Learn About
Why Make the Switch? The Undeniable Benefits of Track Lighting
Moving from fixed can lights to an adjustable track system is more than just a style update; it’s a functional revolution for your space. Track lighting offers unparalleled flexibility, allowing you to adapt your illumination to changing room layouts, artwork displays, or task-oriented zones like kitchen counters and home offices. Unlike recessed lights that are locked in place, track heads can be moved, angled, and swapped out with ease.
This adaptability not only enhances the usability of your room but also improves its aesthetic appeal. You can use track lighting to create layers of light, highlight architectural details, or wash a wall with a soft glow to make the room feel larger. With modern LED options, this conversion is also an energy-efficient choice that can lower your electricity bills and provide superior, long-lasting performance.
Is This a DIY-Friendly Project?
For many homeowners, the idea of electrical work can be intimidating, but converting a can light to a track light is surprisingly straightforward. Thanks to innovative recessed light converter kits, this project is well within the reach of a confident DIYer. These kits are designed to use the existing electrical box from your can light, eliminating the need for complex rewiring or cutting large holes in your ceiling.
The process generally involves removing the old can light’s bulb and trim, screwing in an adapter, and mounting a new bracket. However, safety is always the top priority. Before starting, you must turn off the power at the circuit breaker and verify that it’s off with a voltage tester. If you are ever unsure or uncomfortable, do not hesitate to consult a licensed electrician.
Gather Your Supplies: Tools and Materials
Having the right tools on hand will make this project smooth and efficient. Most of the items are common household tools, with the specialized converter kit being the key component. Here’s a detailed breakdown of everything you’ll need for a successful installation.
| Category | Item | Purpose |
|---|---|---|
| Main Components | Track Lighting Kit | Includes the track, track heads, and power feed. |
| Main Components | Can Light Converter Kit | The adapter that connects the new track to the old can light fixture. |
| Safety Equipment | Non-Contact Voltage Tester | To ensure the power is completely off before you begin work. |
| Safety Equipment | Safety Glasses | To protect your eyes from dust and debris. |
| Tools | Ladder or Step Stool | To safely reach the ceiling. |
| Tools | Screwdriver Set | For removing old hardware and installing new components. |
| Tools | Power Drill | For securing the track mounting hardware to the ceiling. |
| Tools | Wire Strippers/Cutters | For preparing wires for connection. |
The Step-by-Step Conversion Process
With your tools gathered, you’re ready to begin the transformation. Follow these steps carefully for a safe and secure installation. This process turns a single, fixed light source into a powerful and flexible lighting system.
Step 1: Power Down for Safety
Your safety is non-negotiable. Go to your home’s circuit breaker panel and switch off the power to the room where you’ll be working. After flipping the breaker, use your non-contact voltage tester on the light switch and inside the can light fixture itself to confirm there is no electrical current.
Step 2: Remove the Existing Can Light Trim and Bulb
Start by removing the light bulb from the recessed fixture. Next, remove the trim ring. Most trim pieces are held in place by springs or clips; gently pull down on the trim, and you should feel the tension from the springs. Squeeze them together to release the trim from the housing.
Step 3: Install the Can Light Converter Kit
This is the core of the project. Your converter kit will include a socket adapter that screws into the bulb socket just like a light bulb. It will also have a mounting bar or bracket. Secure this bracket across the opening of the can light housing according to the manufacturer’s instructions; this provides the sturdy base for your new track light.
Step 4: Connect the Track’s Power Feed
Now, take the power feed from your new track lighting kit. This component is what connects the track to your home’s wiring. Following the instructions for both the converter kit and the track light, connect the wires: typically black to black (hot), white to white (neutral), and green or bare copper to the ground screw.
Secure the power feed cover over the connections. This part will mount directly to the bracket you installed in the previous step, neatly covering the old can light hole. Similar electrical skills can be applied to other projects, like if you need to convert an outdoor light to an outlet for more functionality.
Step 5: Mount the Track to the Ceiling
With the power source connected, it’s time to install the track itself. Hold the track against the ceiling to plan its final position. Use a pencil to mark where the mounting screws will go. For a secure installation, it’s crucial to anchor the track into ceiling joists whenever possible. If a joist isn’t available, use heavy-duty drywall anchors.
Drill pilot holes at your marked locations and secure the track to the ceiling using the provided hardware. Be careful not to overtighten the screws, which could damage the drywall or the track.
Step 6: Install the Track Heads and Restore Power
This is the final, satisfying step. Insert the track light heads into the track. Most simply click into place and can be twisted to lock. You can position them anywhere along the track and angle them to point wherever you need light. Once all heads are installed, you can go back to the breaker box and restore power.
Flip the light switch and test your new track lighting system. Adjust the heads to perfectly illuminate your artwork, reading nooks, or kitchen workspaces. Enjoy your newly transformed and brilliantly lit space!
Choosing the Right Track Lighting System
Not all track lighting is created equal. Understanding the different types is crucial to ensure all your components are compatible and meet your aesthetic goals. This knowledge is key to avoiding the common mistake of buying mismatched parts.
The Three Systems: H, J, and L Tracks
Track lighting systems are commonly categorized into three main types, often referred to as H-type, J-type, and L-type. These letters refer to the manufacturer standards (Halo, Juno, and Lightolier). The key difference is the configuration of the electrical contacts inside the track.
It is absolutely critical that your track heads, power feed, and the track itself are all of the same type. An H-type track head will not work with a J-type track. When purchasing your system and your can light converter kit, double-check that every component is compatible with the same system to avoid frustration and returns.
Design and Style Considerations
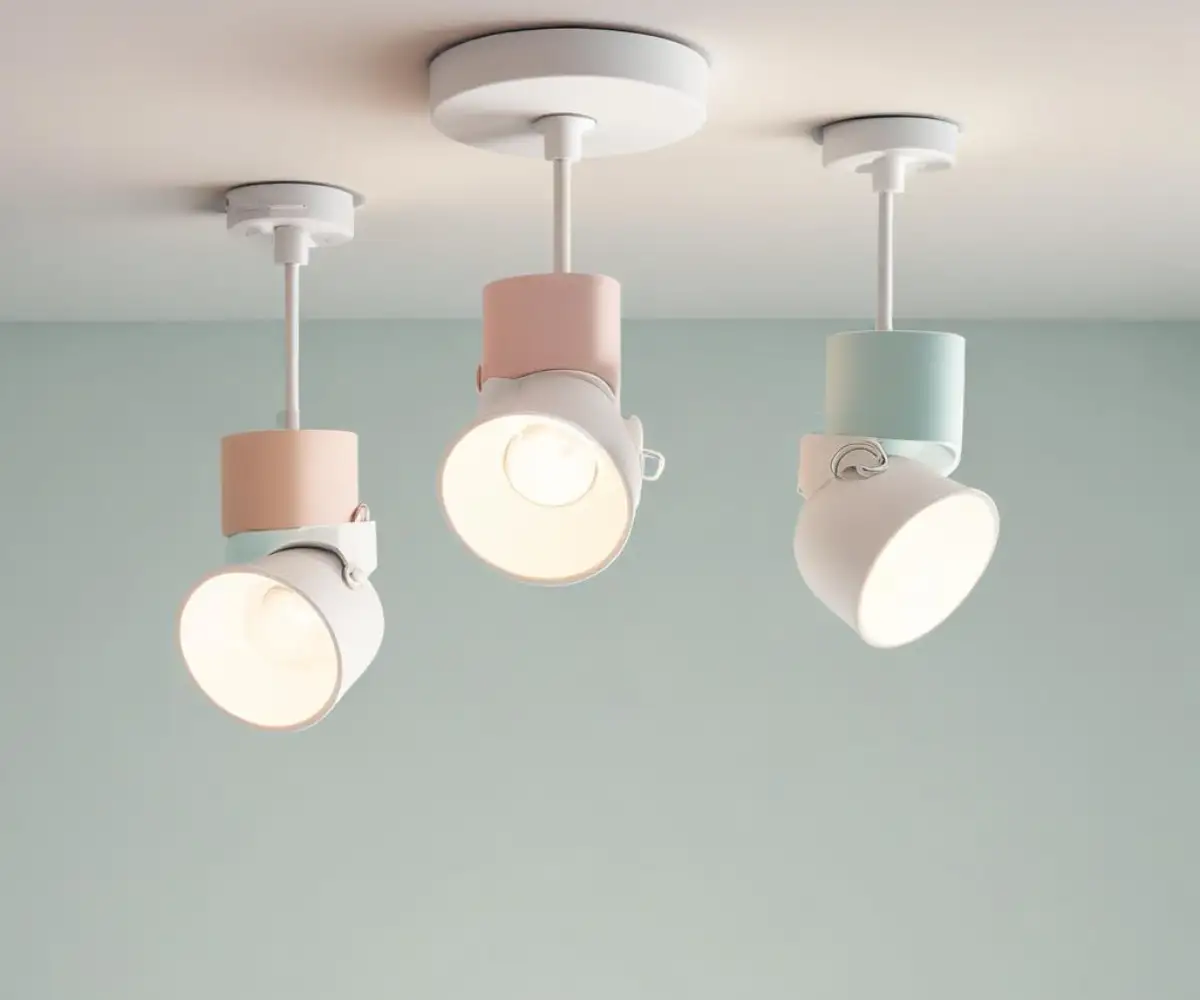
Beyond compatibility, consider the look you want to achieve. Tracks come in various finishes, from classic white and black to modern brushed nickel and oil-rubbed bronze. The track heads themselves offer a vast range of styles, including minimalist spotlights, elegant pendant lights that hang from the track, and wide “wall wash” fixtures designed to cast an even glow across a large surface.
Think about the purpose of the light. Do you need focused task lighting for a specific area, or do you want to create ambient light for the entire room? Selecting the right style of track head and bulb type (such as warm or cool LEDs) will help you achieve the perfect lighting design for your home’s needs, whether you are tackling a simple fixture swap or a larger project like converting a duplex into a single-family home where lighting plays a huge role in unifying the space.
Advanced Tips and Troubleshooting
While the basic conversion is straightforward, some situations require a bit more planning. Addressing these potential challenges ahead of time ensures a professional-looking result, even in non-standard installations.
Dealing with Sloped or Vaulted Ceilings
Converting a can light on a sloped ceiling presents a unique challenge, as a standard track would sit at an awkward angle. The solution is to use a pendant or standoff adapter for your track’s power feed. This allows the power connection to hang down vertically, creating a level starting point for your track system. You can then use standoff supports along the length of the track to keep it level and secure.
Alternatively, some track systems are flexible or can be mounted directly to the slope. For these, ensure your track heads are “gimbal” style, which offers a wide range of motion to point the light straight down, avoiding glare.
Maximizing Your Lighting Layout
Don’t just install the track in a straight line. Think like a designer. You can use L-shaped or T-shaped connectors to create layouts that cover more of the room from a single power source. This is perfect for kitchens where you might want to light both an island and the surrounding countertops.
A popular technique is “wall washing.” To do this, install the track about 2-3 feet from a wall and aim the lights at the wall surface. This technique creates soft, indirect light and can make a small room feel much more spacious and open.
Integrating Smart Home Technology
Elevate your new lighting system by making it smart. You can easily integrate your track lighting with your smart home ecosystem by using smart bulbs in the track heads or by installing a smart dimmer switch on the wall. This will give you voice control, scheduling, and the ability to adjust brightness and even color temperature from your phone, adding a modern layer of convenience and control to your home’s lighting.
This kind of modern electrical upgrade can be a valuable addition to any home renovation, just as finding ways to convert a flood light to an outlet can add unexpected utility to your outdoor spaces.