Convert Baseboard Diffuser to Floor Vent & Reclaim Your Space!
Are you tired of bulky baseboard diffusers dictating your furniture layout? Do those awkward, dust-collecting vents constantly get in the way, making it impossible to place your couch or bookshelf flush against the wall? You’re not alone.
Many homeowners find themselves frustrated by these outdated obstacles. Fortunately, there is a sleek, modern solution: converting your baseboard diffusers to in-floor vents. This project not only dramatically improves the aesthetics of your room but also frees up valuable floor and wall space.
You'll Learn About
The Real Reason Your Home Has Baseboard Vents
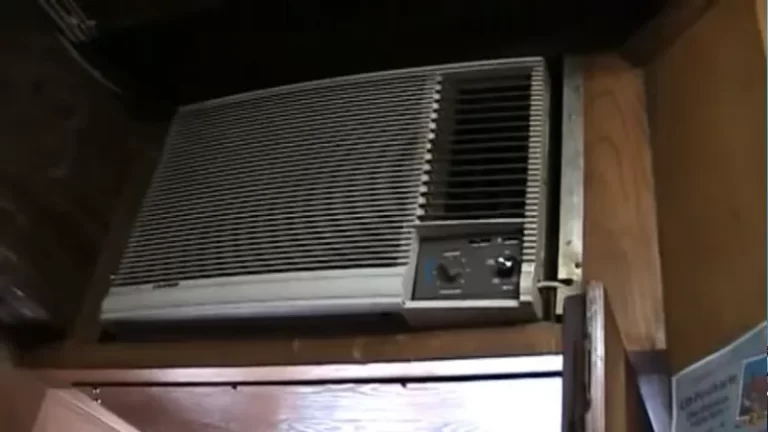
Before diving into the solution, it helps to understand the problem. Baseboard diffusers are common in homes with basements or crawlspaces where HVAC ductwork runs below the main floor. For builders, it’s often faster and cheaper to run a duct up into the wall cavity and out through a baseboard boot than it is to precisely cut into finished flooring.
While practical during construction, this approach leaves homeowners with several long-term headaches. The most significant issue is the severe limitation on furniture placement. Sofas, beds, and dressers must be kept several inches away from the wall to avoid blocking airflow, creating awkward gaps and wasting space.
Additionally, their design makes them difficult to clean, leading to an accumulation of dust, pet hair, and allergens that get blown into your living space. A conversion to floor vents elegantly solves these issues, offering a cleaner look and more practical living area.
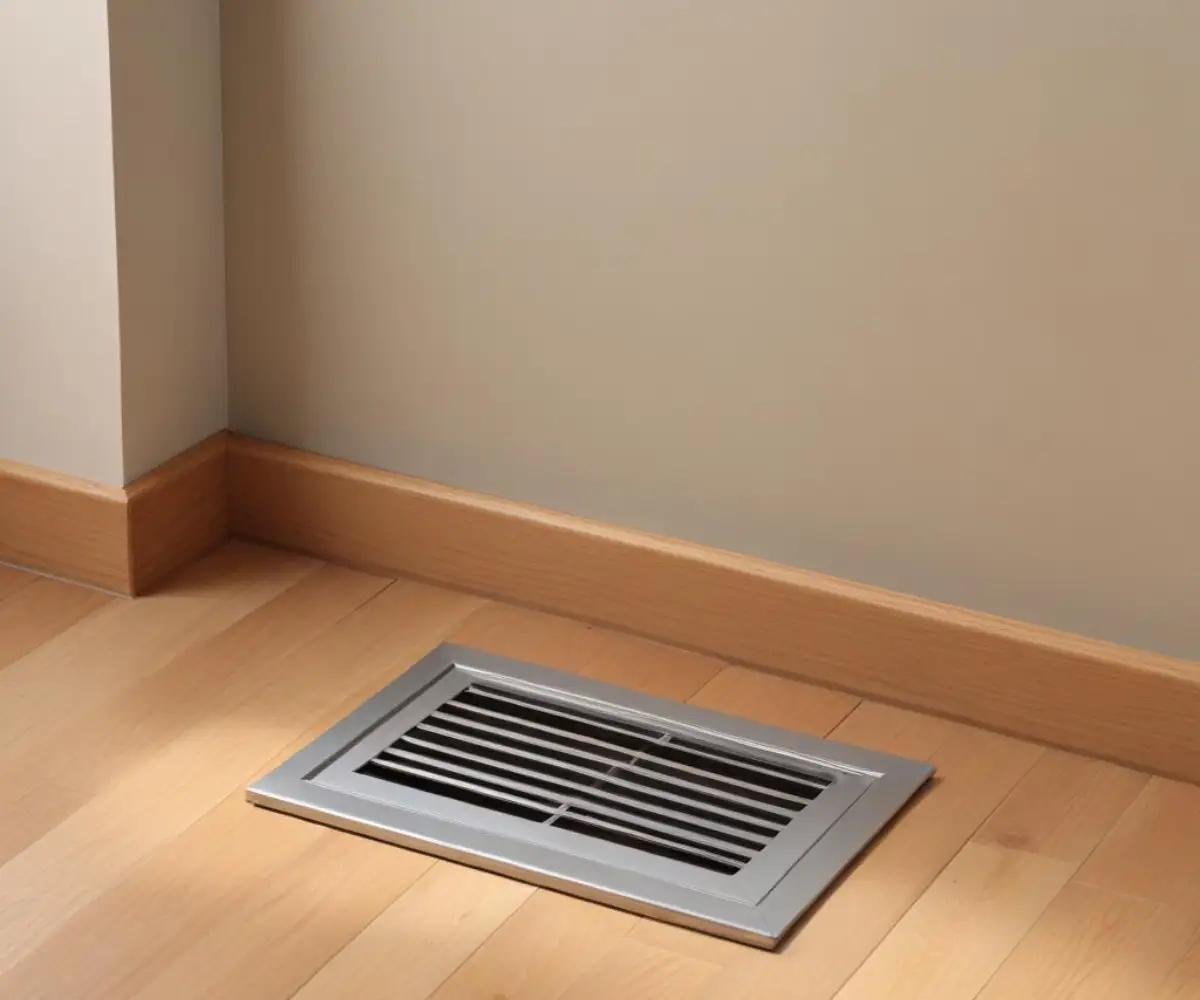
Floor Vents vs. Baseboard Diffusers: A Head-to-Head Comparison
Making the switch is a clear upgrade for most homes. Floor registers offer a minimal, unobtrusive design that integrates seamlessly with your flooring. This simple change enhances visual appeal and provides unmatched flexibility when arranging your room.
Let’s break down the key differences to see why floor vents come out on top.
| Feature | Baseboard Diffuser | Floor Vent |
|---|---|---|
| Aesthetics | Bulky and often protrudes from the wall, clashing with decor. | Sleek, flush-mounted, and integrates seamlessly with flooring. |
| Furniture Placement | Severely restricts placement, requiring gaps between furniture and walls. | Offers complete freedom to place furniture anywhere in the room. |
| Airflow Dynamics | Directs air horizontally across the floor, which can be less efficient. | Pushes air vertically, promoting natural convection for better room circulation. |
| Cleaning & Maintenance | Difficult to clean inside; prone to collecting dust and debris. | Easy to remove the grille for simple, thorough vacuuming of the duct. |
| Durability | Easily kicked, dented, or damaged due to its exposed position. | Protected by its flush position; heavy-duty models are available for high-traffic areas. |
Before You Begin: The Critical Pre-Conversion Checklist
A successful conversion hinges on proper preparation. Rushing into the project without a clear plan can lead to frustration and costly mistakes. Before you pick up a single tool, walk through this essential checklist.
First, assess your existing ductwork. You need to confirm that the “boot”—the sheet metal piece connecting the duct to the vent—is positioned directly beneath the baseboard diffuser. In most cases, it is, making for a straightforward conversion. Second, consider your flooring type, as cutting into tile requires different tools and techniques than cutting hardwood or laminate. Finally, gather all your tools and materials in advance to ensure a smooth, uninterrupted workflow.
Gathering Your Tools and Materials
Having the right equipment is non-negotiable. Here’s what you’ll likely need:
- New floor register (4×10 or 4×12 inches are common sizes)
- Oscillating multi-tool or jigsaw for precise cutting
- Drill with various bits
- Pry bar and hammer
- Tape measure and pencil
- Safety glasses and gloves
- High-quality foil duct tape or mastic sealant
- Drywall patch kit or scrap baseboard for repairs
The Ultimate 7-Step Guide to Convert Your Baseboard Diffuser to a Floor Vent
With your preparation complete, you’re ready to transform your space. This conversion is a manageable DIY project that can typically be completed in an afternoon. Follow these steps carefully for a professional-quality result.
Step 1: Shut Down Power & Remove the Old Diffuser
Safety is paramount. Start by turning off your HVAC system at the thermostat and the breaker panel. Carefully remove the old baseboard diffuser cover. Most are held in place by screws, which can be easily taken out with a drill or screwdriver.
If the diffuser is old, it might be stuck on with layers of paint. Use a utility knife to score the paint along the edges before gently prying it away from the wall with a pry bar. Take care not to damage the surrounding wall or baseboard.
Step 2: Inspect the Duct Boot and Surrounding Area
With the diffuser removed, you’ll see the duct boot where it enters the wall cavity. Inspect the boot’s condition and confirm its position relative to the floor. This is also a good time to thoroughly clean the area, vacuuming out any dust and debris that has collected over the years.
Check the subfloor directly in front of the opening for any obstructions like wiring, plumbing, or floor joists. Most boots are intentionally installed between joists, but it’s always wise to double-check before you cut.
Step 3: Mark and Cut Your New Floor Opening
Place your new floor register on the floor, pushing it flush against the wall over the duct opening. Use a pencil to carefully trace the outline of the register’s inner dimensions (the part that will drop into the floor). This will be your cut line.
Drill a pilot hole in each corner of your traced rectangle, just inside the lines. These holes will give you a starting point for your jigsaw or oscillating multi-tool. Cut slowly and steadily along the lines to create the new opening.
Step 4: Reroute and Meticulously Seal the Duct Boot
This is the most critical step for ensuring your system’s efficiency. The goal is to create an airtight seal between the existing ductwork and the new floor opening. Any gaps or leaks will result in lost airflow, reducing both heating and cooling effectiveness.
You may need to gently bend or modify the top of the metal boot so it sits flush with the subfloor. Once positioned, use high-quality foil duct tape or apply a generous layer of duct mastic to seal every seam and connection point. Do not use standard cloth-backed “duck tape,” as it will dry out and fail over time.
Step 5: Patch the Old Wall Opening
With the ductwork rerouted, you’ll be left with an opening in the wall or baseboard. For a seamless look, patch this gap. If the hole is in the drywall, a simple drywall patch kit will suffice.
If the diffuser was integrated into the baseboard trim, you will need to install a new, continuous piece of baseboard. This is the perfect opportunity to upgrade your trim for a completely refreshed look.
Step 6: Install the New Floor Register
This is the easiest and most satisfying step. Simply drop your new floor register into the opening you cut. It should fit snugly and sit flush with the surface of your finished flooring. Most floor registers don’t require screws and are held in place by gravity.
Step 7: Power Up and Test Your New Vent
Turn the power back on at the breaker and switch your HVAC system on. Check your new floor vent for strong, consistent airflow. Hold your hand over the patched wall area to feel for any drafts, which would indicate an incomplete seal that needs to be addressed.
Common Pitfalls and How to Avoid Them
While the process is generally straightforward, a few issues can arise. The most common is discovering a floor joist directly where you planned to cut. If this happens, you will need to shift the vent’s position slightly to one side. It’s better to be slightly off-center than to compromise the structural integrity of your floor.
Another potential issue is dealing with different flooring types. Cutting carpet requires a sharp utility knife, while tile or concrete will necessitate specialized tools and professional assistance. If you’re not comfortable cutting into your flooring, it is always best to consult an expert. Sometimes a home project can reveal other underlying needs, like understanding if baseboard heating is the right choice long-term for your property.
When to Call a Professional vs. Going DIY
This project is well within the reach of a confident DIYer with the right tools. However, there are times when calling an HVAC professional is the smarter choice. If the ductwork needs significant rerouting, if you have to cut through difficult flooring materials, or if you are simply unsure about any step, hiring a pro is a worthwhile investment.
A professional can ensure the job is done quickly, correctly, and up to code, guaranteeing optimal performance and safety. Thinking about other home upgrades? Some electrical projects, such as when you convert an outdoor light to an outlet, also benefit from professional expertise to ensure they are handled safely.
The Hidden Benefits: More Than Just Good Looks
The aesthetic improvement and newfound freedom in furniture arrangement are the primary motivators for this project. However, the benefits don’t stop there. A properly sealed floor vent can actually improve your HVAC system’s efficiency by eliminating air leaks that were present in the old, poorly fitted baseboard diffuser.
Furthermore, floor vents are significantly easier to clean, which can contribute to better indoor air quality by reducing the amount of circulating dust and allergens. This small upgrade can have a surprising impact on your home’s comfort, value, and health.
Thinking Long-Term: Maintenance for Your New Floor Vents
Maintaining your new floor vents is incredibly simple. Periodically lift the grille and vacuum out the duct boot to prevent dust buildup. For a deeper clean, you can wipe down the register with a damp cloth. This minimal effort will keep your vents looking great and functioning efficiently for years to come.
By converting your old baseboard diffusers to modern floor vents, you are not just removing an obstacle—you are actively reclaiming your space and upgrading your home’s functionality. It’s a rewarding project that delivers immediate and lasting benefits.