Citristrip Not Working? Unlock Pro-Level Stripping Results
You have a beautiful piece of furniture, weighed down by layers of old, dated paint. You know that stripping it is the first step to a stunning restoration, but the thought of using harsh, caustic chemicals with noxious fumes fills you with dread. It’s a common problem for DIY enthusiasts and professional restorers alike.
Many turn to Citristrip, a popular paint and varnish stripper known for its pleasant citrus scent and safer formula. Yet, countless projects stall when this “miracle” product doesn’t perform as expected, leaving behind a sticky, frustrating mess. Understanding how to use it correctly is the key to unlocking its true potential and avoiding common pitfalls.
You'll Learn About
What is Citristrip and Why Is It Different?
Citristrip stands out in the world of chemical strippers because it is a non-caustic formula. Historically, the most potent strippers contained methylene chloride, a highly effective but also highly toxic chemical. Citristrip offers a biodegradable alternative that is much safer for indoor use, though proper safety precautions are still essential.
Its gel or paste consistency is designed to cling to surfaces, making it effective on vertical areas like chair legs and door frames. There are subtle differences between the formulations; you can learn more about Citristrip Paste vs Gel to decide which is right for your project. The key to its effectiveness lies not in harshness, but in its ability to stay wet and active over a longer period, slowly breaking down layers of paint, varnish, polyurethane, and more.
Before You Begin: The Critical Preparation Steps
Proper preparation is not just a suggestion; it is a requirement for a successful and safe stripping project. Before you even open the container, you must prioritize your safety and prepare your workspace. Rushing this stage is a recipe for frustration and potential hazards.
First, gather your Personal Protective Equipment (PPE). This includes chemical-resistant gloves (nitrile is a great choice), safety glasses or goggles, and clothing that covers your skin. Although Citristrip is safer than many alternatives, it is still a chemical that can cause skin irritation. Proper ventilation is also non-negotiable. Work outdoors if possible, or in a well-ventilated area with open windows and fans to create cross-ventilation. An extra wide window fan can be particularly effective at exhausting fumes from your workspace. Finally, protect your work area by laying down a drop cloth or old cardboard to catch any drips or spills.
The Ultimate 7-Step Guide to Using Citristrip Like a Pro
Achieving a perfectly stripped surface is more than just slathering on some gel and hoping for the best. It requires a methodical approach that maximizes the product’s power while protecting the integrity of the material underneath. Follow these seven steps for flawless results every time.
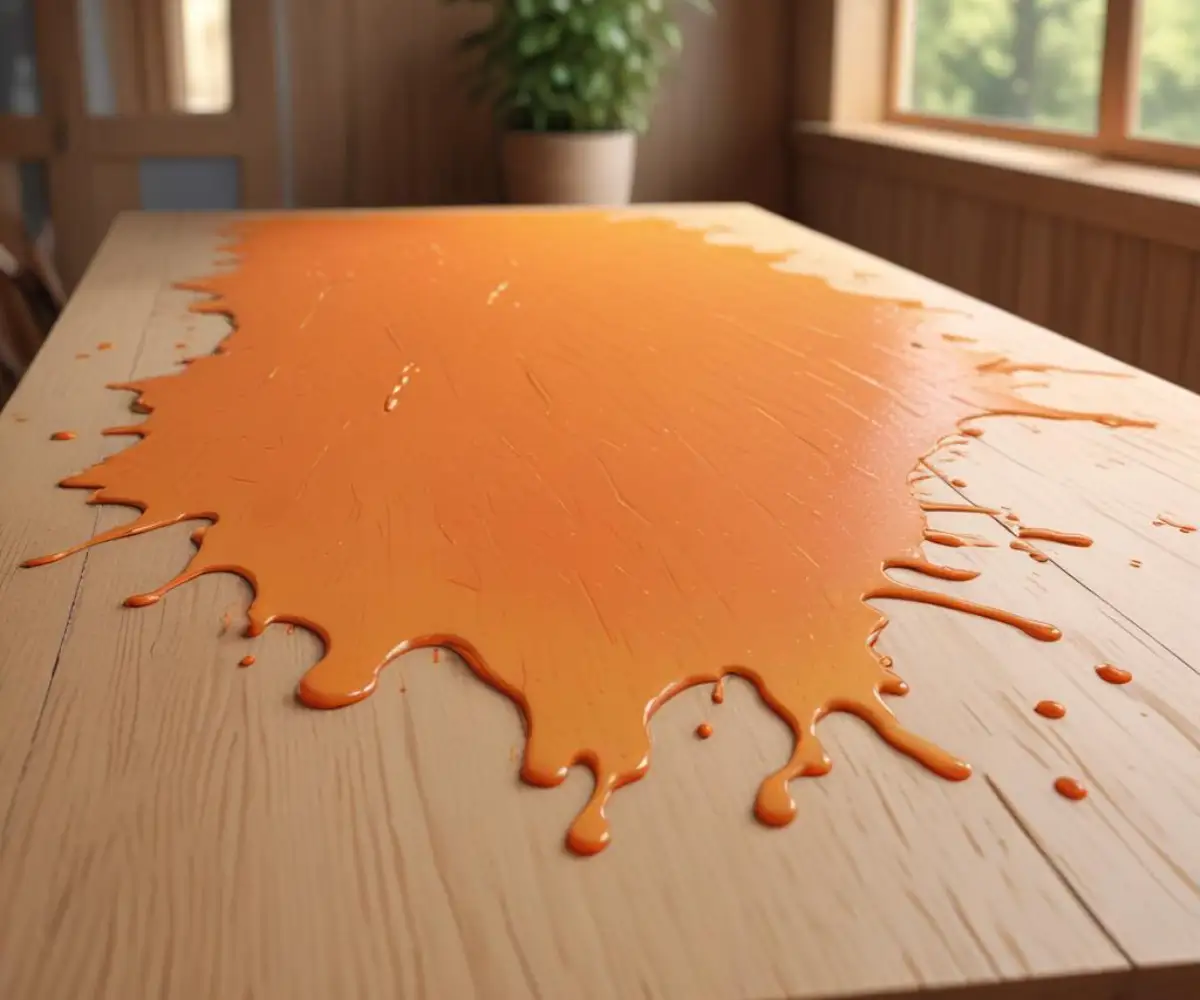
Step 1: Application is Everything. The most common mistake is applying too thin a layer. For Citristrip to work, you must apply a thick, generous, and even coat—at least 1/8 inch thick. You should see the orange color of the stripper, not the paint below it. Use a cheap, disposable chip brush for easy application.
Step 2: The Waiting Game (Patience is Key). The instructions suggest a wait time of 30 minutes to 24 hours. The ideal duration depends entirely on the type and number of layers you are removing. A single layer of latex paint may lift in an hour, while multiple coats of old varnish could take many hours.
Step 3: The Secret to Success: Keep it Wet. Citristrip stops working the moment it dries out. This is the single most important principle to remember. To prevent premature drying, cover the entire surface with plastic wrap after applying the gel. This simple trick traps the moisture and keeps the stripper active for up to 24 hours, allowing it to penetrate even the most stubborn finishes.
Step 4: Test and Scrape. After an hour or so, lift a small corner of the plastic and gently test a small, inconspicuous area with a plastic scraper. If the finish bubbles up and scrapes away easily down to the bare wood or metal, it’s ready. If you feel resistance, lay the plastic back down and wait longer.
Step 5: The First Cleaning Pass. Once the finish is ready, remove the plastic wrap and begin scraping. Use a plastic scraper to avoid gouging the wood. For detailed or curved areas, plastic stripping tools, old credit cards, or stiff nylon brushes work well. Scrape the gunk into a disposable container or onto paper towels.
Step 6: The Deep Clean (Critical for a Good Finish). After scraping, a residue will almost certainly remain. This is where many projects go wrong. To remove this film, use odorless mineral spirits or denatured alcohol on a clean rag or a scouring pad. This step dissolves the remaining stripper and loosened finish.
Step 7: Final Prep. Allow the surface to dry completely. Once dry, you can do a light final sanding to smooth the surface and prepare it for its new stain, paint, or topcoat. Ensure all dust is removed before applying any new finish.
Troubleshooting: When Citristrip Goes Wrong
Even with careful preparation, you can encounter issues. The most common problem users report is a persistent sticky or tacky surface after stripping. This frustrating situation can derail a project, but it is entirely fixable.
The dreaded sticky residue is almost always caused by stripper that was not fully removed during the cleaning phase. The waxes and active ingredients in the formula can leave a film that prevents new finishes from adhering properly. If you find yourself in this situation, do not panic. The solution is another round of cleaning. Applying more mineral spirits or a paint stripper after-wash with a clean cloth or steel wool will break down and lift the remaining residue. For a more detailed guide on this specific issue, explore these solutions for when you have sticky stuff on wood. Another issue is the stripper not working on certain finishes. Citristrip may struggle with some high-performance coatings like two-part epoxies or automotive paints. In these cases, a more traditional, heavy-duty stripper may be necessary.
Citristrip vs. The Competition: A Head-to-Head Comparison
Choosing the right paint stripper depends on your project’s specific needs, your tolerance for chemical odors, and your safety considerations. Citristrip is a popular choice, but it’s important to understand how it stacks up against other types of chemical strippers available on the market.
This table breaks down the key differences to help you make an informed decision.
| Stripper Type | Key Active Ingredient | Speed of Action | Safety / Odor Profile | Best For… |
|---|---|---|---|---|
| Citristrip (Safer Stripper) | Benzyl Alcohol | Slow (30 mins – 24 hrs) | Low odor, pleasant scent, safer for indoor use with ventilation. | DIYers, indoor projects, removing multiple layers of common paints and varnishes. |
| Caustic Strippers | Sodium Hydroxide (Lye) | Moderate to Fast (30 mins – 1 hr) | High pH can burn skin, moderate odor, requires neutralization. | Thick layers of oil/latex paint on masonry and metal. Can darken wood. |
| Solvent Strippers (Methylene Chloride-based*) | Methylene Chloride | Very Fast (15 – 30 mins) | Very strong, hazardous fumes. Requires extreme ventilation and a respirator. | Professionals needing to remove tough, multi-layered finishes quickly. |
| Soy-Gel Strippers | Soy Esters | Very Slow (4 – 24+ hrs) | Very low odor, biodegradable, safe for indoor use. | Projects where time is not a factor and a gentle, eco-friendly option is desired. |
| *Note: Methylene Chloride-based strippers have been banned for consumer use in some regions due to health risks. | ||||
The Overlooked Final Step: Why Neutralizing is Non-Negotiable
Many guides end after the cleanup stage, but a crucial final step is often missed: neutralizing the surface. Even after cleaning with mineral spirits, microscopic stripper residue can remain embedded in the wood grain. This residue can alter the pH of the surface, which can have disastrous effects on your new finish.
An imbalanced pH can cause a new water-based topcoat to fail to adhere, a stain to appear blotchy and uneven, or an oil-based finish to cure improperly. Neutralizing ensures a chemically stable surface, ready to accept any new coating. The process is simple. After the mineral spirits have fully evaporated, wipe the entire surface down with a 50/50 mixture of denatured alcohol and water. Allow it to dry completely. This step deactivates any remaining stripper and removes any final traces of waxy residue, guaranteeing a professional and long-lasting new finish.
Final Thoughts: Your Key to Stripping Success
Citristrip is an incredibly effective tool in any restorer’s arsenal, but its power is only unlocked through proper technique. By abandoning the “set it and forget it” mindset and embracing a methodical process, you can avoid the common frustrations of a sticky, incomplete strip.
Remember the core principles: apply it thick, keep it wet, and clean it thoroughly. By adding the crucial neutralization step to your workflow, you elevate your process from an amateur attempt to a professional-grade restoration. Armed with this knowledge, you can confidently tackle any paint-stripping project, revealing the true beauty hidden beneath layers of the past.