Cinder Block Window Well Failure? Your Ultimate DIY Rescue Guide
A damp, musty basement is a homeowner’s nightmare. Often, the hidden culprit is a failing window well, that seemingly simple half-circle of metal or block outside your basement window. When a cinder block window well is poorly constructed, it becomes a direct funnel for water, soil pressure, and a host of other problems that threaten your home’s foundation.
This isn’t just about a puddle on the floor. It’s about the immense, unseen forces of nature pushing against your home. Getting the construction right isn’t just a good idea; it’s essential for the long-term health and safety of your property.
You'll Learn About
Understanding the Enemy: The Hidden Forces Attacking Your Foundation
Before laying a single block, it’s crucial to understand what you’re up against. The soil around your foundation is not static. When it rains, the ground becomes saturated, creating something called hydrostatic pressure—essentially, the weight of water-logged soil pushing relentlessly against your basement walls and your window well.
A simple stack of blocks without proper reinforcement or drainage is doomed to fail. This pressure can crack mortar, bow the wall inward, and force water directly into your basement, creating a perpetual cycle of dampness and damage.
The Blueprint for a Bulletproof Cinder Block Window Well
Building a cinder block window well that lasts requires more than just stacking blocks. It involves creating a reinforced, waterproof structure with a robust drainage system. Follow these steps meticulously to ensure your well stands strong for decades.
Step 1: Excavation and Foundation—The Unseen Hero
The strength of your well starts below the ground. Do not skip the footing. A common mistake is to lay blocks directly on the soil, which leads to shifting and failure. You must excavate a trench that is wider than your planned well and extends below the frost line for your region.
Fill the bottom of this trench with at least 4-6 inches of compacted gravel, and then pour a 4-inch concrete footing on top. This solid base prevents the structure from heaving during freeze-thaw cycles and provides the stability needed to resist soil pressure.
Step 2: Laying the Blocks—More Than Just Stacking
Once the footing has cured, you can begin laying the cinder blocks. Use a high-quality Type S or Type N mortar for strong joints. Stagger the joints between courses, just like in a brick wall, for maximum strength.
For wells deeper than a couple of feet, reinforcement is not optional. Insert vertical rebar into the block cores every few feet and fill these cores with concrete. It’s also wise to tie the well into the main foundation wall by drilling holes and epoxying short lengths of rebar, connecting the two structures.
The Triple-Threat Waterproofing Strategy Most People Miss
A strong well is useless if it’s not waterproof. Water is a persistent enemy, and you need a multi-layered defense to keep your basement dry. This three-step approach ensures that water is managed and directed away from your foundation.
Layer 1: Sealing the Blocks Themselves
Cinder blocks are naturally porous and will absorb water. Before you backfill around the well, you must seal the exterior surface. Apply a thick coat of foundation waterproofing tar or a self-adhering dimple membrane to the outside of the block wall.
This creates an impenetrable barrier, preventing moisture from ever reaching the blocks themselves. Extend this barrier from the top of the well all the way down to the footing.
Layer 2: The Drainage System That Actually Works
Sealing is only half the battle; you also need to give water a place to go. At the base of your well, on the exterior side, install a 4-inch perforated drain pipe (also known as weeping tile). This pipe should be laid in a bed of gravel and ideally connected to your home’s main foundation drain system or a separate dry well.
Inside the well, fill the bottom 8-12 inches with clean drainage gravel, such as #57 stone. This allows any water that enters the well to quickly percolate down to the drain pipe instead of pooling against your window.
Layer 3: Smart Backfilling Techniques
How you put the dirt back is just as important as how you dug it out. Don’t just dump soil against your newly waterproofed wall. First, backfill with several inches of gravel against the wall to relieve hydrostatic pressure and promote drainage.
Then, backfill the rest of the area with soil in 6- to 8-inch “lifts,” compacting each layer before adding the next. This prevents the soil from settling later and ensures the ground is graded to slope away from the foundation.
Egress Codes and Safety: Don’t Get Trapped by Regulations
If your window well serves a basement bedroom or habitable space, it must meet strict egress code requirements to ensure a safe escape route in an emergency. These codes are not suggestions; they are legal requirements for safety.
While local codes can vary, the International Residential Code (IRC) provides a common baseline. Failure to comply can result in failed inspections and, more importantly, a serious safety hazard. Always check with your local building department for specific requirements in your area.
| Egress Window Well Requirement (IRC) | Minimum Dimension | Reason |
|---|---|---|
| Minimum Horizontal Area | 9 square feet | Provides enough floor space for a person to maneuver and escape. |
| Minimum Horizontal Projection | 36 inches | Ensures the window can fully open and provides clearance. |
| Maximum Sill Height from Floor | 44 inches | Allows occupants, including children, to climb out of the window. |
| Ladder Requirement | Required if well depth > 44 inches | Provides a safe means to climb out of a deep well. |
Finishing Your Cinder Block Well: From Ugly to Upscale
A functional window well doesn’t have to be an eyesore. With a few finishing touches, you can make it a clean, attractive, and even safer part of your home’s exterior.
Painting and Sealing the Interior
Once the mortar is fully cured, paint the interior of the well with a high-quality waterproof masonry paint like Drylok. This not only provides an additional layer of moisture protection but also creates a bright, clean finish that reflects more light into your basement.
Capping and Covering
Installing a window well cover is one of the best finishing touches you can add. A sturdy cover, whether a metal grate or a clear polycarbonate shield, keeps out rain, snow, leaves, debris, and pests. Importantly, it also acts as a crucial safety feature, preventing people or pets from accidentally falling in.
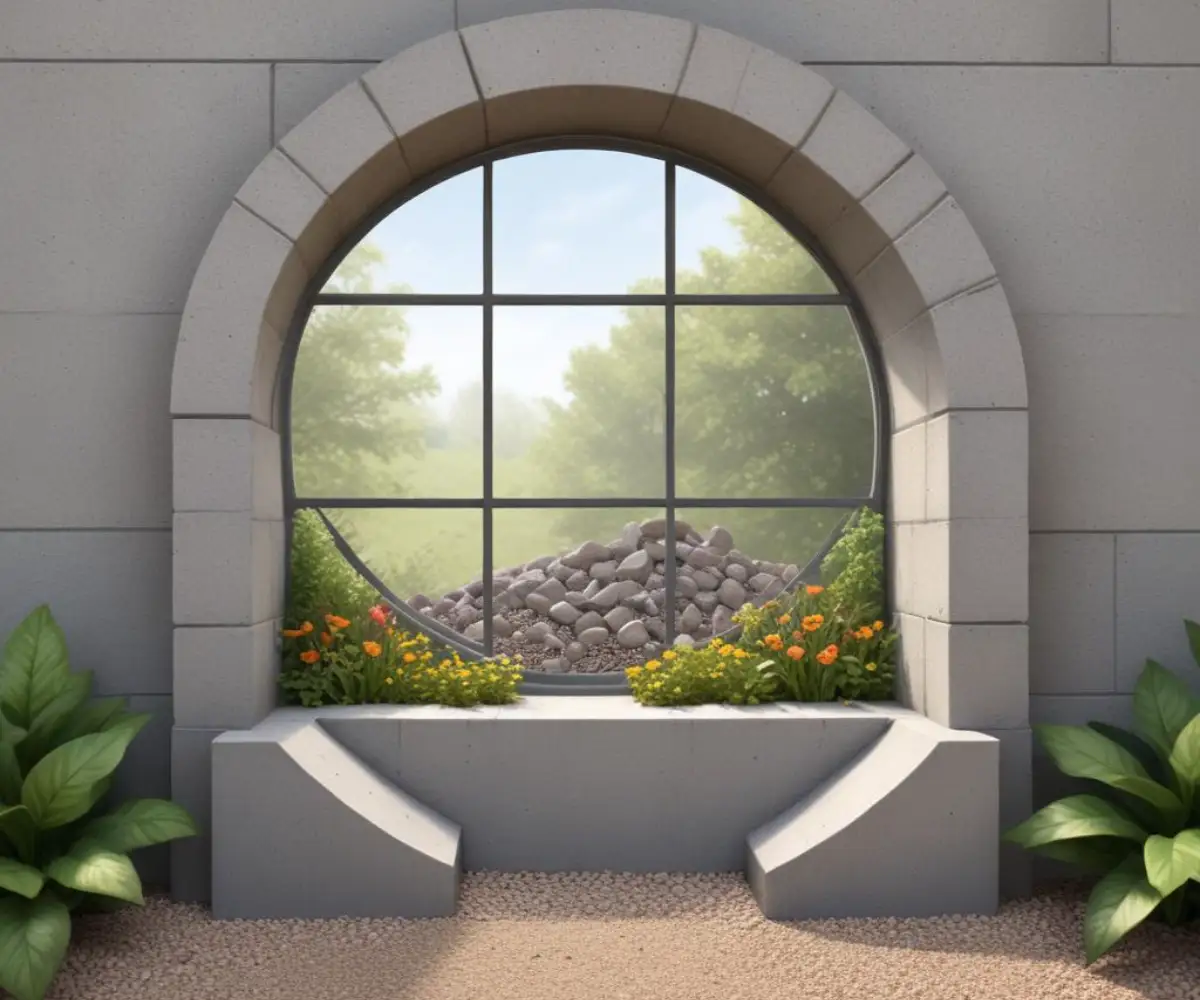
Landscaping Integration
Finally, integrate the window well into your surrounding landscape. Ensure the final grade of the soil slopes decisively away from the well. You can add decorative stone, mulch, or low-maintenance plants around the perimeter to blend it seamlessly with your yard.
Common Cinder Block Window Well Problems and How to Fix Them
Even well-built structures can have issues over time. Here’s how to troubleshoot some of the most common problems you might encounter with a cinder block window well.
Problem: Water Pooling at the Bottom
If water is collecting in your well, your drainage system has failed. The most common culprit is a clogged drain pipe or compacted gravel filled with silt and debris. The only solution is to dig out the gravel, clean or replace it, and ensure the drain pipe is clear.
Problem: Bowing or Cracking Walls
This indicates severe hydrostatic pressure and a potential structural failure. It often means the initial construction lacked proper reinforcement or a solid footing. While the well itself might be strong, immense soil pressure can sometimes transfer to the foundation, causing issues like sagging vinyl windows, which signals a larger structural problem that needs immediate attention from a professional.
Problem: Leaks Around the Window Frame
Leaks between the window and the foundation wall are often a sealant issue. You’ll need to clean the area thoroughly and apply a high-quality polyurethane caulk. A well-sealed window well also helps prevent drafts, but for the best results, learning how to insulate glass block windows can dramatically improve your basement’s energy efficiency.
Cinder Block vs. The Competition: Is It Still the Best Choice?
While materials like galvanized steel and fiberglass are popular for pre-fabricated wells, cinder blocks remain an excellent choice for their durability and customization. They are stronger than most pre-formed options and can be built to any size or shape.
The primary advantage of cinder block is its sheer strength when properly reinforced. It is labor-intensive, but for a DIYer willing to do the work, it offers a cost-effective path to a truly permanent and robust solution that pre-fabricated units can’t match.
Final Thoughts: Your Foundation’s Unsung Guardian
A cinder block window well is more than a hole in the ground; it’s a critical component of your home’s water management and structural safety system. By investing the time to build it correctly—with a proper footing, steel reinforcement, multi-layer waterproofing, and a functional drainage system—you create a guardian for your foundation.
This detailed approach ensures your basement stays dry, your foundation remains secure, and your home is protected from the relentless forces of nature for years to come.