Stop That Pesky Chimney Leak for Good With a Chimney Water Diverter
You see the tell-tale brown stain on your ceiling. It’s near the fireplace, a subtle but persistent reminder of a problem you can no longer ignore. That dreaded chimney leak is back, and you’re tired of the endless cycle of patching, sealing, and hoping for the best. You’ve had the flashing checked, maybe even replaced, yet after every heavy rain, the anxiety returns.
What if the flashing isn’t the real problem? What if the issue is the sheer volume of water cascading down your roof and slamming into the chimney? For countless frustrated homeowners, this is the hidden cause of their water woes. The solution might be simpler and more effective than you think: a chimney water diverter.
You'll Learn About
The Hidden Enemy: Why Water Is Your Chimney’s Worst Nightmare
Your chimney stands tall against the elements, but it has a critical vulnerability: the point where it meets the roof. This intersection is a constant battleground against water intrusion. While chimney flashing is the first line of defense, it can be overwhelmed on large or steep roof planes where a significant amount of rainwater is channeled directly toward the chimney.
This concentrated flow of water acts like a pressure washer, relentlessly attacking the chimney structure. Over time, this assault leads to a host of problems that go far beyond a simple drip. Understanding these issues is the first step toward finding a permanent solution.
The Silent Destroyer: How Water Runoff Wreaks Havoc
When a large volume of water continuously batters your chimney, it begins a slow but steady process of destruction. The constant moisture saturates the bricks and mortar, leading to cracking and spalling, especially during freeze-thaw cycles. This deterioration compromises the structural integrity of your chimney.
The water doesn’t just damage the chimney; it finds its way into your home. It can rot the underlying plywood vs sheathing of your roof deck, creating a soft, spongy mess that requires costly repairs. From there, it drips into your attic, soaking insulation, promoting mold growth, and eventually staining your ceilings and walls. These issues can even create entry points for unwanted pests, leading to problems like mice in walls but not in house fix it asap.
Are You Sure It’s a Flashing Leak? Common Misdiagnoses
One of the biggest frustrations for homeowners is paying for flashing repairs that don’t solve the leak. Many roofers will correctly identify that water is getting in around the chimney and assume the flashing is faulty. While damaged flashing is a common culprit, it’s often a symptom, not the root cause.
If the flashing is overwhelmed by a river of water, even a perfectly installed flashing system can fail. The water can be forced up and under the flashing or find tiny imperfections to exploit. This is why it’s crucial to assess not just the flashing itself, but the entire dynamic of how water flows around your chimney.
Your Ultimate Solution: The Chimney Water Diverter
Instead of just trying to seal the leak, a chimney water diverter addresses the source of the problem. It’s a proactive solution designed to manage the flow of water before it ever reaches the vulnerable area behind the chimney. This simple yet ingenious device can save you thousands in future repairs and give you peace of mind.
By installing a diverter, you’re not just patching a problem; you’re implementing a long-term water management strategy. This is especially important for homes where the chimney is located on a long, uninterrupted roof slope.
What is a Chimney Water Diverter and How Does It Work?
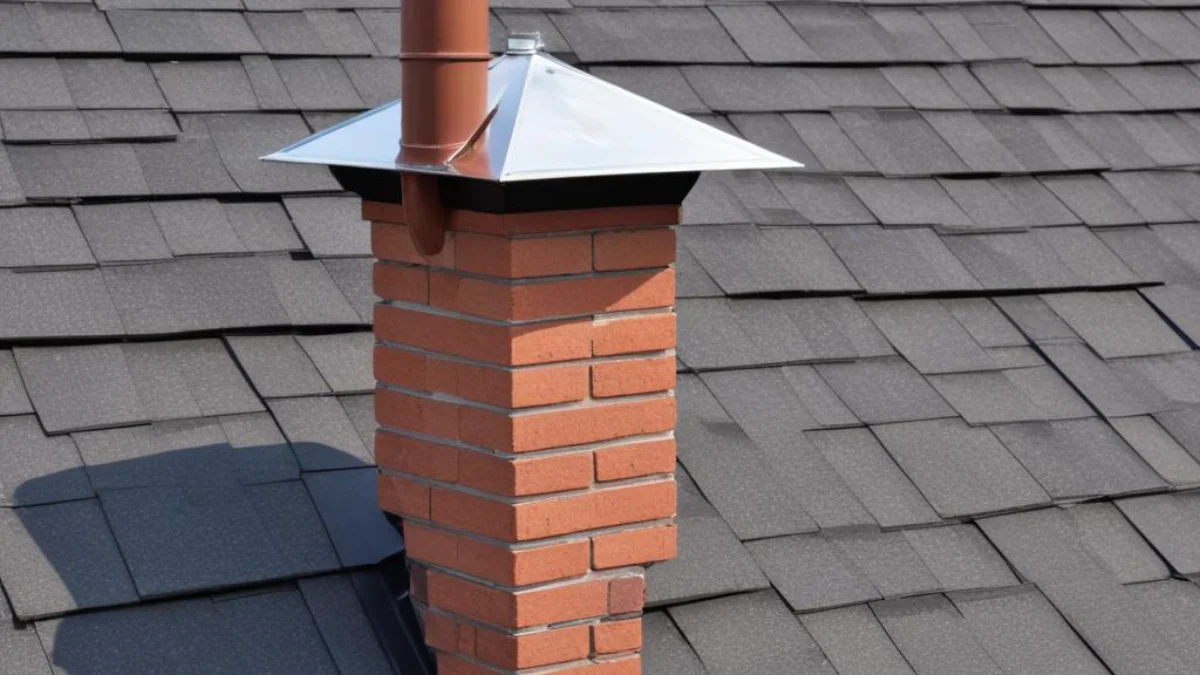
A chimney water diverter, sometimes called a rain diverter or a “cricket,” is a small, peaked structure installed on the roof, on the high side of the chimney. Its sole purpose is to intercept the water flowing down the roof and redirect it to either side of the chimney. Think of it as a small roof for your roof, creating a path of least resistance for rainwater.
By splitting the flow of water, it dramatically reduces the amount of water and pressure that hits the chimney flashing. This allows the flashing to do its job effectively, preventing water from pooling behind the chimney and seeping into your home. It’s a fundamental shift from defense to offense in the fight against water intrusion.
Chimney Diverter vs. Chimney Cricket: Making the Right Choice
The terms “diverter” and “cricket” are often used interchangeably, but there can be a subtle difference. A simple diverter might be a single strip of angled metal, while a cricket is typically a more substantial, framed structure. For most residential applications, especially on chimneys less than 30 inches wide, a metal diverter is sufficient.
Building codes often mandate a cricket for chimneys wider than 30 inches because the larger surface area can cause significant water pooling. A custom-built cricket is essentially a small roof ridge built behind the chimney and integrated into the roof system. For the average homeowner facing a persistent leak, a professionally installed metal water diverter is often the most cost-effective and efficient solution.
Choosing Your Weapon: Materials for Your Water Diverter
The material you choose for your water diverter will impact its longevity, appearance, and cost. It’s important to select a material that is durable and compatible with your existing roofing. The goal is to install a solution that will last for decades, so investing in quality materials is key.
Each option has its own set of pros and cons. Consider your budget, climate, and aesthetic preferences when making your decision. Below is a comparison to help you choose the best material for your home.
| Material | Pros | Cons | Average Lifespan |
|---|---|---|---|
| Aluminum | Lightweight, affordable, corrosion-resistant. | Can be dented easily, may require painting to prevent pitting. | 20-30 years |
| Galvanized Steel | Strong, durable, relatively inexpensive. | Zinc coating can wear off over time, leading to rust. | 25-40 years |
| Copper | Extremely durable, long-lasting, attractive patina over time. | Most expensive option, requires skilled installation. | 80-100+ years |
Step-by-Step Installation Guide for a Leak-Free Chimney
While installing a chimney water diverter is a job best left to experienced roofing professionals, understanding the process can help you ensure it’s done correctly. Proper installation is critical to its effectiveness. A poorly installed diverter can create new leak points, making the problem even worse.
The process involves careful integration with the existing shingles and flashing. It’s not just about attaching a piece of metal to the roof; it’s about creating a seamless, watertight system that directs water safely away from the chimney.
Safety First: Pre-Installation Checklist
Working on a roof is inherently dangerous. Before any work begins, safety must be the top priority. A professional installer will always use appropriate safety gear, including a harness, and ensure the ladder is secure.
The work area around the chimney should be thoroughly inspected. Any damaged shingles or soft spots in the roof deck must be addressed before the diverter is installed. This ensures the new diverter is being anchored to a solid, stable surface.
The Installation Process: A DIY-Friendly Overview
First, the shingles on the upside of the chimney are carefully removed to expose the roof deck. The diverter, typically a pre-bent piece of metal flashing shaped like a “V,” is then positioned against the chimney. The key is to slide the diverter’s flanges under the surrounding shingles on both the roof plane and up the side of the chimney.
A high-quality roofing sealant is applied to all seams and nail heads to ensure a watertight seal. The shingles that were removed are then re-installed over the diverter’s flanges, creating a layered, integrated system. The final result should be a clean installation where the diverter channels water naturally around the chimney and down the roof, much like a broader how to daylight a drain pipe system manages water on your property.
When to Call a Professional: Know Your Limits
Unless you have significant roofing experience, installing a chimney water diverter is not a recommended DIY project. The risk of causing more extensive damage—or worse, personal injury—is high. A professional roofer or chimney mason has the tools, safety equipment, and expertise to do the job right the first time.
A pro can accurately assess the water flow on your roof and determine the correct size and placement for the diverter. They can also identify and repair any underlying roof damage that may be contributing to the leak. Investing in professional installation will prevent costly repairs down the road.
Long-Term Maintenance: Keeping Your Chimney Protected
Once your water diverter is installed, it requires very little maintenance. However, it’s a good practice to have your entire chimney and roof system inspected annually. During these inspections, a professional should check the sealant around the diverter to ensure it’s still intact and effective.
They should also clear any accumulated debris, like leaves and twigs, from behind the chimney and diverter. Keeping this area clear ensures that water can flow freely, allowing the diverter to do its job and protect your home for years to come.