Build a HUGE Aquarium for Pennies: The Ultimate DIY Secret
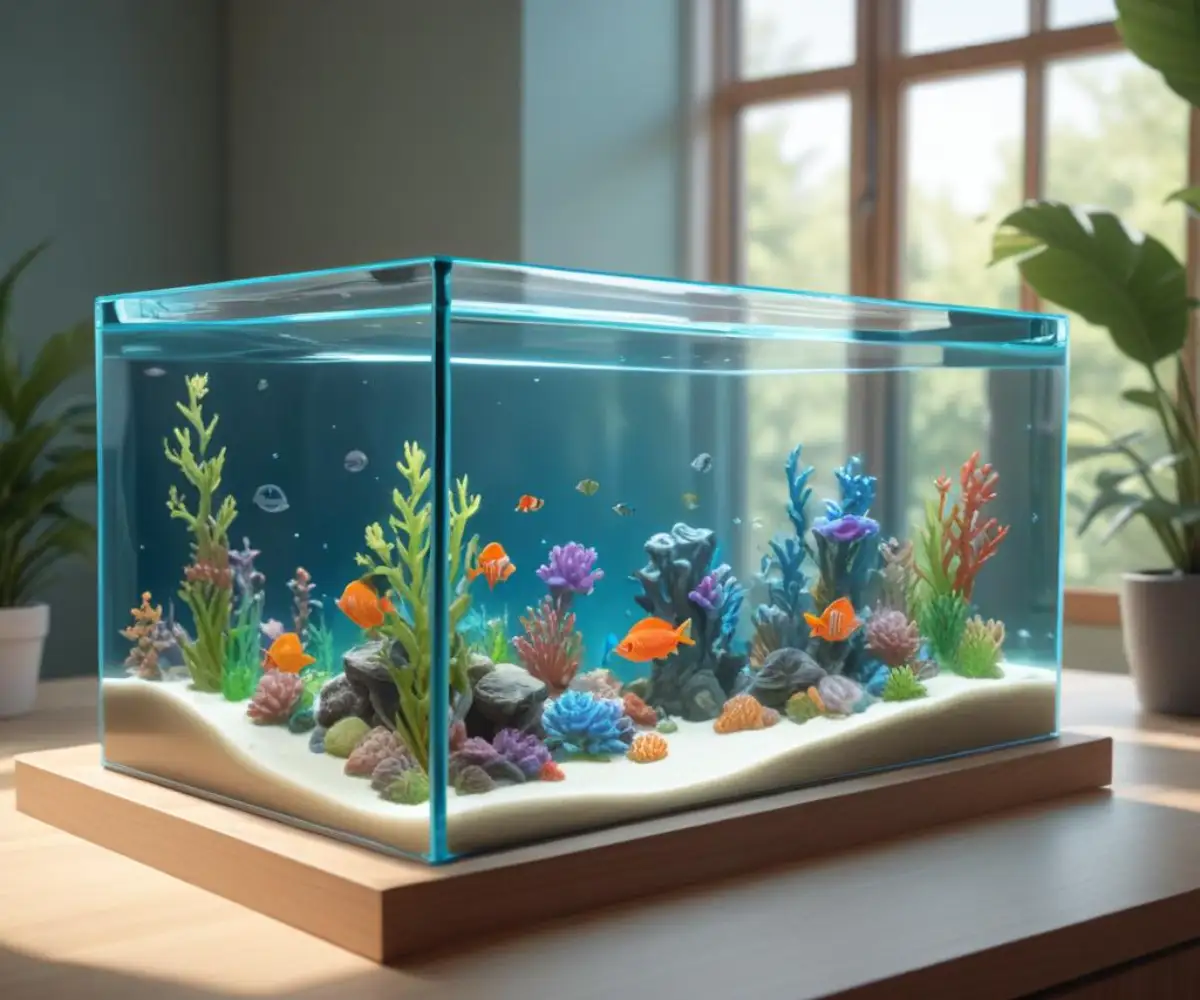
The dream of a magnificent, wall-sized aquarium often comes with a staggering price tag. For many home and garden enthusiasts, the prohibitive cost of large, pre-made tanks turns a beautiful vision into a frustrating roadblock. This high cost isn’t just about the glass; it’s a combination of specialized labor, branding, and the logistical nightmare of shipping a massive, fragile box.
But what if the biggest barrier to entry—the cost—could be dramatically lowered? By shifting perspective from buying to building, a world of possibilities opens up. This guide explores the most cost-effective methods for constructing a large aquarium, empowering you to create a stunning aquatic centerpiece without draining your bank account.
You'll Learn About
Why Are Large Pre-Made Aquariums So Expensive?
Understanding the cost drivers of commercial aquariums reveals why a do-it-yourself approach is so compelling. The price escalates exponentially with size, primarily due to the thickness of the materials required to withstand immense water pressure. Shipping such a heavy and delicate item across the country adds another significant layer of expense.
Furthermore, you’re paying for brand names and retailer markups. By taking on the project yourself, you eliminate these overheads and pay only for the raw materials. This fundamental shift in approach is the key to making a large aquarium affordable.
The Game-Changer: Plywood Aquariums
For truly massive tanks (200 gallons and beyond), plywood is the undisputed king of cost-effectiveness. While it may sound unconventional, a properly constructed and sealed plywood box with a glass or acrylic viewing window is incredibly strong, durable, and significantly cheaper than an all-glass or all-acrylic counterpart. The key lies in meticulous construction and, most importantly, flawless waterproofing.
The structural integrity comes from a well-built lumber frame, while the water is held back by a barrier applied to the plywood interior. This method allows for custom shapes and sizes that would be astronomically expensive otherwise. It transforms the aquarium from a mere container into an integrated piece of furniture or architecture.
Step 1: Building the Plywood Box and Stand
The foundation of your aquarium is a robust stand and a precisely assembled box. Use 2x6s or larger lumber for the stand to ensure it can handle the immense weight of water (water weighs about 8.34 pounds per gallon). The frame must provide even support across the entire bottom of the tank, with no gaps or pressure points.
For the box, 3/4-inch plywood is a common choice, but thicker options may be necessary for very tall tanks. Assemble the box with high-quality, waterproof wood glue and stainless steel screws. Every seam must be perfectly flush and sealed with a thick bead of aquarium-safe silicone before the primary waterproofing layer is applied.
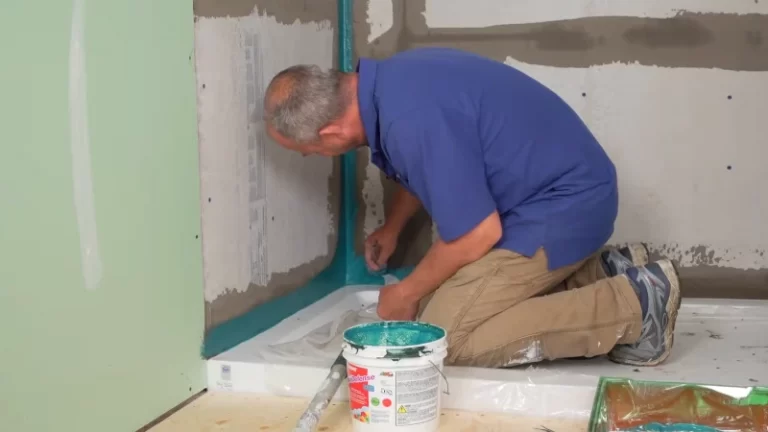
Step 2: The Critical Waterproofing Stage
This is the most crucial part of the build, where no shortcuts can be taken. A failure in waterproofing means a catastrophic failure of the entire project. Several reliable methods exist, each with its own advantages.
Two-part epoxy paint is a popular and effective choice. Products designed for ponds or marine applications create a hard, durable, and completely waterproof shell inside the plywood box. Applying multiple coats, often with a layer of fiberglass cloth embedded in the first coat for extra strength at the seams, is the standard for a long-lasting, leak-proof build.
Another excellent option is using a liquid rubber sealant. These coatings are applied like thick paint and cure into a flexible, seamless membrane. They are incredibly forgiving and adhere well to the wood, offering superior protection against small shifts in the wood over time. Look for products specifically rated as non-toxic and safe for aquatic life.
Step 3: Installing the Viewing Window
The window is typically the most expensive single component of a DIY plywood tank. You will use a large pane of either glass or acrylic set into a cutout on the front of the box. Create a recessed frame (a rebate) for the window to sit in, ensuring a wide surface area for the silicone to bond to.
Use a generous, continuous bead of 100% aquarium-safe silicone to seal the window in place. Once the window is pressed firmly into the sealant, apply another thick bead around the entire interior seam. This double seal is your primary defense against leaks at the window, which is the most common point of failure.
Glass vs. Acrylic: A Cost-Driven Decision for DIY
While plywood forms the structure, the viewing panel material is a significant choice. For DIY projects, the decision often comes down to a balance of cost, ease of use, and durability. Glass is cheaper and highly scratch-resistant, but it is heavy and requires professional cutting for large, thick panes.
Acrylic is lighter, stronger, and easier to drill for plumbing, but it is more expensive and scratches very easily. For a budget-focused build, glass is often the more economical choice for the viewing window, provided you can handle its weight and have it cut to your exact dimensions.
An Unconventional but Powerful Alternative: Concrete Aquariums
For the ultimate in durability and scale, especially for tanks built directly into the structure of a room or home, concrete is a viable, albeit more complex, option. A concrete tank is permanent and can be formed into almost any shape imaginable. It offers unparalleled structural strength for holding thousands of gallons of water.
The main challenges are the weight, the extended curing time, and the need to properly seal the concrete to prevent it from leaching lime into the water, which would raise the pH to dangerous levels. This is typically done with the same epoxy or rubber sealants used for plywood builds. While not a weekend project, a concrete aquarium is the most permanent and often the cheapest method per gallon for truly colossal setups.
Slashing Long-Term Costs: DIY Filtration
The expense of an aquarium doesn’t stop once the tank is built. Filtration for a large volume of water can cost hundreds or even thousands of dollars. Building your own filtration system is one of the biggest long-term money-savers in the aquarium hobby.
A “sump,” which is essentially a smaller tank placed below the main aquarium, is the most effective and customizable filtration method. You can build a simple sump out of a smaller glass tank or even a large plastic container. This sump can be filled with highly effective and inexpensive filter media, such as lava rock, sponges, or plastic pot scrubbers, providing massive surface area for beneficial bacteria.
For a simpler approach, a DIY canister filter can be made from a 5-gallon bucket with a tight-sealing lid and some basic plumbing fittings. A small submersible pump drives the system, pushing water through layers of filter media inside the bucket. This method can provide filtration comparable to expensive commercial canister filters for a fraction of the price. Proper water management is key, as is ensuring you avoid issues that arise from poor circulation, which can be as frustrating as when it takes 5 minutes to get hot water in your home’s plumbing.
Sourcing Materials on a Budget
Thinking outside the pet store is essential for keeping costs low. Look for used glass from glaziers or remodeling contractors. Plumbing supplies can be purchased in bulk from hardware stores instead of marked-up aquarium-specific kits.
Even the stand can be built from reclaimed lumber. By being resourceful, you can significantly reduce the material cost of your build. Just as one might look for a better waterfall foam alternative for a pond build to save money and improve quality, seeking out better-value materials for your aquarium is a smart strategy. Considering the quality of your tap water is also important, and understanding the costs and benefits of home water systems can be insightful, even if you are not in the market for one; learning how much does a Maytag water softener cost provides context on overall home water management.
| Method (Approx. 200 Gallons) | Estimated Material Cost | Primary Advantages | Primary Disadvantages |
|---|---|---|---|
| Store-Bought Glass | $1500 – $3000+ | Ready to use, high clarity, scratch-resistant. | Extremely high cost, heavy, standard sizes only. |
| Store-Bought Acrylic | $2000 – $4000+ | Lighter than glass, strong, clearer than standard glass. | Highest cost, scratches very easily. |
| DIY Plywood w/ Glass Window | $500 – $900 | Lowest cost for size, fully customizable. | High labor, waterproofing is critical and can fail if done improperly. |
| DIY All-Glass | $700 – $1200 | Cheaper than store-bought, professional look. | Very heavy materials, requires skill in handling and cutting glass. |
| DIY Concrete | $600 – $1000 | Extremely durable, ultimate customizability, integrated look. | Permanent structure, long curing time, complex construction. |
Final Steps and Stocking Your Tank
Before adding any fish, it’s vital to perform a leak test. Fill the tank completely in a safe location (like a garage or backyard) and let it sit for at least 48-72 hours. Check every seam and corner meticulously for any signs of moisture.
Once you’ve confirmed your build is watertight, you can move it to its final location, add substrate, and begin the nitrogen cycle. When it comes to stocking, you can save money by buying younger, smaller fish and letting them grow. Joining local aquarium clubs or online forums is also a great way to trade or acquire fish and plants for a low cost, completing your incredible DIY project with a vibrant, thriving aquatic community.