Cement Board Over Plank Subfloor: The #1 Mistake You Can’t Afford
You’ve pulled up the old flooring, ready to lay beautiful new tile, only to find a surprise: a subfloor made of individual wood planks. Common in older homes, this discovery can stop a renovation in its tracks. The immediate question is whether you can simply install cement board directly over these planks and start tiling.
Doing so is a critical error that can lead to catastrophic failure. Plank subfloors are fundamentally different from modern plywood or OSB sheets. Understanding this difference is the key to a tile job that lasts a lifetime versus one that cracks and fails within months.
You'll Learn About
Why Your Plank Subfloor Is a Ticking Time Bomb for Tile
Tiling directly over a plank subfloor, even with cement board as a buffer, is a recipe for disaster. Tile is rigid and unforgiving; it has virtually no ability to flex. The slightest movement in the foundation beneath it will cause grout to crumble and tiles to crack.
Plank subfloors present several inherent problems that make them unsuitable as a direct base for tile underlayment:
- Excessive Deflection: Each plank can move independently. When you walk across the floor, the pressure isn’t distributed across a single, solid sheet. Instead, individual boards can flex between the floor joists, creating movement that will eventually destroy the tile above. This “bounce” is the enemy of any tile installation.
- Gaps and Seams: Unlike the tight seams of tongue-and-groove plywood, plank subfloors have numerous gaps. These spaces allow for movement and create weak points in the floor system. Thin-set mortar used under the cement board can’t bridge these gaps effectively, leading to an unstable and uneven foundation.
- Uneven Surfaces: Decades of use can cause old planks to warp, cup, or wear unevenly. Laying cement board over an uneven surface creates voids and high spots, preventing the board from lying perfectly flat and resulting in a weak, unstable base for your tile.
The Golden Rule: Never Screw Cement Board Directly to Planks
The core issue is structural integrity. Cement board itself provides no structural strength; its purpose is to offer a dimensionally stable and moisture-resistant surface that bonds well with thin-set mortar. It will not fix the underlying problems of a plank subfloor. Any movement from the planks will transfer directly through the cement board to your tile.
The non-negotiable solution is to add a layer of plywood over the planks. This critical step bridges the gaps between the planks, unifies the surface, and dramatically reduces deflection by distributing weight across multiple boards and joists. This creates the solid, continuous substrate that tile requires.
Prepping Your Plank Subfloor: Your 4-Step Battle Plan
Proper preparation is everything. Rushing this stage will undermine all the hard work and expense that follows. Follow these steps methodically to create a bulletproof foundation for your new tile floor.
Step 1: Assess and Secure the Existing Planks
Before adding anything on top, ensure the original subfloor is as solid as it can be. Walk every square foot of the room, feeling for bounce or squeaks. Look for any loose, broken, or rotten planks.
Use construction screws to fasten any loose planks securely to the floor joists below. A good rule of thumb is to add a screw at every point a plank crosses a joist. Replace any damaged boards. Your goal is to eliminate all movement before proceeding.
Step 2: Add the Plywood Underlayment Layer
This is the most crucial step. You must install a layer of plywood over the entire plank subfloor. For tile installations, a minimum of 1/2-inch exterior-grade plywood is recommended, with 5/8-inch being even better for providing extra rigidity.
Apply a generous bead of construction adhesive to the back of each plywood sheet before laying it down. Fasten the plywood to the plank subfloor using 1 1/4-inch flooring screws every 6 inches along the edges and every 8 inches in the center of the sheet. Be sure to stagger the seams of the plywood so they do not line up with the seams of the planks below.
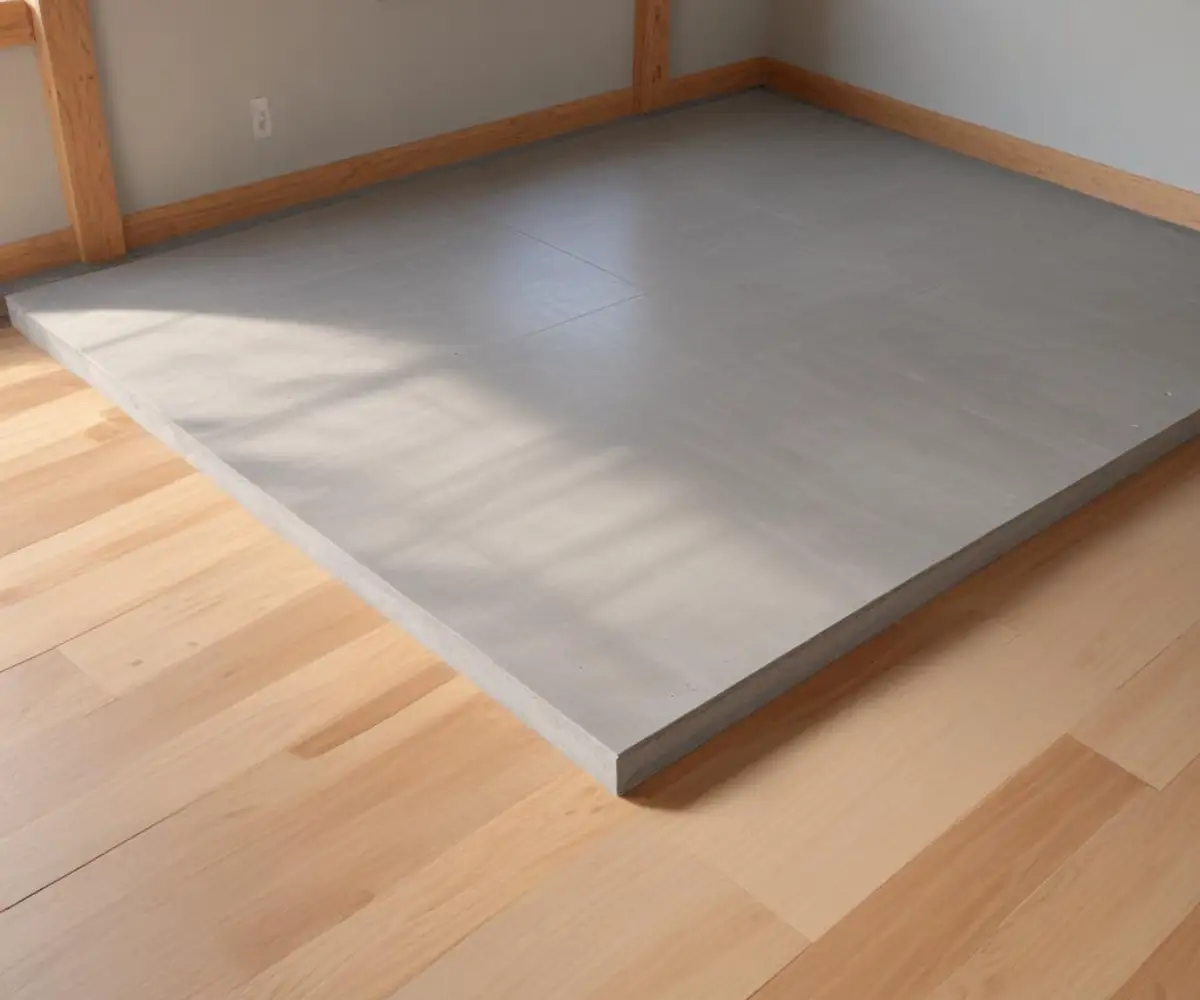
Step 3: Lay Out and Cut the Cement Board
With the plywood securely in place, you now have a suitable base for the cement board. Lay out the cement board sheets on the floor, leaving a 1/4-inch gap along the walls and a 1/8-inch gap between each sheet.
It is critical to stagger the seams of the cement board so they do not align with the plywood seams underneath. This creates a stronger, more stable floor system by preventing weak points where multiple seams could line up. Use a scoring tool or a circular saw with a carbide blade to cut the boards to size.
Step 4: Install the Cement Board with Mortar
Do not skip this step. The cement board must be set in a bed of thin-set mortar, not just screwed down. The mortar fills any minor voids between the plywood and the cement board, ensuring the board is 100% supported.
Using a 1/4-inch square-notched trowel, spread a consistent layer of modified thin-set mortar over the area where the first sheet will go. Press the cement board firmly into the wet mortar and secure it with the manufacturer-specified cement board screws. Drive the screws every 8 inches, making sure the heads are flush with the surface of the board.
Finishing the Job for a Flawless Tile Installation
Once all the cement boards are set and screwed down, the final preparation step is to treat the seams. Apply fiberglass mesh tape over all the joints between the boards. Using a flat trowel, press a thin layer of mortar through the mesh tape, filling the gaps completely.
Feather the mortar out from the seam to create a smooth, flat transition. This taping process unifies the individual boards into a single, monolithic surface, preventing movement along the seams that could cause tile to crack. Once the mortar is dry, your floor is finally ready for tile.
Plank vs. Modern Subfloors: A Crucial Comparison
Understanding the differences between subfloor types highlights why the extra preparation for plank subfloors is so essential. While a topic like installing cement board over OSB has its own set of rules, plank subfloors are in a class of their own.
| Subfloor Type | Key Characteristic | Primary Challenge for Tiling | Required Preparation |
|---|---|---|---|
| Plank Subfloor | Individual boards with gaps | High deflection and uneven surface | Must be overlaid with 1/2″ or thicker plywood |
| OSB (Oriented Strand Board) | Engineered wood sheets | Susceptible to swelling from moisture | Must be clean, flat; cement board recommended |
| Plywood | Laminated wood sheets | Generally stable and strong | Minimum thickness requirements must be met |
Frequently Asked Questions (FAQ)
Can I use a liquid leveling compound directly on the plank subfloor?
No, self-leveling compounds are not structural. They will crack and break apart as the planks underneath flex and move. You must first create a rigid base with a layer of plywood.
What if adding plywood and cement board makes the floor too high?
This is a valid concern, especially at transitions to other rooms. In some cases, the only solution is to remove the original plank subfloor and install a new, single layer of 3/4-inch tongue-and-groove plywood directly onto the joists. This is more labor-intensive but provides the best possible foundation without adding excessive height.
Is an uncoupling membrane a substitute for the plywood layer?
While uncoupling membranes are excellent for isolating tile from minor horizontal movement in the substrate, they do not correct for vertical movement or “bounce” (deflection). An uncoupling membrane cannot compensate for a weak, bouncy plank subfloor. You still need the plywood layer to provide structural rigidity first.
What type of mortar should I use?
Always use a modified thin-set mortar to bed the cement board to the plywood and to tape the seams. For setting the tile itself, consult the tile manufacturer’s recommendation, which may be for either a modified or unmodified thin-set depending on the tile and application area.
What is the proper way to prepare a plank subfloor for cement board?
The best practice is to first add a layer of plywood over the plank subfloor. A minimum of 5/8-inch exterior-grade plywood should be securely glued and screwed to the plank subfloor. This creates a more stable and even surface for the cement board and tile.
Why is thinset mortar used under the cement board?
Thinset mortar is applied between the plywood subfloor and the cement board to fill any voids and create a solid, even support. This is crucial for preventing any movement or flexing of the cement board, which could cause the tile or grout to crack. Most cement board manufacturers require thinset underneath to validate their warranty.
How should I fasten the cement board to the subfloor?
Use corrosion-resistant cement board screws to secure the backer board. Screws should be placed every 6 to 8 inches throughout the board and around the perimeter. The screws should be driven just slightly below the surface of the board.
Is it necessary to stagger the seams of the cement boards?
Yes, you should always stagger the seams of the cement boards, similar to a brick pattern. This prevents having four corners meet at one point, which can create a weak spot in the floor. Additionally, the cement board seams should not line up with the seams of the plywood subfloor.
What do I do with the joints between the cement boards?
The joints between the cement board sheets should be filled with thinset mortar and covered with 2-inch wide alkali-resistant fiberglass mesh tape. The tape should be embedded into the wet thinset. This process helps to create a single, monolithic surface for tiling.