Ceiling Resurfacing: Transform Your Home’s Ugliest Feature
That oft-neglected fifth wall above your head holds tremendous power over a room’s entire atmosphere. Yet, ceilings are frequently ignored until they start showing undeniable signs of age: spiderweb cracks, ugly water stains, or the deeply dated look of a popcorn texture.
Simply painting over these issues is like putting a bandage on a broken bone. The underlying problems remain, and a fresh coat of paint often highlights the imperfections rather than hiding them. True transformation requires ceiling resurfacing, a process that creates a pristine, flawless canvas overhead.
You'll Learn About
Why Your Ceiling Looks So Bad (And Why Paint Isn’t the Answer)
Ceilings bear the brunt of gravity, structural settling, and environmental changes. Understanding the root cause of the ugliness is the first step toward a permanent solution.
The Usual Suspects: Cracks, Stains, and Outdated Textures
Most ceiling blemishes fall into a few common categories. Hairline cracks often appear as a house settles, while larger, more alarming cracks could signal deeper structural issues that need professional assessment before any cosmetic work begins. Water stains are another frequent offender, leaving behind brown or yellowed patches that bleed through multiple coats of paint.
Perhaps the most common reason for a resurfacing project is an outdated texture. Popcorn ceilings, once popular for their ease of application and sound-dampening qualities, are now widely considered dated. They are also notoriously difficult to clean, becoming magnets for dust and allergens over the years.
The Hidden Impact on Your Home’s Ambiance and Health
A damaged or textured ceiling does more than just look bad; it can negatively affect your living environment. Textured surfaces absorb and scatter light unevenly, making rooms feel darker and smaller. The countless nooks and crannies trap dust, pollen, and other allergens, which can degrade indoor air quality.
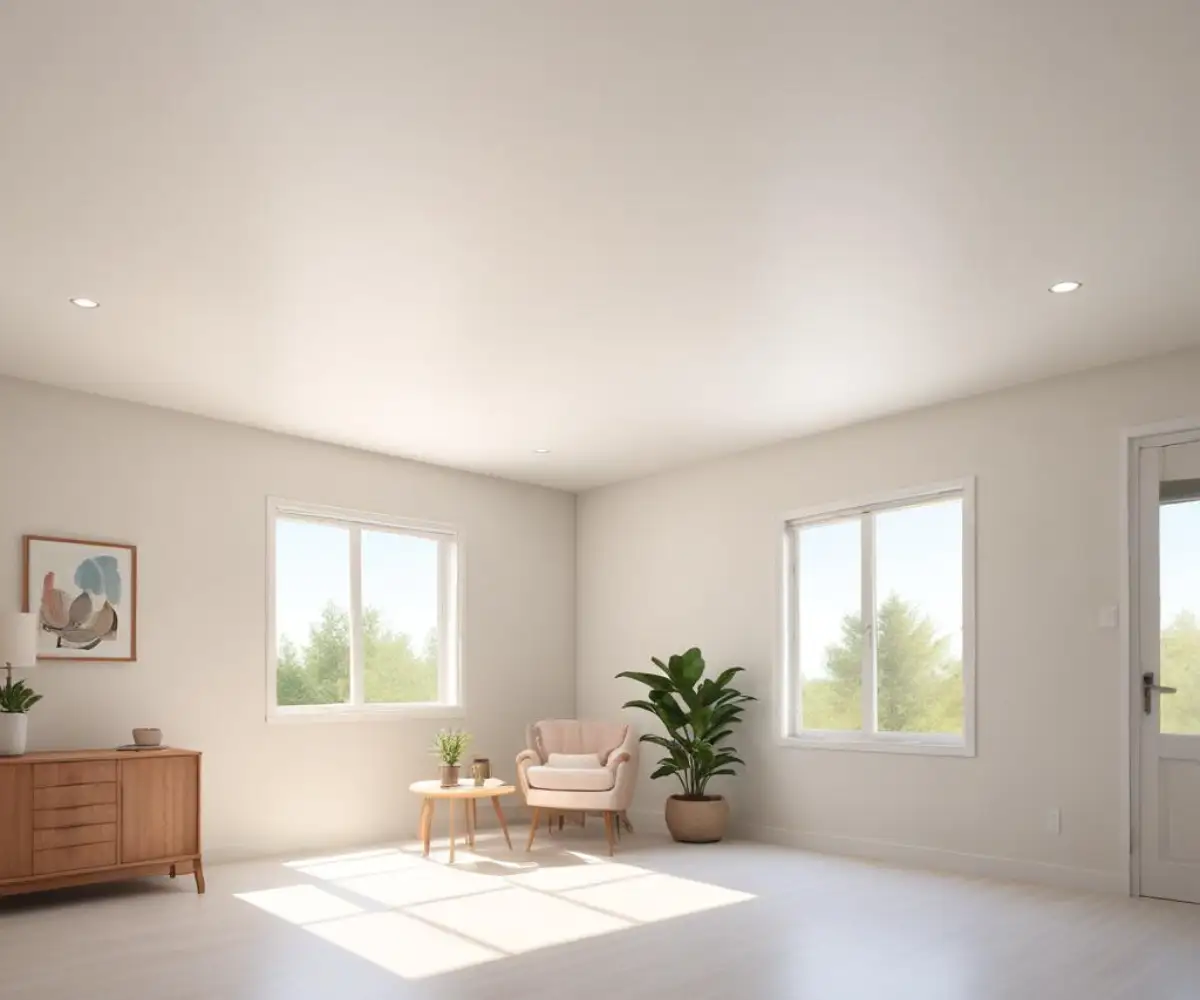
Resurfacing the ceiling does more than just beautify your space. It creates a smooth, solid barrier that seals away old dust and potential contaminants. A smooth, white ceiling reflects light uniformly, instantly making a room feel brighter, larger, and more modern.
Ceiling Resurfacing: Your Path to a Flawless Finish
Ceiling resurfacing involves applying a new, thin layer of material over the existing surface to cover all imperfections. The most common and effective method is known as skim coating, which provides a level of smoothness that simple repairs can’t match.
What is Skim Coating?
Skim coating is the process of applying thin layers of joint compound (often called “mud”) over an entire ceiling. Each layer is smoothed out with a wide drywall knife or trowel and allowed to dry before the next is applied. The goal is to build up a perfectly flat, uniform surface free of any texture, bumps, or cracks.
This technique is the gold standard for fixing widespread cosmetic damage. It’s the only way to truly erase the ghost of a popcorn texture or a network of stress cracks and achieve a professional, high-end “Level 5” drywall finish.
DIY vs. Hiring a Professional: A Realistic Breakdown
Tackling a ceiling resurfacing project yourself can be rewarding, but it’s a physically demanding and messy job that requires patience and precision. A professional will deliver faster results with a higher-quality finish, but at a greater cost. Deciding which path to take involves weighing your budget against your time and skill level.
Making a decision on home projects often comes down to investing in the right tools versus paying for expertise. It’s similar to deciding how to handle lawn care or snow removal; for some, purchasing the right equipment makes sense, while others prefer to hire a service. Comparing options, like an Ego vs Toro 60v snow blower, is about finding the best long-term value for your specific needs, a mindset that applies equally to interior renovations.
| Factor | DIY Approach | Professional Hire |
|---|---|---|
| Cost | Low (primarily materials like joint compound, primer, and paint). Typically under $200 for an average room. | High (labor is the main expense). Expect to pay $1.50 – $3.50 per square foot. |
| Time | Significant time investment. Can take several days to a week due to multiple coats and drying times. | Fast. A professional crew can often complete a room in 1-3 days. |
| Skill Level | Moderate to high. Requires physical stamina, patience, and a steady hand to avoid trowel marks. | Expert. Professionals have the tools and experience to achieve a perfectly smooth finish. |
| Mess & Disruption | High. Expect significant dust from sanding. Thorough prep and cleanup are essential. | Contained. Pros are efficient at masking the room and minimizing dust spread. |
Your Step-by-Step Guide to a DIY Skim Coat Finish
If you’ve decided to tackle this project yourself, success lies in methodical preparation and patient application. Rushing any step will show in the final result.
Essential Tools and Materials
Gathering everything you need before you start is crucial. You will need a sturdy ladder or scaffolding, a 12- or 14-inch taping knife, a mud pan, all-purpose joint compound, a drill with a paddle mixer, a pole sander with 120-grit sanding screens, safety glasses, and plenty of plastic sheeting and painter’s tape to protect your room.
Step 1: The Art of Meticulous Preparation
This is the most critical stage. Remove all furniture from the room. Cover the floors entirely with plastic sheeting and tape it securely to the baseboards. Cover walls with plastic as well, as mud can and will splatter.
Use high-quality painter’s tape to seal the top edge of the walls where they meet the ceiling. Be aware that even good tape can cause issues; a common frustration is when 3M blue tape is pulling paint off the walls upon removal. To minimize this, ensure the wall paint is fully cured and remove the tape slowly at a 45-degree angle after the project is complete.
Step 2: Repair and Prime the Surface
Before applying the first skim coat, address any significant issues. Secure loose drywall with screws, fill large cracks with compound and drywall tape, and scrape away any peeling paint or crumbling texture. After making repairs, apply a coat of stain-blocking primer to the entire ceiling to ensure proper adhesion and prevent old stains from bleeding through.
Step 3: Mix and Apply the First Coat
Mix your all-purpose joint compound with a little water until it reaches a thick, creamy consistency, similar to pancake batter or mayonnaise. It should be smooth and free of lumps. Scoop some mud into your pan.
Load your taping knife and apply a thin, even layer of compound to a small section of the ceiling (about 3×3 feet). The key is to apply it thinly and consistently. Hold the knife at a low angle to spread the mud, then go over it again at a higher angle (almost 45 degrees) to smooth it and remove excess.
Step 4: The Second Coat and Final Smoothing
Let the first coat dry completely, which usually takes 24 hours. Once dry, lightly scrape off any high ridges or bumps with your taping knife. You do not need to sand heavily at this stage.
Apply a second coat in the same manner as the first, but work in the opposite direction. This cross-hatching technique helps fill in any minor imperfections or trowel lines from the first coat. Focus on achieving the smoothest possible surface.
Step 5: Sand, Prime, and Paint to Perfection
After the second coat is fully dry, it’s time for the final sanding. Use a pole sander with 120-grit paper and apply light, even pressure. Your goal is to smooth out any remaining imperfections without gouging the new surface. Wear a mask and eye protection, as this creates a lot of fine dust.
Wipe the ceiling down with a damp cloth to remove all dust. Finally, apply a coat of high-quality drywall primer, followed by two coats of your chosen ceiling paint for a durable, professional finish.
Beyond the Skim Coat: Other Resurfacing Strategies
While skim coating is the most popular method for achieving a smooth finish, other options exist for covering a damaged or textured ceiling, each with its own aesthetic and installation requirements.
Drywall Overlay (Re-sheeting)
In cases of severe damage or when you want to avoid the mess of scraping a popcorn ceiling (which may contain asbestos), installing a new layer of thin (1/4-inch or 3/8-inch) drywall directly over the old ceiling is an excellent option. This creates a brand-new surface but requires more advanced carpentry skills, including locating joists and properly taping and finishing seams.
Planks, Panels, and Tiles
For a more decorative look, you can cover an old ceiling with wood planks, beadboard panels, or decorative ceiling tiles. These materials can add architectural character and are great for hiding significant, uneven damage. Installation is often more straightforward than a full skim coat, but the material costs can be higher.
Choosing Your New “Texture”
Even when aiming for a smooth finish, the way light interacts with the surface creates a visual texture. A perfectly flat ceiling provides a clean, modern look. However, you might consider how different materials and finishes can add subtle character, much like how an Alabaster Performance Basketweave fabric introduces visual interest without overwhelming a space. The goal is a deliberate, high-quality finish that enhances the room’s design.
Common Pitfalls and How to Avoid Them
Achieving a professional-looking result means avoiding common DIY mistakes. Patience and attention to detail are your best defenses against a flawed finish.
Rushing the Process
The most frequent error is not allowing adequate drying time between coats. Applying a new layer of mud over a semi-dry one can cause bubbling, cracking, and a weak finish. Always wait until the previous coat is uniformly light in color and dry to the touch.
Applying Coats Too Thickly
It’s tempting to try and cover all flaws in one thick coat, but this is a recipe for disaster. Thick coats dry unevenly, are prone to cracking, and are much harder to sand smooth. Two or three thin, controlled coats will always yield a better result than one thick, messy one.
Sanding Improperly
Oversanding is just as bad as undersanding. Applying too much pressure with the sander can create divots or scuff the paper face of the drywall underneath. Use a light touch and let the sanding screen do the work, checking your progress frequently with a bright work light held at an angle to the ceiling.
Elevate Your Home From the Top Down
Resurfacing a ceiling is more than just a repair project; it’s a fundamental upgrade to your living space. By transforming a flawed, dated surface into a smooth, bright plane, you elevate the entire room. It’s an investment of time and effort that pays off every time you walk in and look up.
A pristine ceiling enhances natural light, makes the space feel cleaner and more expansive, and provides a perfect backdrop for your decor. It’s a challenging but achievable project that puts the ultimate finishing touch on your home.