Ceiling Fan Without Switch? Your Ultimate Control Guide
You’ve found the perfect spot for a ceiling fan. The only problem? There’s no wall switch in sight, just a power source in the ceiling. This is a surprisingly common issue, especially in older homes or rooms where a ceiling fan is being added for the first time.
Don’t abandon your dream of a cool breeze just yet. Operating a ceiling fan without a dedicated wall switch is not only possible but also opens the door to more convenient and modern control options you might not have considered.
You'll Learn About
Why Your Ceiling Fan Lacks a Switch: Common Scenarios
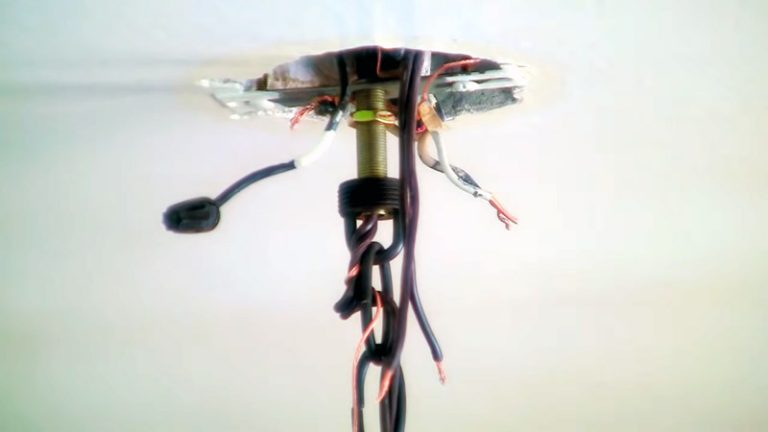
Understanding why you don’t have a switch is the first step. Most often, the electrical box in your ceiling is “hot,” meaning it has a constant power supply that isn’t interrupted by a wall switch. This setup is common for rooms where a single, centrally located light fixture was the only thing intended for that circuit.
In other cases, a switch might control the entire room’s power, including outlets, which is not ideal for isolating a fan. Whatever the reason, the solution involves controlling the fan directly at the source: the ceiling.
The Tried-and-True Method: The Pull Chain
The most traditional solution is a ceiling fan that operates via a pull chain. This is the simplest mechanism, where a physical chain toggles the fan’s speed settings and, if equipped, the light. It’s a self-contained system that requires no external wiring beyond the direct power connection.
While reliable, pull chains have their drawbacks. They can be difficult to reach on high ceilings, and the dangling chains aren’t always aesthetically pleasing. However, for a straightforward, no-fuss installation, they remain a viable option.
Upgrade to Effortless Control: Installing a Remote Kit
The most popular and practical solution for a switchless ceiling fan is adding a universal remote control kit. These kits are inexpensive and transform any basic pull-chain fan into a remote-controlled one. The process is more straightforward than you might think.
A remote kit consists of two main parts: a receiver and the handheld remote. The small receiver unit is wired directly between the home’s power supply and the fan’s motor inside the fan’s canopy at the ceiling.
Step-by-Step Receiver Installation
First and foremost, always turn off the power at the circuit breaker before handling any electrical wiring. Once you are certain the power is off, you can begin. You will need to access the wiring within the fan’s housing.
If you’re unsure how to get the cover off, you may need to learn how to remove a ceiling fan canopy without screws, as many modern designs have a twist-lock system. With the wiring exposed, you simply connect the receiver’s wires to the corresponding wires from the ceiling and the fan using wire nuts, following the manufacturer’s diagram.
The biggest challenge is often fitting the receiver and the extra wiring neatly back into the canopy. It’s crucial to arrange the wires carefully to ensure the canopy can be reattached securely. If you find your light fixture is not flush with the ceiling after installation, it’s likely due to pinched or poorly organized wires.

Embrace the Future: Smart Fan Controls
For the ultimate in convenience, consider smart controls. This technology allows you to operate your ceiling fan using a smartphone app, voice commands via assistants like Alexa or Google Home, or even automated schedules. You have two primary paths to a smart fan.
You can purchase a fan with built-in smart technology or convert your existing fan with a smart receiver module. These modules install just like a standard remote receiver but add Wi-Fi connectivity, linking your fan to your home network.
The Power of Voice and Automation
Imagine walking into a room and saying, “Alexa, turn on the ceiling fan.” Smart controls make this possible. You can adjust speeds, turn the light on or off, and set timers without ever reaching for a remote or pull chain. This level of automation is the pinnacle of modern home comfort.
Many homeowners are now opting for this integrated solution from the start. It offers a seamless experience that traditional controls simply cannot match, providing both convenience and a “wow” factor.
Comparing Your Control Options
Choosing the right method depends on your budget, DIY comfort level, and desired convenience. Each option has clear pros and cons that can help guide your decision.
| Control Method | Installation Difficulty | Typical Cost | Key Features |
|---|---|---|---|
| Pull Chain | Easy (Standard Fan Installation) | $ (Base cost of fan) | Reliable, no batteries needed, basic control. |
| Universal Remote | Moderate (Requires basic wiring) | $$ (Fan + Remote Kit) | Handheld convenience, multiple speed/light settings. |
| Smart Controls | Moderate (Similar to remote kit) | $$$ (Fan + Smart Module) | Voice control, app control, scheduling, automation. |
| Wireless Wall Switch | Moderate (Similar to remote kit) | $$ (Fan + Switch Kit) | Provides a physical switch without running new wires. |
Advanced Solutions: Wireless Wall Switches
What if you want the feel of a traditional wall switch without the complex and costly process of running new wires through your walls? A wireless wall switch kit is an ingenious solution. It works similarly to a remote control but the transmitter is designed to look and function like a standard wall switch.
The kit includes a receiver that you install in the fan’s canopy. The battery-powered switch can then be mounted on any wall, wherever you want it, with no electrical connection required. It sends a radio signal to the receiver, giving you the familiar convenience of a wall switch anywhere in the room.
A Critical Foundation: Secure Mounting
Regardless of how you choose to control your fan, it must be mounted to a ceiling box that is rated to support its weight and motion. A standard plastic electrical box used for lightweight fixtures is not sufficient and can lead to a dangerous failure.
For maximum safety and stability, especially if you are installing a fan where there was none before, using a specialized mounting brace is essential. An adjustable solution like the EZ-Brace 101 can be installed from below the ceiling between joists, providing a rock-solid foundation for your fan. This ensures your installation is not just functional, but completely safe.
Final Pre-Installation Checks
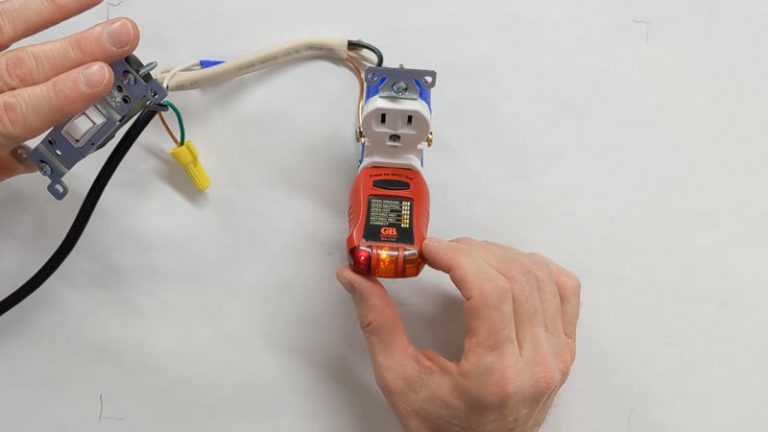
Before you begin, confirm the power is off using a voltage tester. Have all your tools ready, including a ladder, screwdriver, wire strippers, and wire nuts. Reading the instructions for both your fan and any control kit you’re adding is a critical step that should never be skipped.
By exploring these modern solutions, a missing wall switch is no longer a barrier to installing a ceiling fan. From simple remotes to fully integrated smart home controls, you can achieve the comfort and convenience you want with a safe and secure installation.
Frequently Asked Questions
How can I control a ceiling fan that doesn’t have a wall switch?
Ceiling fans without a wall switch are typically controlled by a pull chain. Many fans come with two chains: one for the fan speed and one for the light. Alternatively, you can install a remote control kit to add wireless functionality.
Can I add a remote control to my existing pull chain ceiling fan?
Yes, in most cases you can add a remote control to a pull chain ceiling fan. This involves installing a receiver in the fan’s canopy and pairing it with a handheld remote. Universal remote control kits are widely available for this purpose.
What if my remote control stops working?
If your remote control stops working, first check the batteries. If that’s not the issue, someone may have pulled the fan’s pull chain, turning it off. Ensure the pull chain is set to the highest fan speed and the light is turned on for the remote to function correctly.
Are there smart options for controlling a ceiling fan without a wall switch?
Yes, you can make your ceiling fan “smart” even without a wall switch. Smart fan control kits can be installed in the fan’s canopy, allowing you to control it via a smartphone app or voice commands through a smart home hub. Another option is to use a device like the Bond Bridge, which can learn the signals from your fan’s remote and allow you to control it from your phone.
Is it safe to install a ceiling fan without a wall switch?
While it is possible to install a ceiling fan to be powered constantly without a wall switch, it is important to follow the manufacturer’s instructions and local electrical codes. For safety during installation and maintenance, you must be able to disconnect the power to the fan at the circuit breaker.
How do I change the direction of my fan’s rotation without a wall switch?
Most ceiling fans have a small switch on the motor housing that reverses the direction of the blades. To change the direction, you’ll need to use a ladder to access this switch. Some newer fans with remote controls may have a button on the remote to reverse the direction.
Conclusion: Enjoying Your Ceiling Fan, Switch or No Switch
Just because your ceiling fan doesn’t have a dedicated wall switch doesn’t mean you’re out of options. With a little creativity and the right tools, you can easily incorporate modern, convenient control solutions, whether through remote controls, smart home integration, or installing a wall switch yourself. The possibilities are endless, allowing you to enjoy that refreshing breeze without the hassle. So, go ahead and embrace the comfort and style a ceiling fan can bring—no switch required!

