Ceiling Fan in Tray Ceiling: Your Guide to Perfect Airflow
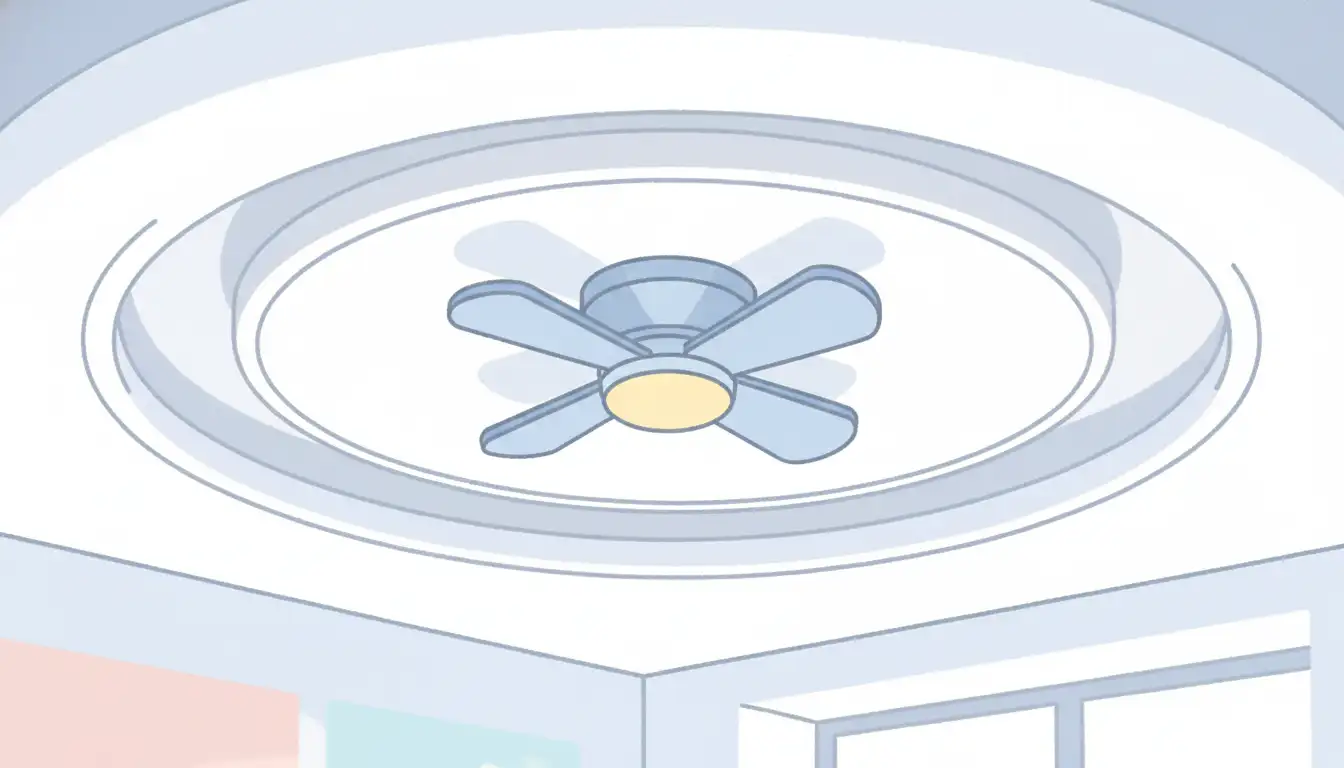
A tray ceiling is a stunning architectural feature that adds depth and elegance to any room. However, this beautiful design element introduces a unique challenge when it comes to installing a ceiling fan.
Many homeowners make critical mistakes that lead to poor air circulation, aesthetic imbalance, and even safety hazards. The recessed nature of the tray can trap air, rendering a poorly placed fan almost useless.
This guide provides the expert knowledge needed to select and install a ceiling fan in your tray ceiling correctly. We will cover everything from choosing the right size and style to mastering the all-important downrod calculation, ensuring your fan is both a beautiful focal point and a functional powerhouse.
You'll Learn About
The Core Problem: Why Tray Ceilings Complicate Fan Installation
Understanding the specific challenges a tray ceiling presents is the first step toward a successful installation. It’s not as simple as mounting a fan to a flat ceiling; the multi-level design creates issues related to airflow, measurement, and aesthetics.
The Airflow Trap: Stagnant Air in a Beautiful Space
The biggest issue with a fan in a tray ceiling is creating an “airflow trap.” If the fan blades are mounted flush with the highest part of the ceiling, they can’t draw air from the room effectively. The fan ends up merely spinning in the recessed area, moving a pocket of air around without creating the comfortable breeze you want.
For a fan to work, it needs to pull air up or push it down, creating a convectional current throughout the entire room. When the blades are inside the “tray,” they are blocked by the lower ceiling level, severely limiting this circulation.
Downrod Drama: The Most Critical Calculation
The key to overcoming the airflow trap is using a downrod of the correct length. A downrod is an extension pipe that lowers the fan from the ceiling junction box. For a tray ceiling, the goal is to position the fan blades below the lowest tier of the tray.
Choosing a downrod that is too short is the most common mistake and will result in poor performance. Conversely, a downrod that is too long can make the fan hang too low, creating a hazard in rooms with lower overall ceiling heights.

Aesthetic and Proportional Nightmares
A tray ceiling acts as a frame, drawing the eye upward. The wrong fan can disrupt this visual harmony. A fan that is too large for the inner dimensions of the tray will look cramped and overwhelming.
A fan that is too small will appear insignificant and lost in the space. The style must also complement the room’s decor and the architectural lines of the tray itself. The goal is for the fan to look like an intentional part of the design, not an afterthought.
Choosing the Perfect Fan for Your Tray Ceiling
Selecting the right fan involves more than just picking a style you like. You must consider the fan’s size, mounting type, and, most importantly, the downrod length required for your specific tray dimensions.
Sizing Your Fan to the Tray, Not Just the Room
While general room size guidelines for fan selection are a good starting point, a tray ceiling adds another layer of consideration. You should primarily size the fan based on the dimensions of the innermost, flat section of the ceiling where it will be mounted.
A fan that extends beyond this inner rectangle can create a cluttered look. Measure the length and width of this area and choose a fan with a blade span that allows for at least 18-24 inches of clearance on all sides to the edge of the recess.
Downrod Mounting is Non-Negotiable
One type of fan to immediately eliminate from your search is a “hugger” or flush-mount fan. These fans are designed to mount directly to the ceiling with no downrod, which is precisely what you need to avoid with a tray ceiling.
You must choose a fan that is downrod-compatible. Most standard fans come with a short downrod (typically 3-6 inches), but you will almost certainly need to purchase a longer one separately to clear the tray.
Calculating the Perfect Downrod Length
This is the most crucial step. The goal is to have the fan blades hang just below the lowest level of the tray ceiling while maintaining a minimum of 7 feet of clearance from the floor for safety. The ideal position maximizes airflow without becoming an obstruction.
First, measure the depth of your tray (the vertical distance from the highest ceiling point to the lowest). Second, measure the total height from the floor to the highest point of the ceiling. Use the table below as a guide to determine the required downrod length.
| Ceiling Height (to highest point) | Typical Tray Depth | Recommended Downrod Length |
|---|---|---|
| 9 feet | 6-8 inches | 12 inches |
| 10 feet | 8-12 inches | 18 inches |
| 11 feet | 8-12 inches | 24 inches |
| 12 feet | 10-14 inches | 36 inches |
| 13+ feet | 12-18 inches | 48 inches or more |
A Step-by-Step Installation Guide for Tray Ceilings
Once you have selected the perfect fan and the correct downrod, the installation process is similar to a standard installation, but with a few key points of emphasis.
Step 1: Safety First and Foremost
Before beginning any work, locate the correct circuit in your home’s breaker box and turn off the power to the room. Use a voltage tester at the ceiling’s electrical box to confirm there is no live current. This is a non-negotiable safety step.
Step 2: Ensure Proper Ceiling Support
Ceiling fans are heavy and generate constant vibration. The electrical box in the ceiling must be specifically rated for ceiling fan support. It will be stamped “Rated for Fan Support” and should be secured directly to a ceiling joist or a 2×4 wood brace.
If you only have a standard plastic electrical box, you must replace it. This may involve accessing the attic or cutting a small hole in the ceiling to install a brace. Never hang a fan from a box not designed for the load.
Step 3: Assemble the Downrod and Motor
Follow the manufacturer’s instructions to attach your carefully selected downrod to the fan’s motor assembly. Feed the fan’s electrical wires through the downrod before securing it. Ensure all set screws and pins are firmly tightened to prevent any wobble.
Slide the canopy and any decorative covers onto the downrod before moving to the next step. It’s much harder to do this once the fan is hanging.
Step 4: Wiring the Fan
With the fan hanging from the mounting bracket, you can complete the wiring. Typically, this involves connecting the black (hot) wire from the ceiling to the black and blue wires of the fan, the white (neutral) wire to the white wire, and the green/copper (ground) wires together.
If your fan has a light kit and you have separate wall switches, the wiring can be adjusted to control the fan and light independently. Consult the fan’s manual and a licensed electrician if you are unsure. When thinking about lighting, you might even consider specialized bulbs to complete the look; some people even use a dummy light bulb in fixtures for aesthetic consistency.
Step 5: Attach Blades and Test
Once the fan is securely mounted and wired, attach the fan blades. After all blades are installed, you can restore power at the breaker. Test the fan at all speeds and check for any wobble.
A slight wobble is sometimes normal, but excessive movement may indicate a loose screw or unbalanced blades. Most fans come with a balancing kit to correct this issue.
Advanced Insights for a Flawless Finish
Going beyond the basics can elevate your installation from good to great. These considerations address the finer points of performance and aesthetics that are often overlooked.
The Hidden Impact of Blade Shape and Pitch
Not all fan blades are created equal. The pitch, or angle, of the blades plays a significant role in how much air is moved. A higher blade pitch (14-16 degrees) can move more air but may require a stronger motor.
Furthermore, the shape of the blades can influence airflow dynamics. Blades with curved or sculpted designs can move air more efficiently and quietly within the semi-enclosed space of a tray ceiling, reducing turbulence and creating a smoother, more pleasant breeze.
Smart Fans: The Ultimate Convenience
For high tray ceilings, a fan with a remote control or smart-home compatibility is a game-changer. It eliminates the need for long, dangling pull chains that would detract from the clean aesthetic.
Smart fans allow you to control speed, light, and direction from your phone or voice assistant, adding a layer of modern convenience that perfectly complements the sophisticated look of a tray ceiling.
Managing Acoustics: The Echo Chamber Effect
The hard, angled surfaces of a tray ceiling can sometimes amplify sounds, including the hum from a low-quality fan motor or the noise from a wobble. Investing in a fan with a high-quality, quiet DC motor is highly recommended.
Ensuring every component is securely tightened during installation is also critical to preventing vibrations that can lead to noise. A perfectly balanced fan will be virtually silent, preserving the tranquil ambiance of your space. A focus on quality installation elevates the entire room, just as a proper sunroom wall panel replacement can redefine a home’s living area.
Avoid These Common Tray Ceiling Fan Mistakes
To summarize, here are the critical errors to avoid for a successful installation. Steering clear of these pitfalls is your ticket to a perfectly functional and beautiful ceiling feature.
The number one mistake is using a flush-mount fan or a downrod that is too short, trapping air within the tray. You must also ensure you select a fan that is proportionally sized for the inner tray dimensions. Finally, always verify that your ceiling junction box is fan-rated and securely braced. Taking care of your home’s structure is paramount in every project; you wouldn’t ignore signs of crumbling particle board under countertops, and you shouldn’t ignore the structural needs of your ceiling fan.
A Perfect Blend of Form and Function
Installing a ceiling fan in a tray ceiling is a project that requires careful planning and attention to detail. By understanding the unique challenges of airflow and measurement, you can avoid the common pitfalls that leave many homeowners frustrated.
By prioritizing the correct downrod length, choosing a proportionally sized fan, and ensuring a secure installation, you can transform your tray ceiling into a stunning focal point that is also a source of year-round comfort. Your efforts will be rewarded with a beautiful and functional addition that enhances both the look and feel of your home.

