Can You Use Great Stuff on Ductwork? The Surprising Answer
You’ve spotted the problem: gaps in your ductwork are leaking conditioned air into your attic or crawlspace. This common issue silently inflates energy bills, creates uneven temperatures, and degrades indoor air quality. In fact, the average home can lose 20 to 30 percent of the air moving through the duct system due to leaks, holes, and poor connections.
In your search for a quick fix, a can of Great Stuff expanding foam sealant seems like the perfect, easy solution. It expands to fill gaps and creates an airtight seal, right? While the logic is sound, applying expanding foam to your HVAC system isn’t always straightforward. Using it incorrectly can lead to bigger problems than a simple air leak.
This guide will explore the complexities of using products like Great Stuff on ductwork. We will cover the potential risks, the specific situations where it might be appropriate, and the professional-grade alternatives that guarantee a safe and lasting seal. Understanding these details is crucial to improving your home’s efficiency without causing unintended damage.
You'll Learn About
The Problem with Leaky Ducts: More Than Just Wasted Air
Leaky ductwork is a hidden energy drain in many homes. These gaps and cracks allow the heated or cooled air your HVAC system works so hard to produce to escape into unconditioned spaces like attics, basements, and crawl spaces. This forces your system to run longer and harder to maintain the desired temperature, leading to significantly higher utility bills.
Beyond the financial cost, duct leaks can seriously compromise your home’s comfort and health. Escaping air leads to inconsistent temperatures, with some rooms feeling stuffy and others perpetually chilly. Furthermore, leaks can pull in dust, mold spores, and other contaminants from unconditioned areas, circulating them throughout your home and reducing indoor air quality.
Even small leaks can add up to a major problem, affecting your system’s overall performance and longevity. Addressing these leaks is one of the most effective ways to improve energy efficiency and create a healthier living environment. However, the method you choose for sealing is just as important as the decision to seal them in the first place.
Great Stuff on Ductwork: A Good Idea or a DIY Disaster?
Expanding foam sealants like Great Stuff seem like an intuitive fix for duct leaks. The product is designed to expand and create an airtight, waterproof barrier, which is exactly what’s needed. For small gaps around duct boots—where the duct meets the floor, wall, or ceiling register—it can be an effective way to stop air loss. It can fill irregular spaces that are difficult to seal with tape or mastic.
However, this is where the appropriate use of canned foam often ends. Using expanding foam as the primary sealant for joints, seams, or large holes in the ductwork itself is a significant mistake. The foam is not designed to withstand the constant temperature fluctuations and vibrations of an HVAC system. Over time, it can become brittle, crack, and lose its seal.
A more serious risk involves the foam’s expansion. If applied in a tight space between the duct and a structural element like a joist, the pressure from the expanding foam can actually crush or deform the ductwork. This restricts airflow, putting a strain on your HVAC system and potentially leading to costly damage. For this reason, professional-grade materials are almost always a better choice for sealing the ducts themselves.
Understanding Different Types of Expanding Foam
Not all expanding foams are created equal. They are generally categorized as either open-cell or closed-cell. Closed-cell spray foam is the recommended type for any application around ductwork because its dense structure completely blocks air and moisture. Open-cell foam, while cheaper, is porous and can absorb moisture, potentially leading to condensation and mold issues on your ducts.
Additionally, some products are specifically rated for fireblocking. GREAT STUFF™ Fireblock, for instance, is designed to impede the spread of flames and smoke through penetrations. While this might seem like a safer choice, it’s crucial to remember that all cured polyurethane foam is combustible and should not be exposed to temperatures above 240°F (116°C). It should never be used where it could contact heat-conducting surfaces from furnaces or other high-heat equipment.
The Professional Standard: Mastic and Foil Tape
When it comes to sealing ductwork, HVAC professionals rely on two primary materials: mastic sealant and foil tape. These products are specifically designed for the demands of an HVAC system and provide a durable, long-lasting seal that DIY solutions like expanding foam and duct tape cannot match.
Duct mastic is a gooey, water-based sealant that is painted onto duct joints and seams with a brush. When it dries, it creates a tough, flexible, and permanent seal that can withstand the temperature changes and vibrations of your ductwork. For larger gaps, it’s often used in combination with fiberglass mesh tape for added strength.
Foil tape, often referred to as HVAC tape, is another excellent option. Unlike standard cloth-backed duct tape, which deteriorates quickly, foil tape has an adhesive designed to handle extreme temperatures. It provides a strong, reliable seal, especially on clean, smooth metal surfaces. It’s crucial to use tape that is UL-listed for HVAC applications to ensure its performance and safety.
Why Duct Tape Should Never Be Used on Ducts
It’s one of the great ironies of home repair: duct tape is one of the worst possible materials for sealing air ducts. The name is a misnomer. The cloth backing is porous, and the adhesive breaks down quickly under the temperature fluctuations and air pressure inside ductwork, often failing within months. Always opt for mastic or proper foil tape for a seal that lasts.
A Step-by-Step Guide to Properly Sealing Your Ductwork
Sealing your own ductwork is a manageable DIY project that can yield significant savings on your energy bills. Follow these steps for a professional-quality result.
Step 1: Inspect Your Ductwork
First, perform a thorough visual inspection of all accessible ductwork in your attic, crawlspace, or basement. Look for obvious tears, disconnected joints, and gaps. You can confirm leaks by turning on your HVAC fan and feeling for escaping air with your hand or by using a smoke pencil or incense stick to see where the smoke is blown away from the duct.
Step 2: Clean the Surfaces
Proper adhesion is critical for an effective seal. Before applying any sealant, thoroughly clean the areas around the leaks with a rag and a mild cleaning solution. This removes dust and grime that can prevent mastic or tape from sticking properly.
Step 3: Seal the Leaks
For small gaps and seams, apply a generous layer of duct mastic with a paintbrush, covering the entire joint. For gaps larger than 1/8 inch, first bridge the gap with fiberglass mesh tape and then apply the mastic over the tape. For clean, flat metal surfaces and connections, you can use UL-listed foil tape, making sure to press it down firmly to eliminate any air bubbles.
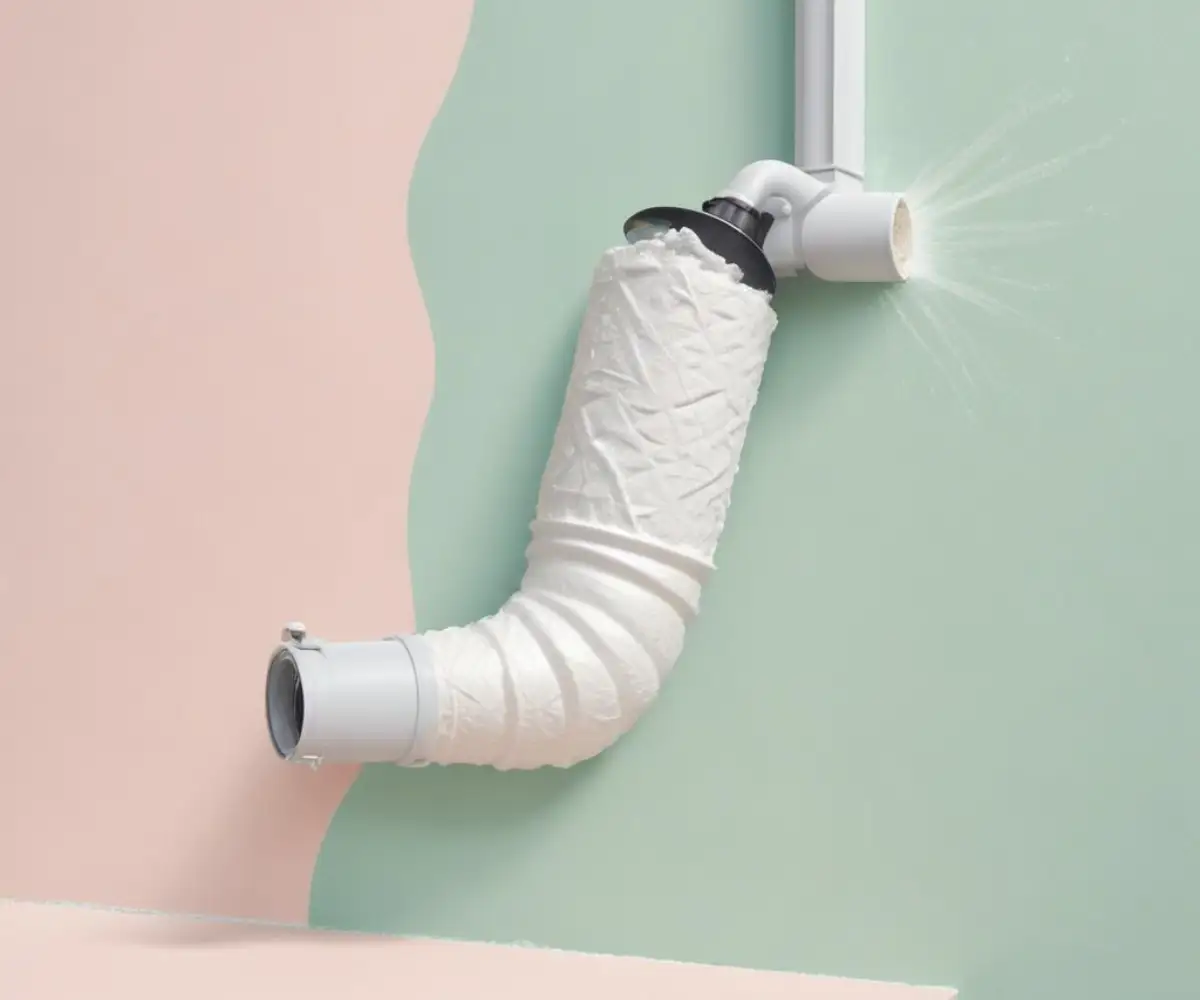
Step 4: Insulate After Sealing
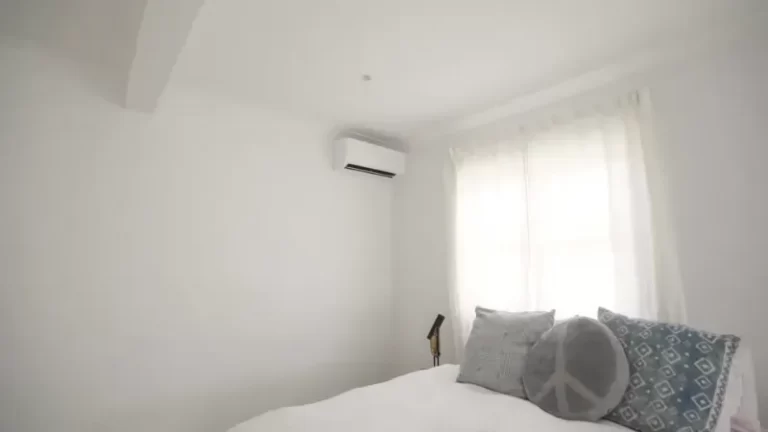
Once the seals are in place, consider insulating your ducts, especially those in unconditioned spaces. This is a crucial step that works in tandem with sealing to maximize efficiency. Proper insulation prevents condensation and minimizes thermal loss, ensuring the conditioned air reaches its destination at the right temperature. Encapsulating ducts with closed-cell spray foam after they’ve been properly sealed with mastic is an excellent, albeit more advanced, method for maximum performance. If you find your home still has cooling issues, such as in a hot kitchen, other solutions like a mini-split system might be worth exploring.
Comparing Duct Sealing Methods
Choosing the right method depends on the size of the leak, the location of your ducts, and your budget. Here’s a comparison of the most common options.
| Sealing Method | Best For | Pros | Cons |
|---|---|---|---|
| Duct Mastic | Joints, seams, and connections on all duct types. | Extremely durable, flexible, and long-lasting. Creates a permanent, airtight seal. | Messy application; requires drying time (24-48 hours). |
| Foil (HVAC) Tape | Small holes, flat seams on rigid metal ducts. | Quick and easy to apply; relatively inexpensive. | Less durable than mastic on flexible or dirty ducts; can fail if not applied correctly. |
| Expanding Foam Sealant | Gaps around duct boots and wall penetrations. | Excellent for filling irregular gaps; provides air sealing and some insulation. | Can damage ducts if it expands too much; not suitable for duct seams; combustible. |
| Aeroseal (Professional) | Whole-system sealing, including inaccessible ducts. | Seals the entire system from the inside; highly effective and quantifiable results. | Requires professional installation; more expensive upfront investment. |
When to Call a Professional
While sealing accessible ducts is a great DIY project, some situations require professional expertise. If your ductwork is located inside walls, ceilings, or is otherwise hard to reach, a professional technician is your best bet. They have the tools and experience to access and seal these areas safely.
Furthermore, if you suspect extensive damage or poor installation, an expert evaluation is crucial. For instance, if a roofer punctured an AC line, there could be other hidden system damage. A professional can perform a duct blaster test to pressurize the system and accurately measure the total leakage, identifying problems that a visual inspection might miss. For comprehensive, hard-to-reach leaks, a professional service like Aeroseal, which seals ducts from the inside using an aerosol polymer, can be an excellent investment.
The Final Verdict: Use Great Stuff Wisely
So, can you use Great Stuff on ductwork? The answer is a qualified yes. It’s an effective tool for a very specific job: sealing the gaps between your duct boots and the surrounding floors, walls, or ceilings.
However, for sealing the actual seams, joints, and holes in the duct lines themselves, you must use materials designed for the task. Duct mastic and foil tape are the undisputed champions for creating a durable, long-lasting, and safe seal. Remember that a properly sealed and insulated duct system is fundamental to your home’s energy efficiency, comfort, and air quality. Taking the time to use the right materials will pay for itself through lower energy bills and a more comfortable home for years to come. Proper sealing is just one part of home maintenance; other systems, like ensuring you properly vent your dryer outside, also play a key role in home safety and efficiency.