Finishing a Fieldstone Basement: Your Complete Success Guide
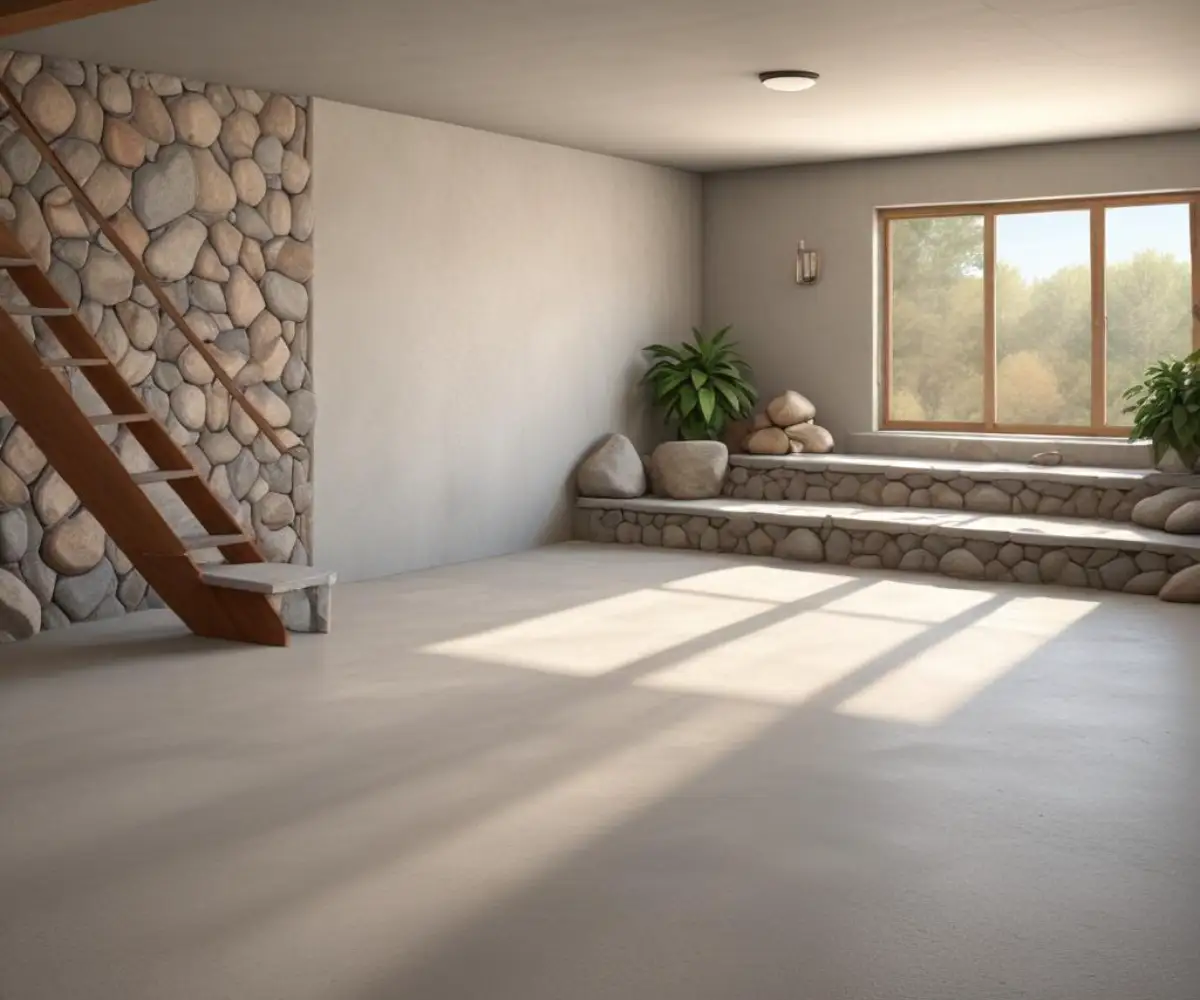
A fieldstone basement has undeniable rustic charm, evoking a sense of history and solid craftsmanship. But for homeowners wanting to transform this space into a functional living area, that charm often comes with a long list of problems. The question, “can you finish a fieldstone basement?” is met with a resounding yes, it is absolutely possible, but it requires a specific approach that respects the unique nature of these historic foundations.
Finishing a fieldstone basement isn’t like finishing a modern, poured concrete space. The irregular stone surfaces, porous mortar, and inherent dampness that plague these older structures present significant challenges. Attempting to finish it using standard methods will almost certainly lead to mold, rot, and a costly failure. This guide will walk you through the critical steps and considerations to turn your charming but damp basement into a dry, comfortable, and valuable extension of your home.
You'll Learn About
Understanding Your Fieldstone Foundation: The Good, The Bad, and The Ugly
Fieldstone foundations were common in homes built before the 1920s. Masons used large, irregular stones gathered from local fields and set them in a lime-based mortar. While incredibly durable, these foundations were never designed to be the dry, conditioned spaces we expect today. Their primary job was to support the house, not to keep out water completely.
The main issue is that these walls are inherently porous. Water from the surrounding soil can easily wick through the old mortar joints and even the stones themselves. This constant moisture creates a host of problems, including high humidity, musty odors, efflorescence (a white, powdery residue), and the dreaded mold and mildew. Simply covering these walls with drywall is a recipe for disaster.
The Non-Negotiable First Step: Mastering Moisture Control
Before a single stud is framed or a can of paint is opened, you must address water intrusion at its source. Failure to control moisture is the number one reason finished fieldstone basements fail. This is a two-pronged attack that involves managing water on both the outside and inside of your foundation.
Your strategy should be to divert as much water as possible away from the foundation externally, and then manage any water that still finds its way in internally. This comprehensive approach ensures the long-term health of both your foundation and your new living space.
Exterior Water Management: Your First Line of Defense
The most effective way to keep your basement dry is to stop water from reaching the foundation walls in the first place. Start with the simplest fixes. Ensure your gutters are clean and functioning correctly, and that downspouts extend at least six to ten feet away from the house. The ground around your foundation should be graded to slope away from the house, preventing water from pooling against the walls.
For more serious water issues, an exterior French drain system is the gold standard. This involves excavating around the perimeter of your home, applying a waterproof membrane to the outside of the fieldstone wall, and installing a perforated drainpipe to carry groundwater away. While highly effective, this is also the most disruptive and expensive option.
Interior Water Management: A Practical Approach
Since exterior excavation isn’t always feasible, a robust interior water management system is crucial. This isn’t about “waterproofing” the walls from the inside, which can trap moisture and cause damage. Instead, it’s about collecting any water that seeps through and directing it away.
An interior drainage system, installed along the base of the foundation walls beneath the concrete slab, will capture water and channel it to a sump pump. The sump pump then actively pumps the water out of the basement and away from the house. A high-capacity, battery-backup sump pump is a wise investment for peace of mind during heavy storms or power outages. A good dehumidifier is also essential to control ambient air moisture.
Repairing the Walls: Repointing and Sealing
Over time, the mortar between the fieldstones can crumble and turn to sand. Repairing these joints, a process called repointing or tuckpointing, is vital. However, it’s critical to use the right material. Do not use modern Portland cement-based mortar.
Historic fieldstone foundations were built with a soft, breathable lime-based mortar. This mortar allows moisture to slowly pass through and evaporate. Portland cement is much harder and less permeable. Using it can trap moisture within the stones, causing them to crack and spall during freeze-thaw cycles, ultimately damaging the foundation. Always use a lime-based mortar mix that matches the properties of the original.
Prepping the Interior for Finishing
Once moisture is under control, you can begin preparing the space for construction. This involves a thorough cleaning of the walls and floor, removing any loose mortar, efflorescence, and debris. It is also the time to address two other common basement issues: radon and pests.
Radon and Pest Mitigation
Older homes with fieldstone foundations are more susceptible to radon gas seeping in from the soil. A simple home test kit can determine if your levels are elevated. If they are, a professional radon mitigation system, which typically involves venting the gas from beneath your concrete slab to the outside, should be installed. Properly sealing cracks and openings during the repointing phase can also help, which is also a key step in pest control. Ensuring that every gap is sealed can be a significant factor in deciding if a termite warranty is worth it, as it reduces potential entry points for all manner of pests.
Leveling the Floor
Basement floors in old homes are rarely perfectly level. Before installing flooring, you’ll need a flat, smooth surface. If the existing concrete slab is in good condition, you may be able to use a self-leveling compound to smooth out low spots. In cases of significant damage or unevenness, pouring a new concrete slab may be necessary.
Framing and Insulating: The Right Way for Fieldstone Walls
How you frame and insulate against an irregular, damp-prone stone wall is fundamentally different from a modern basement. The key is to create a system that allows the wall to breathe and prevents any moisture from reaching your finished materials.
To Touch or Not to Touch? Creating an Air Gap
You must never place wood framing directly against the fieldstone walls. A crucial element is creating an air gap of at least one to two inches between the back of your new wall and the highest points of the stone. This gap allows air to circulate and any moisture that comes through the foundation to dry out before it can cause mold or rot in the wall assembly.
Build your new walls on the basement floor and lift them into place, securing them to the floor joists above and the concrete slab below. This ensures the new walls are completely independent of the foundation.
The Best Insulation for the Job: Closed-Cell Spray Foam
Because of the uneven surface of fieldstone, traditional insulation like fiberglass batts or even rigid foam boards are poor choices. They leave gaps where moisture and air can penetrate, and fiberglass will absorb moisture, promoting mold. The undisputed best solution for insulating fieldstone walls is closed-cell spray polyurethane foam (SPF).
A professional installer applies the spray foam directly to the stone wall, where it expands to fill every crack and crevice, creating a seamless, monolithic layer. Closed-cell SPF is an excellent insulator, an air barrier, and a vapor barrier all in one. It stops moisture from entering the basement cavity while preventing warm, moist interior air from reaching the cool foundation wall and condensing. It is the most effective way to create a warm, dry, and energy-efficient finished space.
| Insulation Method | Moisture Resistance | R-Value (per inch) | Suitability for Fieldstone | Cost |
|---|---|---|---|---|
| Closed-Cell Spray Foam | Excellent (Vapor Barrier) | R-6 to R-7 | Excellent | High |
| Rigid Foam Board | Good (Vapor Retarder) | R-4 to R-5 | Poor (Difficult to seal gaps) | Medium |
| Fiberglass Batts | Poor (Absorbs moisture) | R-3 to R-4 | Not Recommended | Low |
Finishing Touches: Bringing Your Vision to Life
With the critical moisture control and insulation work complete, you can move on to the more exciting parts of the project. This is where you transform the prepared space into a livable room.
Walls, Ceilings, and Floors
Drywall is the most common wall finish, but consider leaving a section of the repointed fieldstone exposed as an accent wall to preserve some of the home’s original character. For the ceiling, drywall provides a clean, finished look, while a drop ceiling allows for easier access to plumbing and wiring. When it comes to flooring, choose materials that are waterproof and mold-resistant. Luxury Vinyl Plank (LVP), ceramic tile, and sealed concrete are all excellent choices for below-grade spaces.
Essential Systems: Electrical, Plumbing, and HVAC
All electrical, plumbing, and HVAC work should be performed by licensed professionals to ensure it is safe and up to code. Running new wiring and plumbing is relatively straightforward within the new framed walls. When planning the layout, consider future amenities. Perhaps a small wet bar or kitchenette is in the plans; thinking about this early can simplify the process, especially if you’re accustomed to life with no dishwasher in the house and want to add one downstairs. You may also consider adding a supplemental heat source, like an electric fireplace, which could be an excellent opportunity if you’re considering a stove trade-in for a newer, more efficient model.
Cost vs. Value: Is It Worth the Investment?
Finishing a fieldstone basement is often more expensive than a standard basement project due to the extensive preparation work required. Costs for moisture remediation, repointing, and spray foam insulation can add significantly to the budget. However, the return on this investment is substantial. You are not just adding a room; you are adding valuable, usable square footage to your home.
A properly finished basement can serve as a family room, home office, gym, or guest suite, dramatically increasing your home’s functionality and resale value. The key is to view the initial preparation not as an extra cost, but as a necessary investment to protect the entire project for the long term.
A Rewarding Transformation
Finishing a fieldstone basement is a challenging but incredibly rewarding project. By prioritizing moisture control above all else, using the correct materials like lime-based mortar and closed-cell spray foam, and creating an air gap behind your new walls, you can successfully transform a damp, historic space. The result is a comfortable, dry, and beautiful living area that honors the home’s past while making it perfectly suited for modern life.