Can Home Depot Lighten Paint After Mixing? Understanding Their Paint Policy
You found the perfect paint color at Home Depot, waited patiently as the associate mixed it, and brought it home, filled with excitement for your project. You open the can, apply a small amount to the wall, and your heart sinks. It’s too dark. The immediate, frantic question that follows is, can Home Depot lighten a paint color that’s already been mixed? It feels like a simple request, but the answer is far more complex than most people realize.
The short and direct answer is, unfortunately, no. Once a can of paint has been tinted to a specific color, the store cannot effectively make it lighter. This isn’t a matter of poor customer service or unwillingness to help; it’s a limitation rooted in the fundamental science of paint formulation and the technology used in the tinting process. Understanding why this is the case is the first step to finding a solution and rescuing your project from a color catastrophe.
This guide will demystify the paint tinting process, explain the technical reasons why lightening paint isn’t feasible at the store, and most importantly, provide you with actionable, expert-level solutions. You don’t have to live with a color you don’t love or waste the money you’ve already spent. There are professional workarounds and clever techniques that can turn this common problem into a success story.
You'll Learn About
The Core Problem: Why Lightening Paint Isn’t Just Adding White
To understand why your dark paint can’t be “fixed” at the store, you need to look at how the color was created in the first place. It’s not as simple as pouring in some white; the entire process is a precise chemical equation. Trying to reverse or alter it after the fact can compromise the quality and integrity of the paint itself, leading to far worse problems than just the wrong shade.
The system is designed for addition, not subtraction. Think of it like baking a cake. Once you’ve mixed the cocoa powder into the batter, you can’t take it out to make it a vanilla cake. You can only add more ingredients, which will change the consistency and flavor entirely. The same principle applies to paint.
The Science of Paint Bases and Colorant
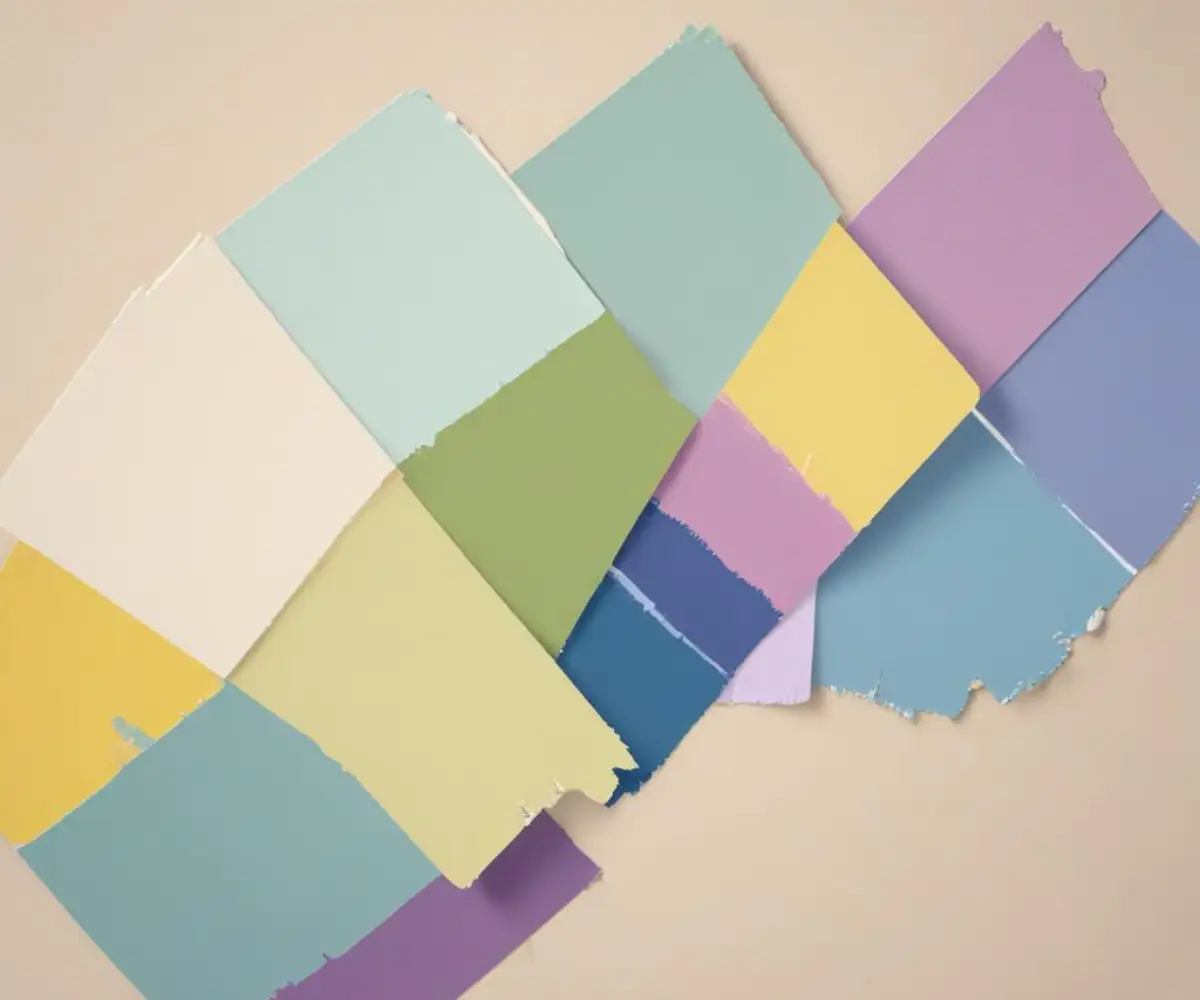
Every can of custom-mixed paint starts its life as a neutral paint base. These bases come in different levels, often numbered 1 through 4 or labeled as white, light, medium, and deep. A white base is used for pastels and off-whites, while a deep base, which is almost clear, is used for rich, dark colors like navy blue or forest green. The base is specifically formulated to hold a certain maximum amount of colorant.
When the Home Depot associate mixes your color, a machine injects a precise, computer-calculated amount of liquid pigment, or tint, into this base. For a dark color, a significant amount of colorant is added to a medium or deep base. The can is then shaken vigorously to ensure the pigment is evenly distributed. At this point, the base is essentially “full” of colorant. There is no physical room to add the massive amount of white pigment required to noticeably lighten the shade without overflowing the can and, more critically, upsetting the paint’s chemical balance.
Chemical Integrity and Performance Issues
Paint is more than just color; it’s a complex chemical formula designed to perform specific functions. It needs to adhere to a surface, dry to a durable finish, resist stains, and maintain its color over time. The ratio of base liquid to colorant is critical to this performance. The base contains the binders that make the paint stick, the polymers that form the protective film, and the additives that determine its finish (e.g., matte, satin, semi-gloss).
If a large volume of white colorant were to be forced into an already-full can, it would severely dilute these essential components. This would compromise the paint’s ability to cure properly, leading to a finish that could remain tacky, peel easily, or offer poor coverage. The store cannot guarantee the performance of such an altered product, and that is a risk they are unwilling to take.
Your Project Isn’t Doomed: Practical Solutions for Too-Dark Paint
While you can’t get the paint lightened at the store, you are far from out of options. With a little strategy, you can either adjust the color yourself or repurpose it creatively. The key is to choose the method that best fits your budget, timeline, and comfort level with DIY projects.
Instead of seeing it as a mistake, view it as an unexpected detour in your design journey. Sometimes these detours lead to the most beautiful and creative outcomes. Let’s explore the most effective ways to solve this color conundrum.
The Pro-Level Fix: The “Misting” or Toning Down Technique
This is the most effective and professional way to lighten a paint color yourself. It involves purchasing more paint, but it gives you complete control over the final shade. The concept is simple: you will manually mix your too-dark color with a lighter version to create a new custom shade.
Here’s the step-by-step process:
- Purchase the Correct Paint: Go back to Home Depot and buy another can of the exact same paint—same brand (e.g., Behr, Glidden), same line (e.g., Marquee, Ultra), and same finish (e.g., eggshell, satin). Purchase it in a white base or the lightest possible version of your color on the swatch strip. Getting a full gallon of white is often the most cost-effective choice.
- Start with a Test Batch: Do not mix the full gallons together at first. You must work with small, measured amounts to find the right ratio. In a separate, clean container (like a large yogurt tub or a small bucket), create a test ratio. A good starting point is 4 parts of your dark color to 1 part of the new white paint.
- Mix Thoroughly: Stir the test batch for several minutes with a clean stir stick until the color is completely uniform and no streaks remain. It is critical to mix far more than you think you need to.
- Test and Dry: Apply the newly mixed color to a piece of scrap drywall or a discreet section of your wall. Wait for it to dry completely. Paint can look significantly lighter when wet, a phenomenon known as “dry-down,” so you must let it cure for at least a few hours to see the true final color.
- Adjust and Scale Up: If the test batch is still too dark, increase the ratio of white paint (e.g., 3:1). Once you have found the perfect ratio, you can confidently mix your full gallons together in a large 5-gallon bucket to ensure color consistency for the entire project. This process is known as “boxing” the paint.
The Simplest Solution: Buy a Lighter Shade
If you’re not comfortable with custom mixing, the most straightforward solution is to go back to the paint chip that started it all. Most paint color strips are arranged in a gradient, from light to dark. Simply choose a color that is one or two shades lighter on the same strip.
This guarantees a professionally mixed, reliable color that is tonally compatible with your original choice. While it means buying new paint, you can often repurpose the darker color. Use it for an accent wall, to paint a piece of furniture, or in a smaller room like a powder room or laundry room where a darker, more dramatic color can work beautifully.
Creative Alternatives: Turning a Mistake into a Design Feature
Sometimes the best solution isn’t to fix the “mistake” but to embrace it. A color that feels overwhelming on four walls might be stunning when used in a more controlled or creative way. This approach can save you money and lead to a more dynamic and interesting interior design.
Before you commit to remixing or buying new paint, consider these design-centric strategies. You might find that your too-dark color is the perfect ingredient for a high-impact statement in your home.
Create a Striking Accent Wall
The most popular use for a paint color that’s too bold is to create an accent wall. Painting just one wall in the room with the darker shade can add depth, create a focal point, and provide a dramatic backdrop for artwork or furniture. It’s a classic design technique that works in almost any space.
Choose the wall that you want to draw attention to, often the one behind a sofa, a bed, or a fireplace. The contrast between the dark accent wall and the lighter surrounding walls can make a room feel more spacious and thoughtfully designed.
Experiment with Faux Finishes
If you’re feeling more adventurous, the dark paint can be a perfect base for a faux finish. Techniques like color washing, sponging, or creating a limewash effect involve applying a thin, semi-transparent layer of a lighter color (often a glaze mixed with paint) over the dark base. This creates a soft, multi-tonal, and textured appearance that can add a touch of rustic or artistic flair to your walls.
This is an excellent way to subtly lighten the overall look of the room without completely obscuring the rich base color. It turns a flat, dark wall into a surface with dimension and character.
Navigating Home Depot’s Paint Policy: Returns and Exchanges
Even though they can’t lighten your paint, Home Depot has a customer-friendly policy designed to ensure you’re happy with your purchase. Understanding the “Paint Satisfaction Guarantee” can help you navigate the situation at the store and find a resolution.
The key is to know what is and isn’t covered. For custom-tinted paints, the policy is different than for pre-mixed or un-tinted products. A refund is unlikely, but a correction or exchange might be possible under certain circumstances.
Understanding the “Oops Paint” and Return Policy
If you bring back your custom-mixed paint and explain the color isn’t right, the store will not give you a cash refund. The paint was mixed to your specific request, and they generally cannot resell it. However, under their satisfaction guarantee, they may offer to mix you a new can of a different color at no extra charge, especially if you are calm, polite, and have your receipt.
If the color was mixed incorrectly—meaning it doesn’t match the paper swatch you chose—you are absolutely entitled to a free replacement. The associate can dry a small amount of the paint from your can onto the swatch to verify the mismatch. Politely point out the discrepancy, and they will almost always correct the mistake for you.
The Critical Importance of Testing Before You Buy
The entire issue can be avoided by following one golden rule: always test your paint color first. Home Depot sells small, inexpensive sample pots of nearly every color. Buying a sample and painting a large test patch on your wall is the single most important step in any painting project.
Paint a two-foot by two-foot square directly on the wall. Observe it for a few days, noticing how it looks in the morning’s natural light, in the direct afternoon sun, and under your home’s artificial lighting at night. A color’s appearance can change dramatically depending on the light that hits it, and a small paper chip will never give you the full picture.
| Solution Method | Estimated Cost | Difficulty Level | Potential Outcome |
|---|---|---|---|
| DIY Mixing (Misting) | Cost of one new can of white or light base paint. | Medium – Requires careful measuring and testing. | Excellent. Achieves a custom, lighter shade of your original color. |
| Buy a Lighter Shade | Cost of all-new paint for the project. | Low – The simplest and most reliable option. | Guaranteed professional result, but the original paint must be repurposed. |
| Create an Accent Wall | Cost of paint for the remaining three walls (if needed). | Low – Easy to execute. | Creates a strong design feature and uses the original paint effectively. |
| Ask for a “Satisfaction” Replacement | Potentially free. | Low – Depends on store policy and manager’s discretion. | You may get a new color, but it’s not a guaranteed solution. |
Preventative Measures: Getting the Color Right from the Start
The best way to deal with a paint color problem is to prevent it from ever happening. A little bit of planning and patience at the beginning of your project can save you immense frustration, time, and money later on. Moving beyond just sample pots, a few extra considerations will ensure the color in the can is the color you envisioned in your mind.
These preventative steps are what professional painters and interior designers swear by. They treat color selection as a science, not a guess, and you can too.
Consider the Impact of Paint Sheen
The finish of your paint—also known as sheen—has a significant impact on how the color is perceived. A glossier finish (like satin or semi-gloss) reflects more light, which can make a color appear slightly lighter and more saturated. A flat or matte finish, on the other hand, absorbs light, which can make the same color look slightly darker and more muted.
When you are testing your sample, try to get it in the same sheen you plan to use for the final project. If you test with a matte sample but your final paint is semi-gloss, the final result will look different on the wall. This is a subtle but crucial detail that many DIYers overlook.
The Surrounding Environment Matters
No color exists in a vacuum. The appearance of your wall color will be influenced by everything else in the room. Your flooring, furniture, cabinetry, and even the color of the light bulbs you use will cast their own hues onto the walls, subtly changing their appearance.
When you paint your test swatch, do it next to these key elements. See how the color looks next to your wood floors or your gray sofa. This contextual testing is vital. A color that looks like a perfect greige on a white poster board might suddenly look purple or green when placed next to your existing decor, a problem that is frustrating and all too common, especially in spaces with complex tilework. A clashing wall color can even make well-maintained features look worse, not unlike how black grout bleeding can mar an otherwise perfect tile job.
Final Verdict: Take Control of Your Paint Color
So, while the answer to “can Home Depot lighten a paint color” is a firm no, it is not the end of your project. It’s an opportunity to learn more about the properties of paint and to take greater control over the outcome of your design. The limitation is not one of service but of science—the integrity of the paint’s formula cannot be compromised.
Your best course of action is the proactive one. You can use the professional technique of “misting” to carefully mix the paint with a white base, giving you a custom-lightened shade. Alternatively, you can embrace the darker color and use it strategically for an accent wall or another project. Armed with this knowledge, you can walk away from a potential mistake with a beautiful result and the confidence of a seasoned DIY expert.