Camellia Wall Secrets: Transform a Bare Space in One Season!
That blank, boring wall in your garden is a canvas waiting for a masterpiece. Many gardeners dream of a lush, living wall covered in glossy leaves and spectacular flowers but hesitate, fearing the complexity. Creating a camellia wall seems like a task reserved for master gardeners with decades of experience, but it’s far more achievable than you think.
The core problem isn’t a lack of desire; it’s a lack of a clear, actionable plan. With the right knowledge, you can transform an eyesore into an architectural feature bursting with life. This guide provides the expert-backed blueprint to successfully plan, plant, and train a breathtaking camellia wall.
You'll Learn About
Why Your Garden Demands a Living Wall
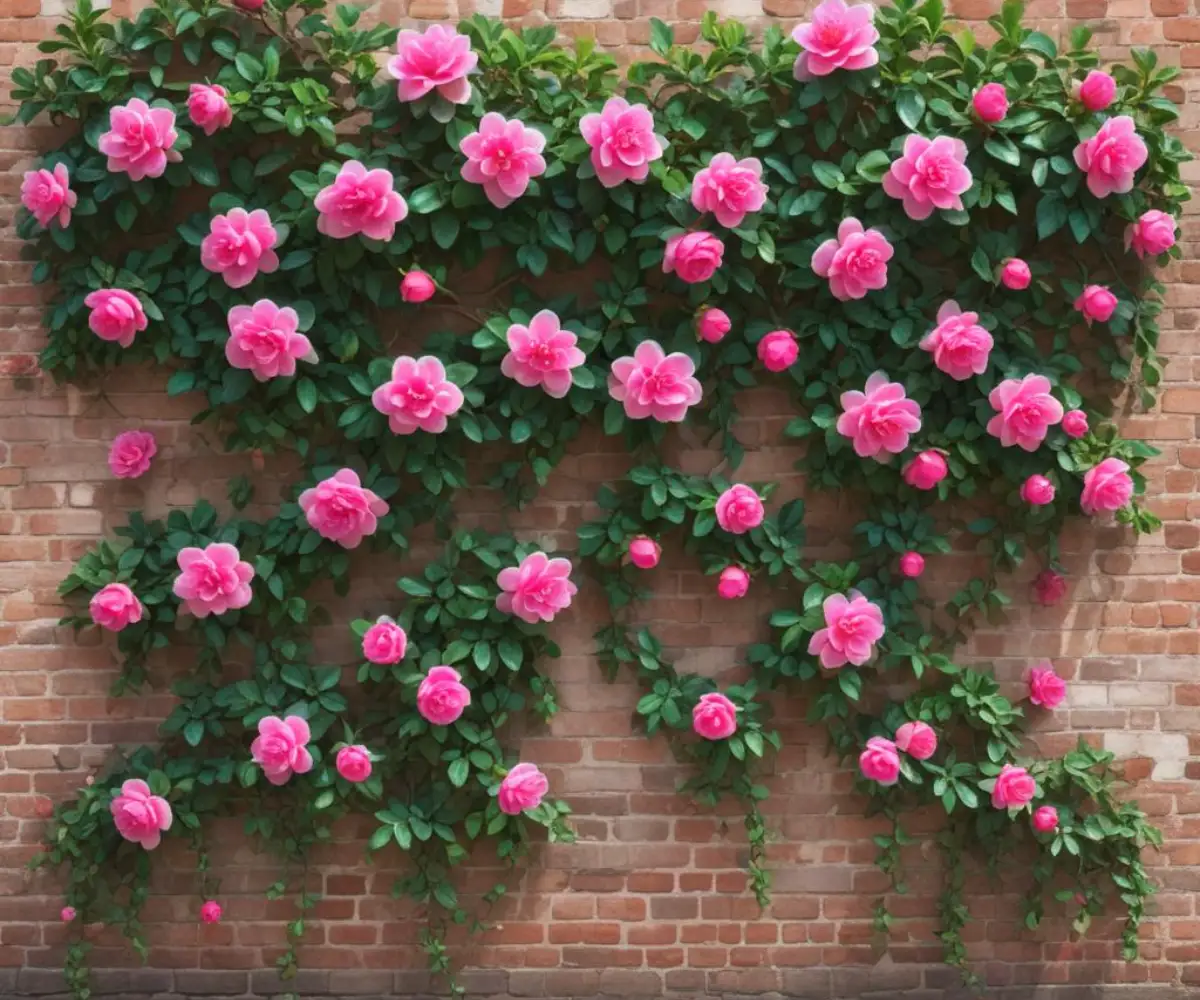
A camellia wall is more than just a plant against a structure; it’s a dynamic feature that offers year-round value. Its dense, evergreen foliage provides a consistent backdrop of rich green, unlike deciduous plants that leave you with bare stems for months. This makes it an ideal solution for creating a permanent privacy screen or concealing unattractive fences and utility areas.
Beyond its beauty, a camellia wall serves practical functions. It can create a sheltered microclimate, protecting more delicate plants from harsh winds. The radiant heat from a wall can also encourage earlier blooming and protect buds from late frosts, turning a challenging spot into a horticultural advantage.
The #1 Mistake: Choosing the Wrong Camellia Variety
The most critical step, where many well-intentioned efforts fail, is selecting the right plant. Not all camellias are suited for the flat, trained growth required for a wall. Success depends on choosing a variety with a growth habit that lends itself to being guided and shaped, a technique known as espalier.
Camellia Sasanqua vs. Camellia Japonica: The Wall Showdown
There are two main players in the camellia world: Sasanqua and Japonica. Camellia Sasanqua varieties are generally the best choice for espalier. Their branches are typically more flexible and pliable, their growth is faster and more open, and many varieties are more tolerant of sun exposure, which is common against a reflective wall. Sasanquas bloom in the autumn and early winter, providing color when much of the garden is winding down.
Camellia Japonica varieties offer larger, more formal blooms in late winter and spring. While stunning, their branches can be stiffer and their growth more upright and dense, making them slightly more challenging to train. However, for a patient gardener seeking dramatic, show-stopping flowers on a north or east-facing wall, they are an excellent option.
| Variety Name | Type | Flower Color | Growth Habit | Best Use on a Wall |
|---|---|---|---|---|
| ‘Yuletide’ | Sasanqua | Single, Bright Red | Upright but trainable | Formal Espalier, Screening |
| ‘Kanjiro’ | Sasanqua | Semi-double, Cerise Pink | Spreading, flexible | Excellent for Espalier |
| ‘Setsugekka’ | Sasanqua | Large, white, semi-double | Vigorous, arching | Fan shapes, informal training |
| ‘Bob Hope’ | Japonica | Large, deep red, semi-double | Bushy, upright | Best for informal screening |
| ‘Pink Perfection’ | Japonica | Formal double, shell pink | Upright, slow-growing | Formal patterns with patience |
Designing Your Living Masterpiece: Support Systems
A camellia cannot become a “wall” on its own; it requires a sturdy support structure to guide its growth. Providing this framework from day one is essential for success. A critical and often-overlooked detail is to ensure there is a gap of at least 2-3 inches between the support and the wall to promote good air circulation and discourage disease.
The Invisible Framework: Wires and Eye Bolts
For a clean, modern look, a wire trellis is ideal. Install galvanized eye bolts into the wall’s mortar joints or into masonry plugs at 3-foot intervals. String high-tensile galvanized wire horizontally between the bolts, starting about 18 inches from the ground and spacing subsequent wires 12-15 inches apart. This system is strong, long-lasting, and allows the camellia itself to be the star of the show.
Classic Elegance: Wooden or Metal Trellises
A pre-made wooden or metal trellis can add its own decorative element to the design. When installing, use wooden blocks or spacers to create that crucial air gap between the trellis and the wall. This simple step is the key to preventing fungal issues that can plague plants grown too close to a solid surface.
From Planting to Perfection: The 5-Step Training Guide
With your variety chosen and support system in place, you are ready to bring your vision to life. This process is a marathon, not a sprint, requiring patience and consistent, gentle guidance.
Step 1: The Foundation – Soil Preparation is Everything
Camellias are acid-loving plants and demand well-draining soil. This is even more critical near a building, as lime can leach from concrete foundations, raising the soil pH. Dig a hole twice as wide as the root ball and amend the native soil heavily with organic compost, sphagnum peat moss, or other ericaceous planting mix to create the acidic, friable conditions camellias crave.
Step 2: Planting with a Purpose
Position the root ball at least 12 to 18 inches away from the wall’s foundation. This allows space for root development and protects the plant from the “rain shadow” effect, where the wall blocks natural rainfall. Angle the young plant slightly back towards the support structure to make the initial training easier.
Step 3: The First Tie-In – Establishing Your Framework
After planting, let the camellia acclimate for a few weeks. Then, select the strongest and most strategically placed branches to become your main horizontal leaders. Gently bend them towards the lowest support wire and secure them loosely using soft plant ties, twine, or strips of cloth. Never use bare wire, as it can cut into the branches as they grow.
The integrity of this framework is paramount to the plant’s future shape. It’s as fundamental as understanding how far apart should lally columns be is for structural support in a basement.
Step 4: The Art of Formative Pruning
Pruning for espalier is about directing energy. Remove any branches that grow directly towards or away from the wall. Snip off shoots that are growing in undesirable directions, which encourages the plant to put energy into the branches you have tied to the support wires. The goal is to create a flat, two-dimensional shape.
Step 5: Ongoing Training and Tying
As new, pliable shoots emerge and grow throughout the season, continue to gently tie them to the support wires. Guide them to fill in the gaps in your desired pattern, whether it’s a formal horizontal cordon, a fan shape, or an informal design. This is a gentle, continuous process of coaxing, not forcing.
Maintaining Your Verdant Tapestry: Long-Term Care
Once established, a camellia wall is surprisingly low-maintenance, but a few key tasks will ensure it remains healthy and spectacular for years to come.
Pruning for Flowers, Not Just for Shape
This is the single most important piece of long-term advice: Always perform major pruning immediately after the plant finishes flowering. Camellias form next year’s flower buds during the summer. Pruning too late in the season means you will be cutting off all of next year’s blooms. An annual light trim after flowering keeps the shape tidy without sacrificing the floral display.
Watering and Feeding a Wall-Bound Plant
Remember the rain shadow effect. The soil at the base of a wall is often much drier than the rest of the garden. Check the soil moisture regularly and provide deep, consistent watering, especially during dry spells. Feed in the spring, after flowering, with a fertilizer specifically formulated for acid-loving plants like azaleas and rhododendrons.
Pest and Disease Patrol
The sheltered environment against a wall can sometimes invite pests like scale insects or aphids. The good air circulation you created during installation is your best defense. If you spot an infestation, treat it early with insecticidal soap or neem oil, ensuring you spray the undersides of the leaves.
Beyond the Basics: Advanced Camellia Wall Techniques
Once you master the fundamentals, you can explore more creative and architectural applications. These techniques elevate a simple planting into a true work of garden art.
Creating Architectural “Windows” and Patterns
For a truly unique effect, intentionally prune out sections of the camellia wall to create “windows” that reveal the wall behind them. This technique is especially effective against interesting brickwork or stonework. More intricate patterns, like a Belgian fence (a lattice created from multiple V-shaped espaliers) or formal candelabra shapes, require more diligent pruning but offer an unparalleled level of design sophistication.
Layering Varieties for Continuous Blooms
To extend the flowering season, consider planting two different varieties side-by-side and training their branches to intermingle on the same support. For example, pair an autumn-blooming Camellia sasanqua ‘Kanjiro’ with a spring-blooming Camellia japonica ‘Kramer’s Supreme’. This strategy provides a dynamic display, ensuring your wall offers vibrant color for several months of the year.
Troubleshooting Common Camellia Wall Problems
Even with the best care, you may encounter issues. Identifying the problem quickly is the key to resolving it.
Why Aren’t My Camellias Blooming?
The most common culprit is pruning at the wrong time of year. Other causes can include insufficient light (especially for sun-loving Sasanquas), excessive nitrogen fertilizer which promotes leaf growth at the expense of flowers, or late frost zapping the buds before they open.
Yellowing Leaves: Decoding the Distress Signal
Yellow leaves, a condition known as chlorosis, usually point to a soil issue. It’s often a sign of iron deficiency caused by a soil pH that is too alkaline. Apply an iron supplement like iron chelate and top-dress annually with acidic compost to gradually lower the pH.
Sparse Growth and Bare Patches
This can result from pests, disease, or simply a lack of light reaching the lower branches. Prune back the affected branch to a healthy node to encourage new growth. If the issue is a lack of light at the base, consider selectively thinning some of the upper foliage to allow more sun to penetrate.
Dealing with a struggling plant can be as frustrating as working with subpar machinery. For other tough jobs around the yard, ensuring you have powerful, reliable equipment is key; some homeowners even check out an ariens kraken review when they need serious performance for other outdoor tasks.
Conclusion: Your Wall, Reimagined
A bare wall is not a problem; it is an opportunity. By following these steps—choosing the right variety, building a proper support system, and committing to patient training—you can create a stunning camellia wall that will be the envy of the neighborhood. It is a rewarding project that transforms a neglected space into a vertical garden of elegance and beauty.
The process combines horticultural science with artistic vision, resulting in a living, breathing feature that adds immense value and character to your landscape. Your wall is no longer just a boundary; it is a destination.