Guide to Fixing a Burnt Quartz Countertop: The Hot Pan Horror
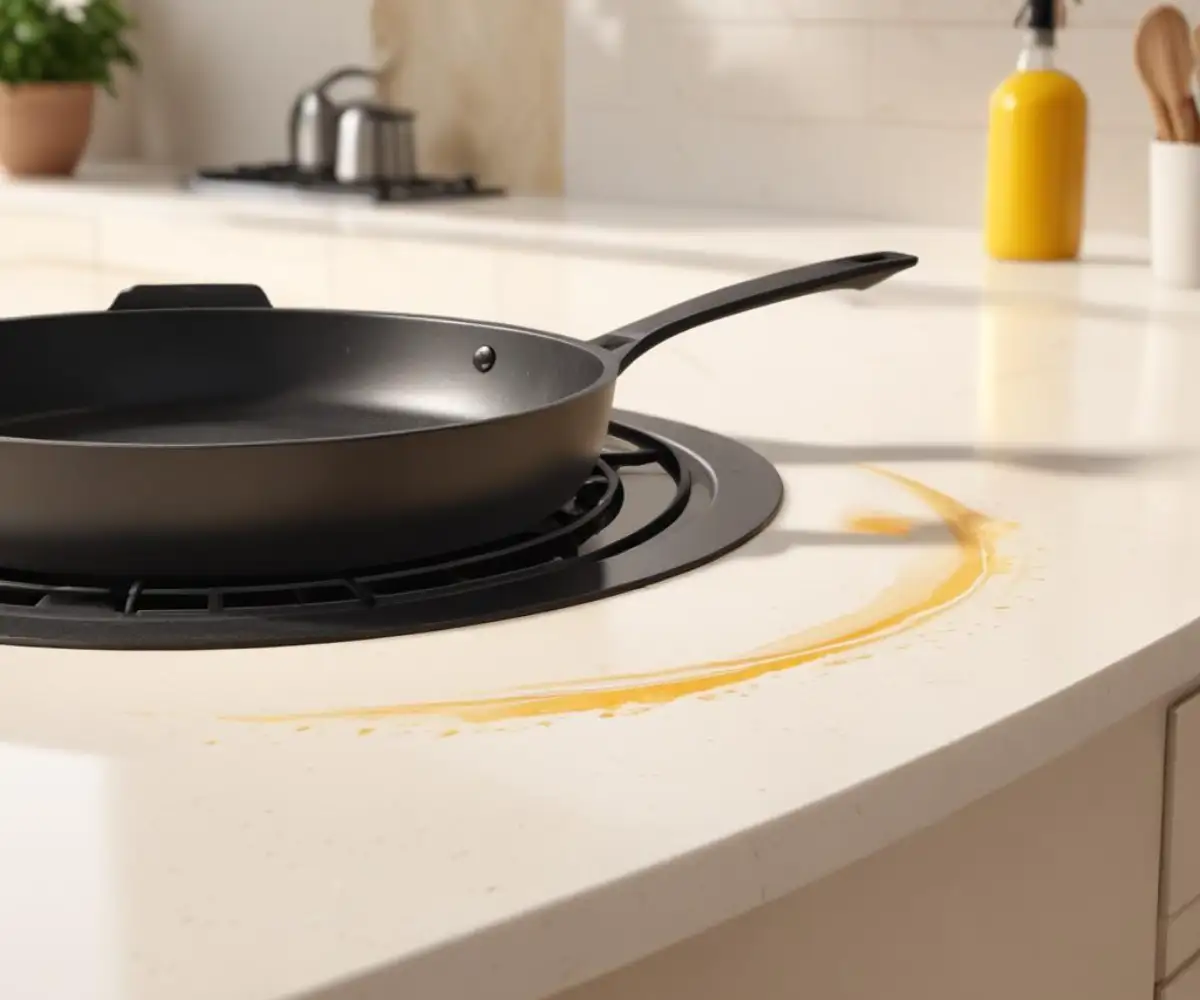
That sinking feeling is unmistakable. You lift a hot pan from your beautiful quartz countertop only to find a dull, yellowish, or even brown mark left behind. It’s a moment of pure panic for any homeowner who invested in the durable and elegant appeal of quartz.
You were told quartz was tough, but now you’re staring at a blemish that mars its perfect surface. The good news is, you’re not alone, and in many cases, the damage is reversible. This guide will walk you through why it happens and exactly what to do about it.
You'll Learn About
Why Did My Heat-Resistant Quartz Countertop Burn?
The biggest misconception about quartz countertops is that they are “heat-proof.” In reality, they are heat-resistant, but there’s a crucial difference. Understanding the material itself is the key to understanding its limits.
Engineered quartz countertops are composed of about 90-95% crushed natural quartz crystals. The remaining 5-10% is a polymer resin binder, with some pigments for color. While the natural quartz mineral can handle immense heat, the resin cannot.
The Resin is the Weak Link
The resin binders are what make quartz non-porous and so easy to maintain. However, these resins can only withstand temperatures of around 150-200°F (66-93°C). When a pan straight from a 500°F oven or a hot stovetop burner makes direct contact, it’s the resin that scorches or melts.
This “burn” is often a discoloration—a yellowing or browning—of the resin itself. In severe cases of thermal shock (a rapid change in temperature), the stress can even cause the countertop to crack. This is why you should never place hot items directly on your quartz surface.
First Steps: How to Assess the Damage
Before you try any remedy, you need to identify the type and severity of the mark. Is it a light scorch, a dark burn, or something else entirely? Acting too aggressively on a minor stain can make the problem worse.
Gently run your fingers over the affected area. If the surface feels smooth and is only discolored, it’s likely a minor scorch mark. If you feel a rough texture, pitting, or any indentation, the resin has been physically damaged, and the repair will be more complex.

Distinguishing Burns from Stains
It’s also important to ensure you’re not dealing with a simple stain. Certain chemicals or even prolonged exposure to UV light can cause yellowing on white quartz. Harsh cleaners are a common culprit for discoloration. If you’ve recently used a new cleaning product, the issue might be chemical rather than heat-related.
Another potential source of unexpected kitchen damage could be malfunctioning appliances. For example, understanding why is my glade plug in smoking or if another small appliance is overheating can prevent future surface damage by identifying hidden heat sources.
DIY Solutions for Minor Scorch Marks
For light yellowing or faint scorch marks where the surface is still smooth, several gentle, DIY methods can be effective. Always test any cleaning solution on an inconspicuous area of your countertop first, like under a coffee maker or in a corner.
Method 1: The Baking Soda Paste
Baking soda is a mild abrasive that can often lift surface-level discoloration without scratching the quartz. It’s one of the safest first steps for stain and scorch removal.
Create a thick paste by mixing baking soda with a small amount of water. Apply the paste generously over the burnt area and let it sit for about 15-30 minutes. Gently scrub the area with a non-abrasive sponge or soft cloth in a circular motion, then rinse thoroughly with water and dry.
Method 2: A Gentle Abrasive Cleaner
For slightly more stubborn marks, a non-bleach, mildly abrasive cream cleaner can be effective. Products like Bar Keepers Friend (the liquid or soft cleanser version is often recommended) can work wonders.
Apply a small amount to the stain and use a soft, damp cloth to work it in gently. Avoid vigorous scrubbing, which can dull the countertop’s finish. Rinse the area completely to remove all cleaner residue.
Method 3: The Magic Eraser (Use with Caution)
A melamine foam sponge, popularly known as a Magic Eraser, can remove some scorch marks through micro-abrasion. However, this method must be used with extreme caution. Because it is abrasive, rubbing too hard can create a dull spot in the polished finish of your quartz.
Dampen the Magic Eraser and gently rub the burnt area with very light pressure. Check the spot frequently. If you see the mark lifting, stop as soon as it’s gone to minimize the impact on the finish.
When DIY Is Not Enough: Understanding Severe Burns
If you’ve tried the gentle methods and the mark remains, or if the surface feels rough to the touch, you’re likely dealing with significant resin damage. At this stage, more aggressive DIY attempts can cause irreparable harm.
Deep burns mean the polymer has been fundamentally altered. Trying to sand or buff the area yourself without the proper tools and experience will almost certainly result in a visible divot and a mismatched, dull finish. This is the point where you must consider professional help.
Why Professional Repair is Often Necessary
A professional stone restoration specialist has the tools and expertise to address deep burns. They can use a series of diamond-grit pads to carefully sand down the damaged layer of resin and stone.
After sanding, they will polish the area through progressively finer grits to restore the original sheen, blending it seamlessly with the rest of the countertop. For chips or cracks, they can use color-matched epoxy and fillers to make the repair virtually invisible.
Comparing Your Options: DIY vs. Professional Repair
Deciding whether to tackle the problem yourself or call a professional depends on the severity of the burn and your comfort level. Here’s a breakdown to help you decide.
| Factor | DIY Repair | Professional Repair |
|---|---|---|
| Best For | Minor, surface-level scorch marks and light discoloration. The surface must feel smooth. | Deep burns, rough texture, cracks, chips, and stubborn marks that DIY methods can’t remove. |
| Cost | Low (cost of baking soda or mild cleaner). | Moderate to High ($150 – $800+ depending on the severity and location of the damage). |
| Risk Level | Low for gentle methods. High risk of dulling the finish if using harsh abrasives. | Very Low. A reputable professional will have the right tools and insurance. |
| Time Required | Under an hour. | A few hours for the repair and curing time. |
| Potential Outcome | Complete removal of minor marks. Potential for a dull spot if done incorrectly. | A near-perfect, blended finish that restores the countertop’s original look. |
The Golden Rule: Prevention is the Best Medicine
Once you’ve restored your countertop, the goal is to never have to do it again. Preventing heat damage is simple and comes down to developing a few key habits. Never place hot cookware directly on the quartz surface.
Always use trivets or hot pads for pots, pans, and dishes coming out of the oven or microwave. Be mindful of heat-generating appliances like slow cookers, air fryers, and electric griddles; place a protective mat or cutting board underneath them during use.
Beyond the Kitchen: Total Home Surface Protection
Protecting your valuable home surfaces shouldn’t stop at the kitchen. Just as you use trivets for your countertops, it’s wise to understand the right protective coatings for other areas. For instance, knowing the proper application of products like Drylok on drywall can save you from moisture damage in basements or bathrooms.
Similarly, ensuring the quality of your home’s water can prevent mineral buildup and stains on all your fixtures. If you’re concerned about hard water, looking into services like a Home Depot water test call can be a proactive step in protecting your investment.
Living with Your Quartz Countertop
A burnt quartz countertop can be a stressful discovery, but it’s rarely a permanent disaster. By understanding the material’s composition, correctly assessing the damage, and starting with the gentlest methods, you can often resolve minor issues yourself.
For more severe burns, don’t hesitate to invest in a professional. The cost of a proper repair is far less than the cost of replacing an entire slab. With the right care and preventative habits, your quartz countertops will continue to be a source of pride and beauty in your home for many years to come.
Final words
Discovering a heat mark on your quartz countertop can be alarming, but it doesn’t have to spell disaster. By understanding what causes these blemishes and knowing the right steps to treat them, you can often restore your countertop’s beauty with minimal stress. More importantly, you now have the knowledge to prevent future damage and protect your investment for years to come. With a little care—and the guidance in this article—your quartz can continue to shine as the stunning, resilient surface you fell in love with.

