That Burnt Induction Hob Isn’t Ruined: Here’s Your Fix
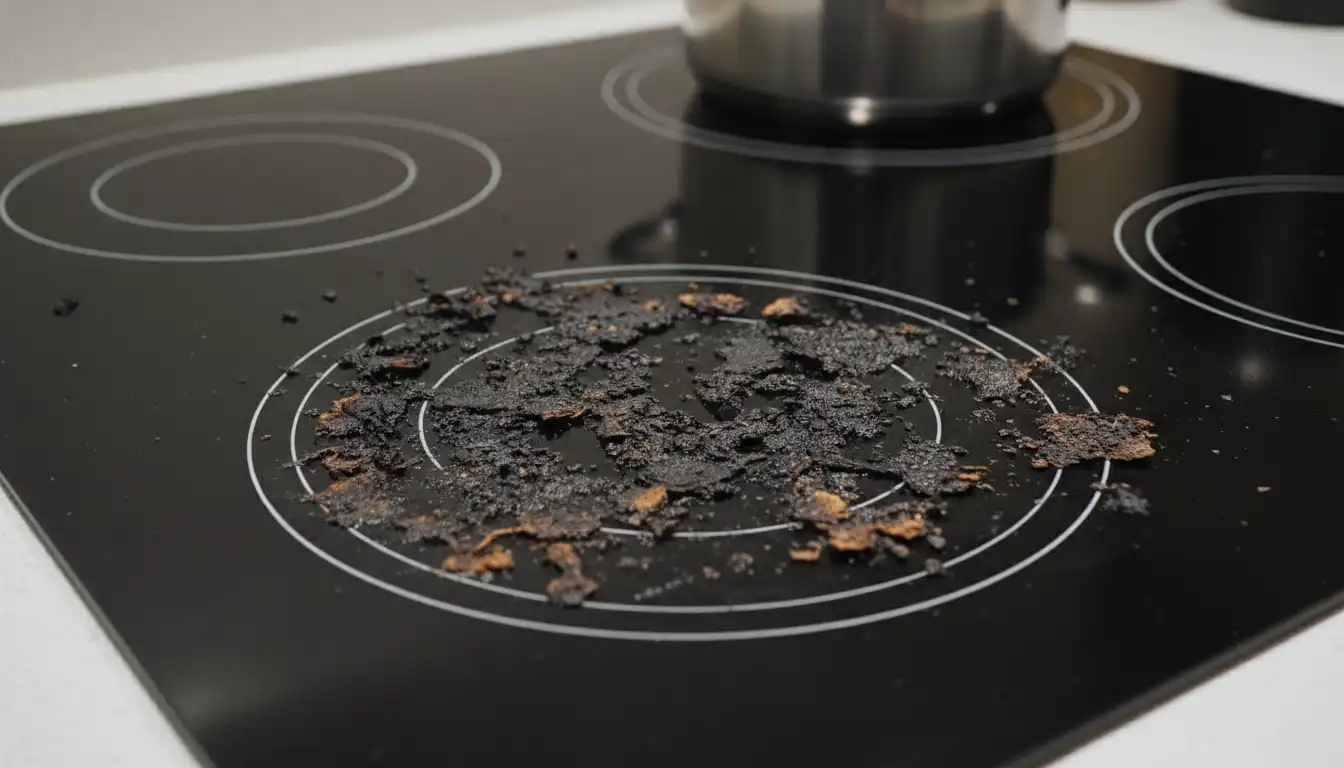
That sinking feeling hits the moment you see it: a dark, ugly scorch mark marring the sleek, black surface of your induction hob. Panic sets in, followed by the frustrating thought that your beautiful appliance is permanently damaged. Before you resign yourself to a lifetime of hiding the blemish under a pot, take a deep breath. Most “burn” marks on an induction hob are not permanent damage to the glass itself but rather stubborn, super-heated residue fused to the surface.
This guide will walk you through exactly what causes these marks, the safest and most effective ways to remove them, and how to prevent them from ever appearing again. You can restore that flawless, showroom shine to your cooktop with the right knowledge and tools.
You'll Learn About
Understanding the “Burn”: What Really Happened to Your Hob?
First, it’s crucial to understand what you’re dealing with. Unlike traditional electric cooktops that heat the glass, induction hobs heat the cookware directly through a magnetic field. This means the glass surface gets hot mainly from residual heat transferred back from the pot or pan. The “burn” you see is typically one of three things: burnt-on food, melted plastic, or mineral deposits from water boiling over.
When substances like sugar, starchy foods, or plastic are heated to high temperatures on the glass-ceramic surface, they undergo a chemical reaction. This process can create a strong, polymer-like bond with the glass that regular wiping won’t break. The key is to dissolve or break this bond without scratching the delicate surface.
The Common Culprits Behind the Marks
The most frequent causes of these stubborn marks are sugary spills from jams or sauces, which caramelize and fuse to the glass. Another common issue is melted plastic from a stray utensil, bag, or container accidentally left on a still-warm cooking zone. Water with high mineral content can also boil over and leave behind tough, white, or cloudy stains that can look like a burn.
Understanding the source of the stain is the first step toward removing it effectively. Each type of residue may require a slightly different approach for the best results.
Your First Aid Cleaning Kit: Tools and Materials
Before you begin any cleaning procedure, you must gather the right tools. Using the wrong equipment, such as steel wool or abrasive powders, can cause irreversible scratches. Always ensure the hob is turned off and completely cool to the touch before you start working on it.
Your essential toolkit should include:
- A Ceramic Hob Scraper: This is your most important tool. It uses a flat razor blade designed specifically to lift residue without gouging the glass.
- Microfiber Cloths: You’ll need several clean, soft cloths for applying cleaners and buffing the surface.
- Non-Abrasive Scrubber: A soft sponge or a specialized non-scratch pad is ideal for gentle scrubbing.
- Baking Soda: A mild alkali that is excellent for creating a gentle, effective cleaning paste.
- Distilled White Vinegar: Its acidic properties help to break down mineral deposits and greasy films.
- Specialized Cooktop Cleaner: A high-quality cream cleaner designed for ceramic and induction hobs can provide the final polish and protection.
Having these items on hand will prepare you to tackle almost any stain your hob throws at you.
Step-by-Step Guide to Removing Stubborn Burn Marks
With your tools assembled and the hob cool, you can begin the restoration process. Patience is key; some marks may require more than one attempt to remove completely.
The Scraper Method: Your Primary Weapon
For any raised or thick burnt-on residue, the scraper is your first line of attack. Hold the scraper at a low angle, around 30-45 degrees, against the glass. Apply firm, steady pressure and gently push forward to lift the burnt material off the surface.
Avoid using the corners of the blade, as this can cause scratches. Work in small sections, wiping away the loosened debris with a dry microfiber cloth as you go. This method is highly effective for removing the bulk of burnt sugar and melted plastic.
The Power Paste: Baking Soda and Vinegar
If the scraper doesn’t remove everything, or if the stain is flat and discolored, a baking soda paste is your next step. Sprinkle a generous layer of baking soda directly over the stain. Then, spray it with white vinegar until the baking soda is saturated and begins to fizz.
Let this fizzing mixture sit on the stain for at least 15-30 minutes. This chemical reaction helps to soften and break down the burnt-on residue. After it has had time to work, use a non-abrasive scrubber to gently work the paste into the stain in a circular motion. Wipe the area clean with a damp microfiber cloth.
Specialized Cleaners: When to Call in the Pros
For the most stubborn stains or for a final, perfect finish, a commercial cooktop cleaner is an excellent choice. These creams often contain mild abrasives, like cerium oxide, that polish the surface and remove any remaining discoloration without scratching. Apply a small amount to the affected area and buff it with a clean cloth, applying firm pressure.
This not only removes stains but also often leaves behind a protective silicone layer that makes future spills easier to clean up. It’s an essential step for maintaining the hob’s appearance.
Dealing with Specific Disasters: Melted Plastic and Sugar
Melted plastic and burnt sugar are the two most challenging substances to remove. For both, the scraper is essential. It is critical to deal with sugary spills immediately if possible, as they can cause pitting in the glass-ceramic surface if left to cool and bond completely. If it has already hardened, use the scraper method first, followed by the baking soda paste to dissolve any remaining residue.
For melted plastic, allow the hob to cool completely before attempting removal. Scraping it while it’s still soft will only spread the mess. Once it’s hard, it should flake off more easily with the scraper.
The “Impossible” Stain: When Is a Burn Mark Permanent?
While most marks are removable, some types of damage are permanent. Deep scratches from dragging heavy cookware, especially cast iron, cannot be polished out. Similarly, if a sugary substance was left on a hot hob for an extended period, it can cause microscopic pitting in the glass, which may appear as a permanent dull spot.
Another issue is a rainbow-like or metallic stain. This is often caused by oil residue polymerizing on the surface or from minerals leaching from certain types of cookware. These stains are incredibly tough but can sometimes be removed with a dedicated ceramic hob cleaner and persistent buffing.
| Cleaning Method | Best For | Pros | Cons |
|---|---|---|---|
| Ceramic Hob Scraper | Thick, raised residue (burnt sugar, melted plastic) | Highly effective for bulk removal; fast. | Requires careful use to avoid scratching. |
| Baking Soda & Vinegar Paste | Flat stains, greasy residue, mineral deposits | Safe, non-toxic, and uses common household items. | May require multiple applications and dwell time. |
| Commercial Cooktop Cleaner | Stubborn discoloration, polishing, and protection | Excellent for a final finish; leaves a protective coat. | Can be more expensive than DIY solutions. |
| Warm, Soapy Water | Daily cleaning, light splatters | Gentle, easy, and prevents buildup. | Not effective on burnt-on stains. |
Prevention Is the Cure: Keeping Your Induction Hob Pristine
The best way to deal with a burnt induction hob is to prevent it from happening in the first place. Adopting a few simple habits can keep your cooktop looking brand new for years.
Clean spills as they happen. Since the area around the pot isn’t extremely hot, you can often safely wipe up splatters with a damp cloth during cooking. This prevents food from having the chance to burn on. When planning your kitchen’s surfaces, considering materials that are easy to clean, like using wood look tile with no grout on the floor, can contribute to an overall low-maintenance environment.
Best Practices for a Flawless Finish
Always lift cookware; never slide or drag it across the glass, as this is the number one cause of scratches. Regularly inspect the bottoms of your pots and pans. A rough base or a piece of trapped debris can easily damage the hob surface. Using cookware with a clean, smooth, and flat bottom is essential for both performance and preventing damage.
Maintaining a clean home can sometimes feel like a constant battle against messes, big and small. Whether you’re dealing with a stubborn hob stain or a pet-related issue like a cat destroying weather stripping, having the right approach makes all the difference.
Common Myths About Induction Hob Cleaning Debunked
Misinformation can lead to costly mistakes. It’s important to separate fact from fiction when it comes to cleaning your induction hob.
The Truth About Abrasive Cleaners
A common myth is that tough stains require tough, abrasive cleaners. Never use scouring powders, steel wool, or abrasive sponges on your induction hob. These will create a network of fine scratches that will dull the surface and make it more prone to future staining as debris gets trapped in the scratches.
Similarly, avoid harsh chemical cleaners like oven cleaner, ammonia, or bleach. These can damage the surface and leave permanent discoloration. Stick to cleaners specifically formulated for glass-ceramic cooktops.
Can You Use Magic Erasers on an Induction Hob?
Magic erasers are made from melamine foam, which acts like extremely fine sandpaper. While they can be effective on some surfaces, using them on a glass induction hob can cause micro-abrasions, leading to a hazy or dull appearance over time. It is best to avoid them and stick to softer materials.
Mastering a specific skill, whether it’s cooktop maintenance or understanding the nuances of a rare plant like the Hoya Wilbur Graves, requires paying attention to the fine details and using the correct tools for the job.
Beyond Cleaning: When to Consider a Professional Repair
While most burn marks are a cleaning issue, there are times when you might need professional help. If the hob is displaying error codes, not heating properly, or if you see cracks or deep chips in the glass, it’s time to call a qualified technician. Do not attempt to use a hob with cracked glass, as it can be a safety hazard.
In conclusion, a burnt mark on your induction hob is usually more of an eyesore than a disaster. With the right tools—primarily a good quality scraper and a non-abrasive cleaner—and a bit of patience, you can effectively remove even the most stubborn-looking stains. By adopting preventative cleaning habits and using your cookware correctly, you can ensure your induction hob remains a beautiful and efficient centerpiece in your kitchen for many years to come.