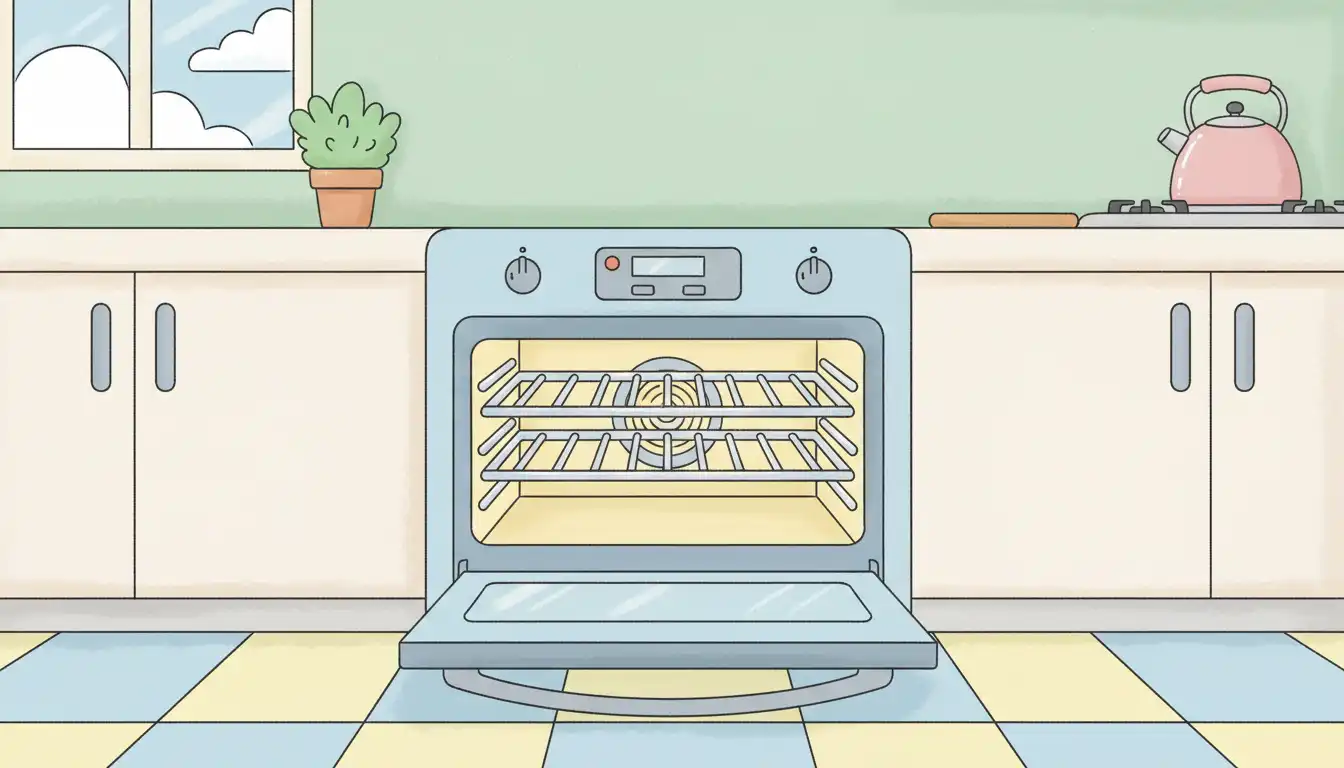
Burned Mouse in Oven: The Ultimate Guide to Odor Removal & Safety
Discovering a burned mouse in your oven is a horrifying and deeply unsettling experience. The immediate shock is quickly followed by the overwhelming and foul odor that permeates your entire home, creating a situation that feels both unsanitary and impossible to solve.
This is more than just a bad smell; it’s a serious issue that poses potential health risks and requires immediate, thorough action. This comprehensive guide will walk you through every step, from immediate safety precautions to deep cleaning methods and, most importantly, ensuring this never happens again.
You'll Learn About
Immediate Safety Protocol: What to Do in the First 5 Minutes
Before you can even think about cleaning, your first priority must be safety. The fumes produced by this incident are not just unpleasant; they can be hazardous. Take these steps immediately.
First, turn off the oven and any connected stovetop burners. If you have a gas oven, it’s wise to shut off the gas supply to the appliance as an extra precaution. Do not attempt to handle anything until the oven has cooled down completely, which may take up to an hour.
Next, ventilate your entire home. Open every window and door possible to create a cross-breeze. Turn on your kitchen’s exhaust fan, bathroom fans, and any portable fans you have to help circulate fresh air and push the contaminated air outside.
Gear Up for Safety: Do Not Skip This Step
You must protect yourself from direct contact with potentially harmful bacteria and airborne particles. Before you open the oven door again, equip yourself with the proper personal protective equipment (PPE). This is non-negotiable for your safety.
You will need heavy-duty rubber gloves, safety goggles to protect your eyes from splashback, and a high-quality N95 respirator mask. A simple cloth mask is not sufficient to filter out the fine particles and potential pathogens that can become airborne during the cleaning process.
The Unseen Danger: Understanding the Health Risks
The high heat of the oven may have sterilized the mouse itself, but that doesn’t eliminate all the health risks. Rodents are carriers of various diseases, and their waste products can harbor dangerous pathogens like Salmonella and Hantavirus. The process of incineration can release these particles into the air.
Inhaling these airborne particles or coming into contact with contaminated surfaces can pose a health threat. Furthermore, the smoke and fumes from the burned materials are toxic and can cause respiratory irritation. Treating this situation with the seriousness of a hazardous material cleanup is crucial for your family’s well-being.
The Complete Step-by-Step Cleaning and Decontamination Process
Once the oven is completely cool and you are wearing your PPE, you can begin the removal and cleaning process. This must be done methodically to ensure no residue or odor is left behind. Be prepared, as this is an unpleasant but necessary task.
Step 1: Removing the Source
Carefully open the oven door. Using a long-handled tool like a metal spatula or tongs, gently scrape and lift the remains of the mouse from the oven surface. Try to get everything in one go to minimize the dispersal of particles.
Place the remains directly into a small plastic bag and seal it tightly. For added security, place this sealed bag inside a second, larger sealable bag. Dispose of this bag immediately in an outdoor trash receptacle with a secure lid.
Step 2: The Initial Physical Cleanup
With the primary source removed, it’s time to tackle the physical residue. Start by taking out the oven racks and any other removable components, like the bottom drawer. Set these aside for separate cleaning.
Using a plastic scraper, carefully chip away at any large, fused-on debris inside the oven cavity. Once you have loosened all the solid material, use a shop vacuum or a regular vacuum with a hose attachment to thoroughly suck out all the loose debris, ash, and particles from the oven.
Step 3: A Deep and Disinfecting Scrub
This is the most critical stage for eliminating both the bacteria and the odor. You have several options for cleaning solutions, from natural household products to powerful commercial cleaners. Each has its place in a thorough decontamination process.
A highly effective natural cleaning paste can be made by mixing baking soda with water until you have a thick, spreadable consistency. Coat the entire interior of the oven with this paste and let it sit for at least 12 hours. Baking soda is excellent at absorbing odors and its mild abrasive quality helps lift grime.
After the baking soda has sat overnight, spray it with white vinegar. The two will react and foam, creating a powerful cleaning agent that helps to break down the toughest, baked-on grease and residue. Use a heavy-duty scrub sponge to work this solution into every corner, then wipe it all out with damp cloths.
Step 4: Cleaning the Racks and Accessories
Your oven racks also need to be thoroughly cleaned and disinfected. The easiest way to do this is to place them in a bathtub or a large utility sink. Cover them with hot water and add either a generous amount of dish soap or a cup of ammonia (with the bathroom fan on and door closed for ventilation).
Let the racks soak for several hours or overnight. This will loosen the baked-on grime, allowing you to scrub it off easily with a stiff brush. Rinse them thoroughly and allow them to dry completely before placing them back in the oven.
Step 5: The Chemical Approach and Disinfection
After the natural cleaning process, a final disinfection step is essential. You can use a solution of one part bleach to ten parts water. Carefully wipe down the entire interior of the oven, the racks, the oven door (inside and out), and the surrounding cabinetry.
Let the bleach solution sit for 10-15 minutes to ensure it kills any lingering pathogens, then wipe it clean with a fresh, damp cloth. The safe handling of all household chemicals is paramount, a principle that applies whether you are cleaning an oven or learning how to wash off Sevin Dust from your garden produce.
| Cleaning Method | Pros | Cons | Best For |
|---|---|---|---|
| Baking Soda & Vinegar | Non-toxic, inexpensive, excellent at absorbing odors. | Requires a long waiting time (12+ hours), needs significant scrubbing. | The initial deep clean to lift residue and neutralize smells. |
| Commercial Oven Cleaner | Extremely powerful, dissolves tough grime quickly. | Contains harsh chemicals, requires extreme ventilation, can damage surfaces if misused. | Tackling stubborn, carbonized residue after an initial cleaning attempt. |
| Diluted Bleach Solution | Kills 99.9% of bacteria and viruses, effective disinfectant. | Strong fumes, can discolor some materials, must be thoroughly rinsed. | The final disinfection step after all physical debris is removed. |
| Steam Cleaning | Uses only water, eco-friendly, loosens grime effectively. | May not be powerful enough for severe cases, doesn’t disinfect on its own. | A supplemental cleaning step or for light maintenance. |
A Warning About the Self-Clean Feature
It might be tempting to use your oven’s self-cleaning function to “burn off” the problem. Do not use the self-clean cycle until you have manually removed the mouse and all physical residue. Engaging this high-heat cycle first will only intensify the horrific smell, bake it deeper into the oven’s enamel, and release a massive plume of toxic, acrid smoke into your home.
The self-clean feature should only be considered as a final step after you have completed all the manual cleaning and disinfection stages. Even then, ensure your home is well-ventilated during the process, as it can still produce some odors.
Banishing the Ghost: How to Eliminate Lingering Odors
Even after a meticulous cleaning, a faint, phantom odor can remain. This is because the smell particles have penetrated not just the oven but the surrounding air and surfaces. Eradicating this final trace of the incident requires a multi-pronged approach.
Odor Absorbing Techniques
Start by placing several bowls filled with odor-absorbing materials inside the clean, cool oven. Leave them overnight with the oven door closed. Excellent options include activated charcoal, fresh coffee grounds, or white vinegar. These materials will actively pull the odor molecules out of the air.
You can also try a heat-based approach. Place orange peels, lemon halves, or a few tablespoons of vanilla extract in an oven-safe dish with a bit of water. Turn the oven on to a low temperature (around 200°F or 93°C) for an hour. This will help to steam clean the interior while replacing the bad odor with a pleasant one.
Prevention Is the Best Solution: Mouse-Proofing Your Home
The only way to guarantee this never happens again is to prevent rodents from entering your home in the first place. A mouse can squeeze through a hole the size of a dime, so a thorough inspection of your home’s exterior and interior is necessary.
Step 1: Conduct a Thorough Inspection
Carefully examine the perimeter of your home’s foundation. Look for any cracks or gaps, especially around areas where utility lines, pipes, and vents enter the house. Pay close attention to the seals around your garage door and any gaps under exterior doors.
Inside, check under your kitchen sink, behind appliances, and in the back of cabinets and pantries. These are common entry points for rodents seeking food and shelter. Proper home maintenance is a year-round job, from ensuring you have a functional snow blower ready for winter to securing your foundation in the summer. Speaking of which, for those in colder climates, finding a reliable machine like a Honda HS55 for sale can be a crucial part of that seasonal readiness.
Step 2: Seal Every Possible Entry Point
Once you have identified potential entryways, seal them permanently. For smaller gaps and cracks, stuff coarse steel wool deep into the hole before sealing it with caulk. Mice cannot chew through steel wool, making it an excellent barrier.
For larger gaps or issues around your foundation, you may need to use expanding foam sealant or even concrete patches. Ensuring the integrity of your home’s exterior is critical. This includes protecting vulnerable areas, such as implementing a drive over drain pipe solution to prevent crushing and creating potential pest entry points near your foundation.
Step 3: Eliminate Attractants
Mice enter homes for two reasons: food and shelter. Make your kitchen less attractive by storing all food, including pet food and birdseed, in airtight containers made of glass, metal, or heavy-duty plastic. Clean up spills immediately and avoid leaving dirty dishes in the sink overnight.
Regularly sweep and vacuum your kitchen floor, and ensure your trash cans have tight-fitting lids. By removing their food source, you make your home a much less appealing target for pests.
When You Need to Call a Professional
Sometimes, despite your best efforts, the problem may be too big to handle alone. If the odor persists after multiple deep cleanings, or if you find evidence of a larger rodent infestation (such as droppings, nests, or gnaw marks in other areas), it is time to call for professional help.
A professional cleaning service specializing in biohazard or trauma cleanup can use ozone treatments and specialized chemicals to completely eradicate the odor. Similarly, a licensed pest control expert can effectively eliminate an infestation and help you identify and seal entry points you may have missed.
Dealing with a burned mouse in your oven is a deeply unpleasant event, but it is a solvable one. By following these steps for safe removal, thorough cleaning, and diligent prevention, you can restore your oven, your kitchen, and your peace of mind. Your home can once again be a safe and clean space for you and your family.