Bulging Plaster Walls: Stop Ignoring This Critical Warning Sign
NOT A DUPLICATE
That subtle curve in your otherwise flat wall is easy to ignore at first. But a bulging plaster wall is more than a cosmetic flaw; it’s a critical warning sign that your home is sending you. Ignoring it can lead to far more extensive and expensive repairs down the line.
This bulge is your wall’s way of telling you something is wrong, often deep behind the surface. Understanding the source of the problem is the first and most important step toward a lasting solution. This guide will walk you through diagnosing the cause and implementing the right fix.
You'll Learn About
Why Your Plaster Walls Are Bulging: Uncovering the Root Cause
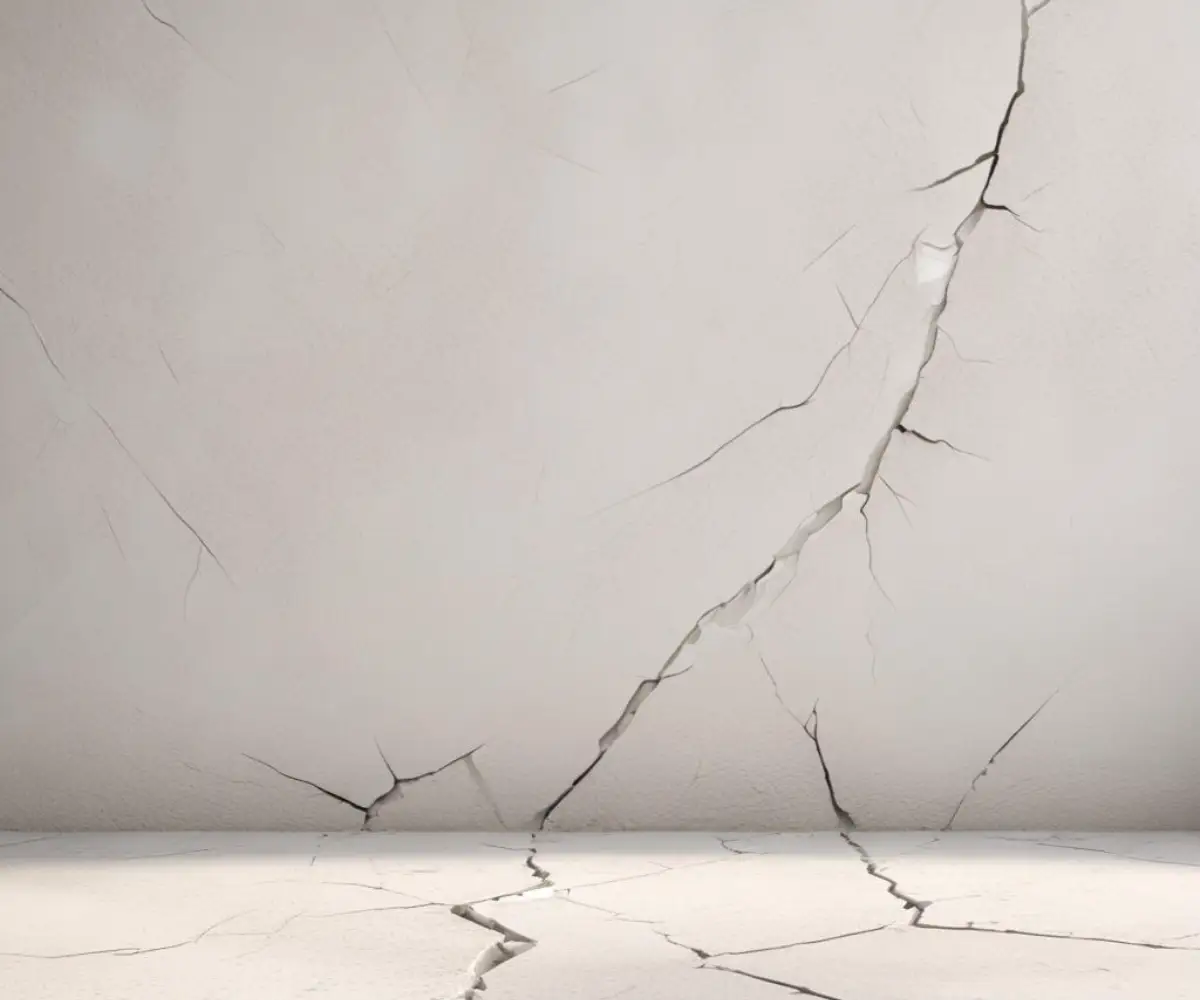
A plaster bulge, bubble, or crack is almost always a symptom of a deeper issue. The plaster has begun to separate from its underlying structure, known as the lath. This delamination happens for several key reasons, with one standing out as the most common culprit.
The Number One Culprit: Water and Moisture Intrusion
Water is the single greatest enemy of plaster walls. When moisture gets behind the plaster, it saturates the wooden lath and the plaster itself, causing the materials to swell, weaken, and separate. This trapped moisture creates the characteristic bulge you see.
Look for this problem originating from slow pipe leaks, roof issues, or even ice dams in the winter. The effectiveness of your roof in shedding water is paramount; even a slight inadequacy in the roof pitch can lead to water ingress over time, eventually finding its way down into your walls.
Structural Shifts and Foundation Settling
Your house is always in a state of subtle movement. As a foundation settles or structural timbers shift over time, it puts immense stress on the rigid, inflexible plaster walls. This strain can cause the plaster to crack and pull away from the lath.
These types of bulges are often accompanied by long, running cracks, either vertically or diagonally. You might also notice other signs of structural movement, such as doors that no longer close properly or visible cracks in your foundation.
Age and Internal Material Failure
Traditional lath and plaster is a time-tested building method, but it doesn’t last forever. The system relies on plaster “keys” that ooze through the gaps in the wooden lath and harden, holding the wall surface in place. Over many decades, vibrations and stress can cause these keys to break.
When enough plaster keys fail in a single area, gravity takes over. The section of plaster, now detached from its support, begins to sag and bulge outward. This is a common issue in homes that are 70 years old or more.
Less Obvious Causes You Shouldn’t Ignore
Sometimes, the source of the bulge is less common but equally destructive. Chronic high humidity from poorly ventilated bathrooms or kitchens can lead to a slow absorption of moisture into the walls, eventually causing them to fail.
In other cases, a poorly executed prior repair can be the problem. If a previous patch was applied improperly or over a damp surface, it can trap moisture and create a new bulge. This is why addressing the root cause is always more important than a quick cosmetic fix.
Before You Repair: A Crucial Diagnostic Checklist
Before you pick up a single tool, you must accurately diagnose the bulge. How the bulge feels, looks, and where it is located can tell you everything you need to know about its cause and the best method of repair. Use this table as your guide to investigate the problem area carefully.
| Diagnostic Question | Observation and Meaning | Recommended First Step |
|---|---|---|
| Is the bulge soft and spongy? | A soft or spongy feeling is a tell-tale sign of active or recent water damage. The plaster and lath are saturated. | Immediately locate and stop the source of the moisture (e.g., roof leak, plumbing). Do not repair until the area is completely dry. |
| Is the bulge hard and solid? | A hard bulge indicates the plaster has detached but is likely dry. This is common with structural movement or age-related key failure. | Gently press on the bulge. If there is movement, it confirms delamination and can be re-secured. If it is rock-solid, the issue may be deeper. |
| Is there discoloration (yellow/brown stains)? | Staining is a clear sign of a past or present water leak. It’s the residue of minerals left behind as the water evaporated. | Even if dry, investigate the source of the old leak to ensure it was properly resolved. Water may have been rerouted and could still be causing hidden damage. |
| Are there fine, web-like cracks on the surface? | These often appear on bulges caused by pressure from behind or the stress of the plaster separating from the lath. | This confirms the plaster is under stress. The area is fragile and requires a delicate approach to repair to prevent a larger collapse. |
| Is the bulge located on a ceiling or high on a wall? | This location strongly suggests a leak from the roof or an upper-floor bathroom or plumbing line. Gravity directs the water downward. | Thoroughly inspect the attic, roof, and any rooms directly above the affected area for any signs of water. |
Safety during diagnosis is paramount. Before you start tapping on walls or planning to cut into them, be aware of what might be hidden behind them. It’s crucial to check for the presence of utilities, as an unseen gas line in the wall or electrical wiring can present a serious hazard.
Step-by-Step Guide: How to Fix Bulging Plaster Walls
Once you have identified the cause and ensured the area is completely dry, you can proceed with the repair. The method you choose will depend entirely on your diagnosis. A hard, stable bulge from delamination requires a different approach than a soft, water-damaged one.
Method 1: The Plaster Washer Technique for Minor Delamination
This method is ideal for re-securing otherwise good plaster that has simply pulled away from the lath. Plaster washers are small, perforated discs designed to be driven through the plaster and into the lath, pulling the two layers back together.
First, drill pilot holes through the plaster and into the wood lath strips in and around the bulge. Next, drive drywall screws with plaster washers through your pilot holes until the washer is slightly recessed into the plaster surface. You will see the bulge pull back toward the wall. Continue this process until the entire area is secure, then cover the washers with joint compound to finish.
Method 2: Patching After Removing Damaged Plaster
If the plaster is soft, crumbly, or extensively cracked, it cannot be saved and must be removed. This approach involves cutting out the damaged section and creating a patch. It’s important to differentiate this from minor household fixes; this is a structural plaster repair, not as simple as when you use expanding foam to fix a loose towel rack.
Use a utility knife to score the perimeter of the damaged area. Carefully break away the old plaster within the scored lines using a hammer and chisel, exposing the wood lath beneath. Inspect the lath for damage and replace any rotten pieces. You can then fill the void with new plaster or by fitting in a piece of drywall for a modern patch. Finish by taping and mudding the seams for a smooth surface.
When to Call a Professional: Recognizing the Red Flags
While many plaster issues are manageable for a skilled DIYer, some situations demand professional intervention. If the bulge is larger than a foot or two in diameter, growing rapidly, or if you see corresponding cracks in your home’s foundation, it’s time to call a structural engineer.
Similarly, extensive water damage requires more than just a plaster fix. You may need a water remediation specialist to prevent mold growth and ensure all affected structural components are properly dried and treated before any cosmetic wall repair begins.
Proactive Measures: Preventing Future Plaster Problems
Repairing a bulge is only half the battle. The best strategy is to create an environment where plaster problems are less likely to occur in the first place. This involves diligent home maintenance focused on the two primary enemies of plaster: water and structural stress.
Controlling Moisture and Humidity
Ensure your home is properly ventilated. Use exhaust fans in bathrooms and kitchens to expel moist air before it has a chance to penetrate your walls and ceilings. In damp basements or humid climates, a dehumidifier can be an invaluable tool for keeping the ambient moisture level in check.
Perform regular inspections of your roof, gutters, and plumbing. Look for any signs of leaks, no matter how small, and address them immediately. A tiny drip can cause thousands of dollars in damage over time.
Monitoring Your Home’s Foundation
Periodically walk the perimeter of your home and inspect the foundation for cracks. Check that soil and landscaping are graded to slope away from the house, ensuring that water doesn’t pool against the foundation walls.
Inside, keep an eye on doors and windows. If they begin to stick or become difficult to open, it can be an early indicator of structural shifting that is putting stress on your entire home, including your plaster walls.
Your Walls Are Talking: Listen and Act
A bulge in your plaster wall is a clear communication. It’s an indicator of an underlying issue that needs your attention. By carefully diagnosing the cause—whether it’s water, structural stress, or simple age—you can apply the correct and most effective repair.
Addressing the root of the problem, not just the surface-level symptom, ensures a durable, long-lasting fix. By taking these steps, you protect the integrity of your walls and the long-term health and safety of your home.