Bugs Coming Through Recessed Lights? Your Ultimate Fix
You flick on the kitchen light and see something unsettling. A small spider descends from a recessed light, dangling in mid-air before you quickly get rid of it. The next day, you find a few mysterious, tiny dead bugs on the countertop directly below the same light. It’s a creepy, frustrating problem that makes you wonder what’s lurking in your ceiling.
If you’re experiencing bugs coming through your recessed lights, you’re not alone. This is an incredibly common issue, but the good news is that it’s entirely fixable. Those lights are essentially open doorways for pests living in your attic or the space between floors, inviting them right into your home.
You'll Learn About
Why Bugs Are Invading Your Home Through Recessed Lights
To solve this problem, you first need to understand why it’s happening. Your ceiling fixtures are more than just a source of light; they are unintentional entry points for a variety of pests. Several factors combine to create a perfect highway for bugs to travel from their hidden homes into your living space.
The “Highway” in Your Ceiling
The space above your ceiling, whether it’s a full attic or a crawl space, is a dark, sheltered, and largely undisturbed environment. This makes it an ideal place for insects to live, breed, and hide. Spiders, ants, silverfish, and countless other critters thrive in these quiet voids, safe from predators and the elements.
Unfortunately, this pest sanctuary is directly connected to your living areas via any openings in the ceiling. This includes vents, wiring holes, and, most significantly, your recessed light fixtures. For a bug, these openings are simply convenient exits from their home into a new territory.
Recessed Lights: An Open Invitation
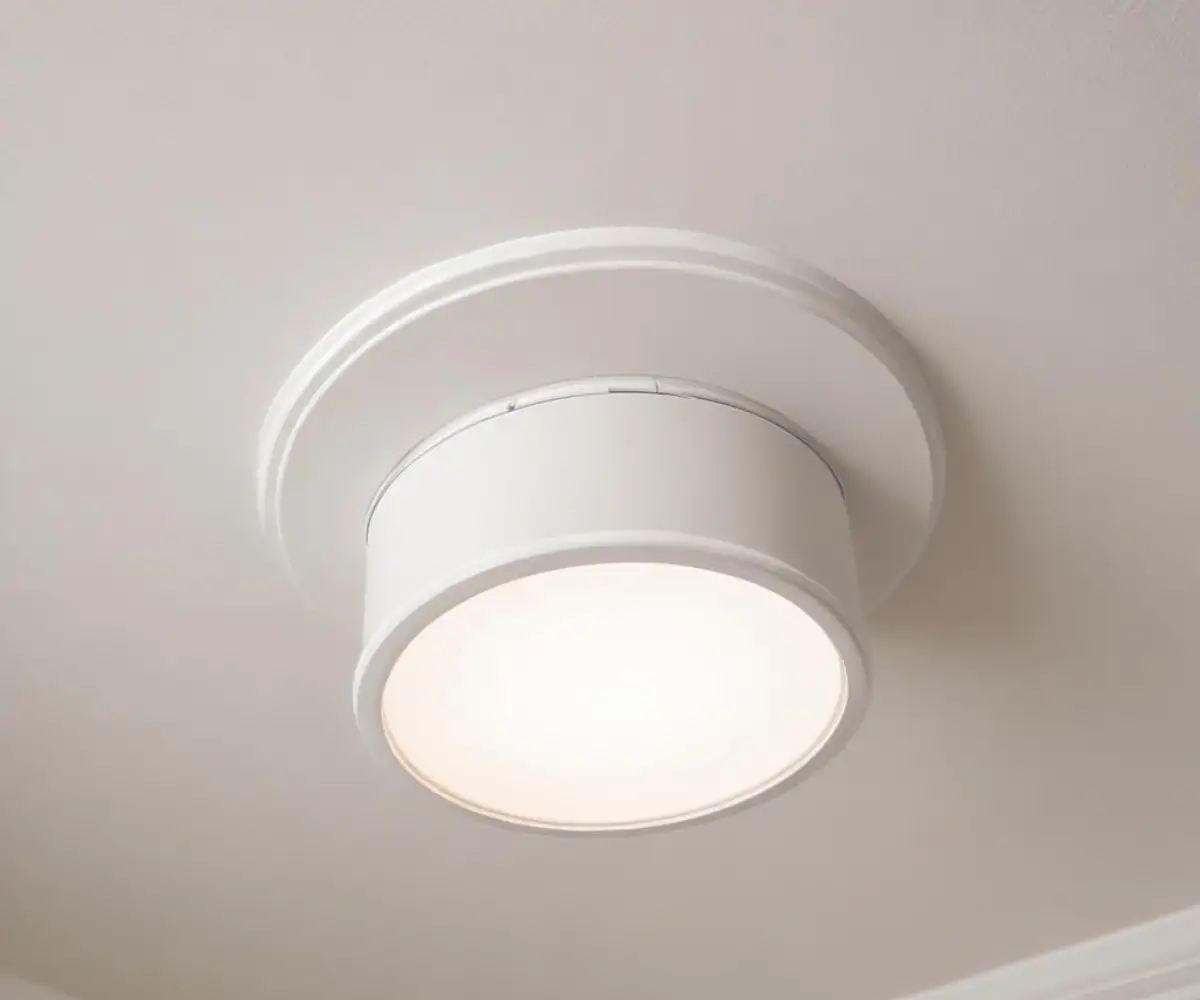
Older recessed lights, often called “can lights,” are notoriously leaky and unsealed. They are essentially a metal can installed into a hole in your drywall, and this design creates multiple gaps and openings that pests can easily exploit. These gaps are often intentional in non-IC (Insulation Contact) rated cans to allow heat from old incandescent bulbs to dissipate.
Common entry points on a recessed light include the small space between the fixture’s trim and the ceiling drywall, as well as holes within the metal housing for wiring and mounting. Even a tiny gap, just millimeters wide, is more than enough for many insects to squeeze through. These construction gaps effectively turn every unsealed recessed light into a potential bug dispenser.
The Allure of Light and Warmth
Beyond being a simple physical opening, your light fixtures actively attract bugs. Many insects are positively phototactic, meaning they are naturally drawn toward light. When your lights are on, they act as a beacon, guiding bugs from the darkness of your attic straight into your room.
The warmth generated by the light bulb adds another layer of attraction, especially for pests seeking refuge during colder months. This combination of light, warmth, and an easy entry point makes your recessed lights an irresistible destination for any pest already living in your ceiling.
Identifying the Culprits: Common Pests That Use Recessed Lights
While many different bugs can come through your lights, a few usual suspects are more common than others. Identifying the type of pest can help you understand the extent of the problem and whether you’re dealing with a simple nuisance or a sign of a larger infestation.
Spiders are one of the most common intruders. They don’t enter because of the light, but rather because the opening is a perfect place to build a web and catch other insects that are drawn to the light. If you’re seeing spiders, it’s a sign that other bugs are present.
Ants also frequently use recessed lights as entry points. If you’re spotting random ants in the house with no trail, they could be scout ants from a colony in your attic or walls, exploring for food and water through these convenient ceiling exits.
Other common pests include overwintering insects like stink bugs and ladybugs, which seek warmth and shelter indoors during the fall. You may also find silverfish, earwigs, and even cockroaches, which thrive in the dark, often humid, environment of an attic or ceiling void.
Common Pests and Their Motivations
Understanding what drives different pests can help you tailor your prevention strategy. Some are looking for food, others for shelter, and some are just confused by the light. The following table breaks down the most common invaders and what brings them into your home.
| Pest | Primary Reason for Entry | Signs of Presence | Level of Concern |
|---|---|---|---|
| Spiders | Hunting other insects attracted to light | Webs, spiders descending from lights | Low (Indicates presence of other pests) |
| Ants | Foraging for food and water | Single ants or trails appearing on ceilings/walls | Medium (Could signal a nearby colony) |
| Gnats/Flies | Attraction to light and warmth | Small flying insects swarming near lights | Low to Medium (Nuisance, but can indicate moisture issues) |
| Silverfish/Earwigs | Seeking moisture and darkness | Occasional sightings on floors or walls below lights | Medium (Can indicate moisture problems in attic/walls) |
| Stink Bugs/Ladybugs | Seeking shelter to overwinter | Bugs appearing suddenly in fall/winter | Low (Nuisance, not destructive) |
| Flying Termites | Attraction to light during swarming season | Swarm of winged insects, discarded wings | High (Potential sign of a termite infestation) |
Your Step-by-Step Guide to Sealing Recessed Lights Against Bugs
Now that you understand the “why,” it’s time for the “how.” Sealing your recessed lights is a straightforward DIY project that can permanently solve your bug problem. Follow these steps carefully to create a pest-proof barrier and reclaim your peace of mind.
Safety First: Preparing for the Job
Before you begin any work on a light fixture, safety is paramount. Go to your home’s electrical panel and turn off the breaker that controls the recessed lights you will be working on. Use a voltage tester or simply flick the light switch to confirm that the power is completely off.
You will need a sturdy stepladder, safety glasses to protect your eyes from debris, and the right materials for the job. Gather everything you need before you start to avoid multiple trips up and down the ladder.
Step 1: Remove the Trim and Bulb
First, carefully remove the light bulb. Once the bulb is out, remove the decorative trim ring. Most modern trims are held in place by two spring clips; simply pull the trim down gently and squeeze the clips together to release them from the housing.
Older fixtures might have different mechanisms. Depending on the fixture, a variety of fasteners may be used. Understanding the subtle differences between tools, such as knowing when to use a nut driver vs a socket, can be useful for removing certain types of nuts or bolts without damaging them.
Step 2: Inspect the Gaps
With the trim removed, you will have a clear view of the recessed light housing and the hole cut into the drywall. Look closely for any visible gaps between the metal can and the drywall edge. You should also inspect the inside of the can for any holes or slots where wires enter; these are also potential entry points for bugs.
This is the moment to assess the situation fully. Take note of all the openings, no matter how small, as you will need to seal all of them to create an effective barrier.
Step 3: Seal the Interior Gaps
The most critical step is to seal the gap between the recessed light housing and the drywall. For this, you must use a sealant that can withstand the heat produced by the light fixture. Use a high-quality, fire-rated caulk or fireblock sealant. Standard acrylic latex caulk is not suitable for this application due to the heat.
Apply a continuous bead of the fire-rated sealant into the gap, ensuring it fills the entire space. Use a caulk tool or your finger to smooth the bead and ensure a complete, airtight seal. Also, apply a small amount of sealant to any holes you found inside the housing itself.
Step 4: Seal the Trim for a Double Barrier
After sealing the main gap, you can create a second line of defense by sealing the trim ring. Once you have reinstalled the trim, apply a very thin bead of paintable acrylic latex caulk around the outer edge where the trim meets the ceiling. This seals the cosmetic gap and stops even the smallest insects.
Wipe away any excess caulk with a damp cloth for a clean, professional finish. This final seal not only blocks bugs but also prevents air leaks, which can improve your home’s energy efficiency.
Step 5: Consider Upgrading to Sealed LED Fixtures
If you have older, non-airtight can lights, the ultimate solution is to replace them. Modern LED recessed lights, often called “canless” or “wafer” lights, are designed to be completely sealed. They have a gasket that creates an airtight seal against the drywall, offering no entry points for pests.
These LED retrofits are energy-efficient, last for years, and are relatively easy to install. They are the most effective long-term solution for permanently stopping bugs from coming through your recessed lights.
Beyond the Lights: Long-Term Pest Prevention Strategies
Sealing your lights is a crucial step, but for true, lasting pest control, you should also address the source of the problem: the pests in your attic and around your home. A comprehensive approach will ensure that bugs don’t find another way in.
Pest Control in the Attic and Crawl Spaces
Your attic is the staging ground for the bugs entering your lights. You can hire a professional pest control service to treat your attic and crawl spaces. They can identify specific pests and use targeted treatments to eliminate existing populations and prevent new ones from forming.
Regular inspections and treatments can keep your home’s hidden spaces free of pests, cutting off the problem at its source.
Sealing Other Entry Points
Bugs get into your attic through small openings on your home’s exterior. Take a walk around your property and look for potential entry points. Seal any cracks in the foundation, gaps around pipes and utility lines, and ensure that vents are covered with mesh screens.
Protecting your foundation is especially important, as this is the base of your home’s defense. Just as it’s vital to know how to fill an erosion hole to maintain structural integrity, sealing even small foundation cracks is key to preventing pests from ever getting inside.
Exterior Light Management
The type of light you use outside your home can have a big impact on the number of bugs hanging around your property. Most insects are attracted to the blue end of the light spectrum. Traditional incandescent and cool-white LED bulbs produce a lot of this attractive light.
Switch your exterior bulbs to warm-colored LEDs or designated “bug lights,” which emit a yellow-orange glow. This light is far less visible to insects, which will significantly reduce the number of pests congregating near your doors and windows at night.
When to Call a Professional: Electrician vs. Exterminator
While sealing recessed lights is a manageable DIY project for many, there are times when it’s best to call in a professional. Knowing who to call—an electrician or a pest control expert—depends on the specific situation.
Call an Electrician if…
You should contact a licensed electrician if you are not comfortable working with electrical wiring or if you discover any signs of damage, such as frayed wires or scorch marks, when you inspect your fixtures. An electrician is also the right person to call if you decide to upgrade all your old can lights to modern, sealed LED units. They can ensure the job is done safely and up to code.
Call an Exterminator if…
It’s time to call a professional exterminator if your sealing efforts don’t stop the bug problem, or if you see signs of a major infestation. Evidence like termite swarmers, a large ant colony, or persistent cockroach sightings indicates a problem that goes beyond a simple entry point. A pest control professional can identify the source of the infestation and implement a comprehensive treatment plan.
By taking these steps, you can turn your recessed lights from pest portals into what they were meant to be: a simple source of light. Sealing these gaps not only stops the creepy crawlies but also enhances your home’s energy efficiency and gives you back your peace of mind. You can finally enjoy a bright, bug-free home.